Download
1 / 26
260 likes | 286 Views
Join the mission to grow ingredients, create flavored bread, and save UK kids from lunchtime boredom. Learn about plant parts, seasonality, and supporting British farmers. Engage in activities like plant research, seed planting, and diary writing.

E N D
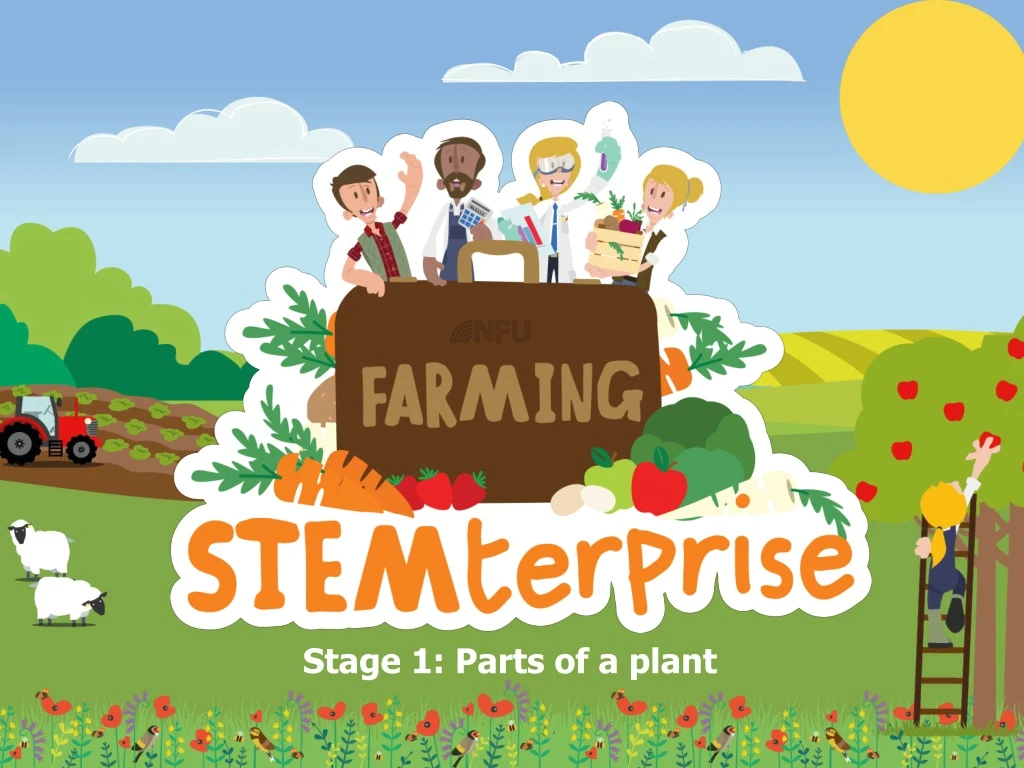
The Challenge! Year 3! The children of the UK need your help! Every day, they peer hopefully into their lunchboxes only to be greeted by the same old offerings: bland baguettes, tasteless toasties and yet another packet of stale sandwiches! We are giving YOU the task of setting up your own farm shop business to grow your ingredients, design and make a brand new flavoured bread product and save the children of the UK from their lunchtime boredom. Good luck!
We are going to be growing our own ingredients to use to make a lunchtime food product for our farm shop businesses but first, we need to think of a business name. You have 5 minutes to think of a name for your business.
Now, to help us set up our farm shop business, we will learn about where our food comes from and the different jobs that the parts of plants do. Talk to your group: what ingredients can we grow ourselves?
Many fruit and vegetables can be grown in this country from seeds. Talk to your business group: can you name any? Why can’t we grow all types of fruit and vegetables in the UK?
British fruit & vegetables grown from seeds: • Lettuce • Tomatoes • Radishes • Carrots • Beans • Peas • Spinach • Pumpkins • Cucumbers • Strawberries • Blackberries • Rhubarb
Seasonality • Different fruit and vegetables grow and can be harvested at different times of the year. • Eating foods when they are in season means that we can support British farmers and growers by buying their produce. • If we want to buy food that is not in season in Britain, it has to be imported from other countries. The further our food travels, the more of a negative impact it has on the environment.
Learning Objective: To identify and describe the functions of different parts of flowering plants
Warm up! Let’s see what you can remember about the parts of a plantfrom your Year 2 learning with a vertical relay! Bonus round! What do plants need to grow?
Warm up! How many parts did you label correctly?
What would you like to find out? On a post-it note, write down a question about plants that you would like to find out the answer to and stick it on the working wall.
Activity 1: Becoming a plant expert • Read the information carefully • Highlight key words and phrases • Make notes on key points in your own words
Jigsawing Step 1: Share your research findings with the other members of your expert group. If you have read something that you do not understand, this is a good opportunity to ask your fellow experts for help. Step 2:Go back to your original seats and use the expert knowledge you have gathered to teach the children on your tables about your area of expertise. You have 5 minutes to present your research. Listen carefully to your friends and make notes on the information they have found.
Activity 2: Practical exploration We are going to grow our own plants from seeds so we can see our plant learning coming to life in the classroom. Seeds are little packages of life. Inside them is everything needed to make a new plant if they are given the right conditions.
How to grow bean plants: Soak the beans for 24 hours in water. This will help them to start growing faster. Fold a paper towel to fit inside your jar without sticking out. Scrunch up another paper towel and place in in the centre to hold the folded towel firmly in place against the side of the jar. Moisten the towels evenly with water. Pour out any excess water that collects at the bottom of the cup. The towels should be moist, but not dripping wet. Place the seeds between the paper towel lining and the inside of the jar. Remember to spray your bean with a little water regularly and fill in your bean diary as it grows. After about ten days, your bean seed should have grown a bigger stem and some leaves. It is now a little bean plant. To make sure it keeps growing and stays healthy, carefully take it out of the jar and plant it in a large pot with some soil.
Think about your Year 2 learning. Where would be the best place in the classroom for us to keep our plants so that they have all the things they need to grow?
In order to grow healthy crops that we can use to make our lunchtime food product, we need to make sure that they have the following things: • Air • Light • Warmth • Water • Nutrients
Vertical relay round 2 Let’s see what you have learnt about plants today with another vertical relay! Bonus round! What do plants need to grow?
Activity 3: Writing bean diaries As your beans grow, complete your bean diary. At each observation point, observe your plant closely and draw a detailed, labelled diagram of what you can see. Then write some sentences to describe your observations. Don’t forget to measure your plant’s height and record it in every diary entry. Remember to give you plant a little spray of water regularly.
The lifecycle of a bean Our beans, like all seeds, contain three parts: a seed coat, an embryo, and food storage tissue. The seed coat, or outer hard covering, protects the baby plant (embryo) inside from freezing and drying out. We soaked ourbeans to soften the seed coat so that the bean could start absorbing the water it needs to start growing.
The lifecycle of a bean Using the energy that was stored in the bean, the seed will first begin to grow small roots.
The lifecycle of a bean Then a tiny shoot (stem) will begin to grow towards the light. This is called germination.
The lifecycle of a bean Soon, the first leaves will begin to form. Through the process of photosynthesis, the bean will begin to make its own food in the leaves using energy from the sun.
The lifecycle of a bean https://www.youtube.com/watch?v=w77zPAtVTuI


