1 / 5
50 likes | 59 Views
Discover the secrets to swiftly and securely detect and fix shingle roof leaks with our comprehensive tutorial. Uncover expert advice on evading costly roof repairs! Explore the blog post today.

E N D
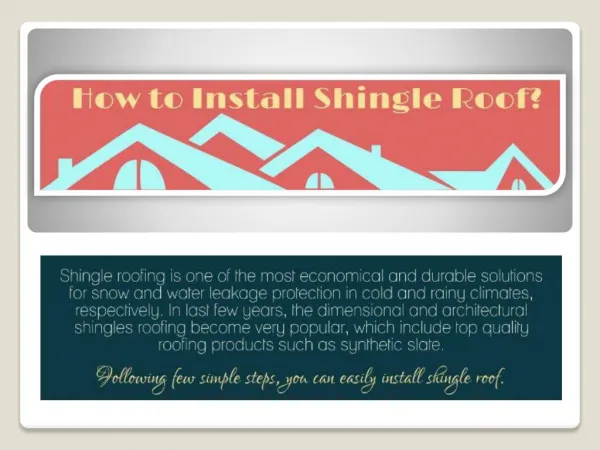
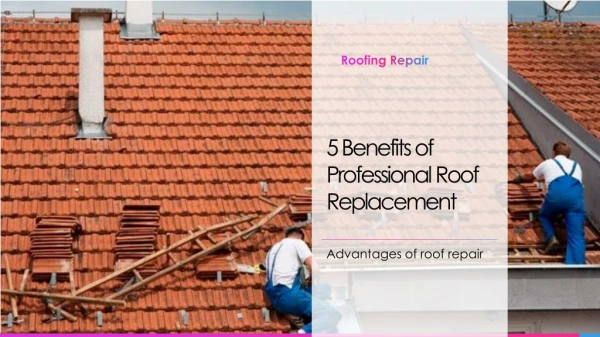
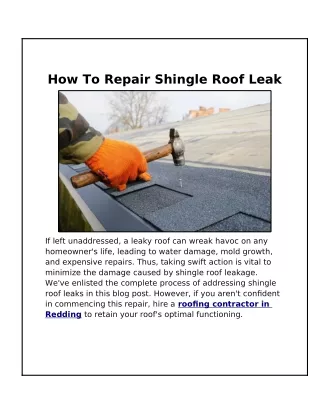
How To Repair Shingle Roof Leak If left unaddressed, a leaky roof can wreak havoc on any homeowner's life, leading to water damage, mold growth, and expensive repairs. Thus, taking swift action is vital to minimize the damage caused by shingle roof leakage. We've enlisted the complete process of addressing shingle roof leaks in this blog post. However, if you aren't confident in commencing this repair, hire a roofing contractor in Reddin g to retain your roof's optimal functioning.
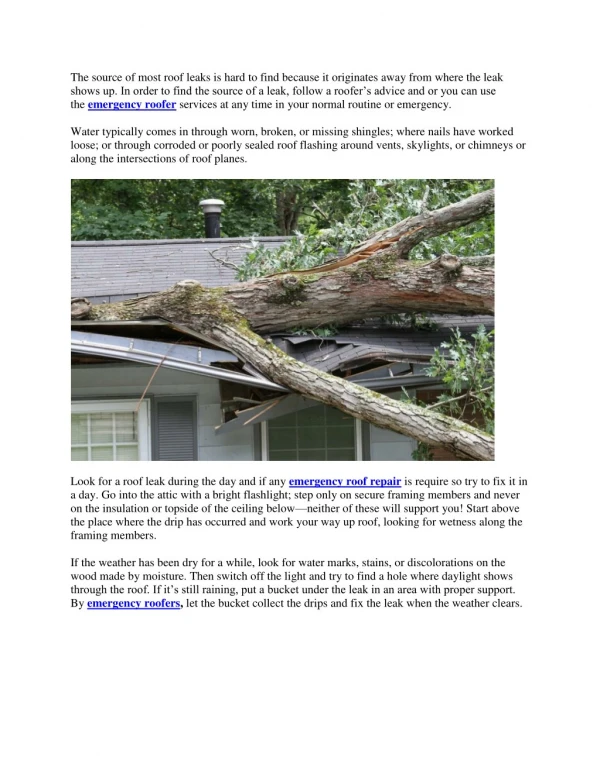
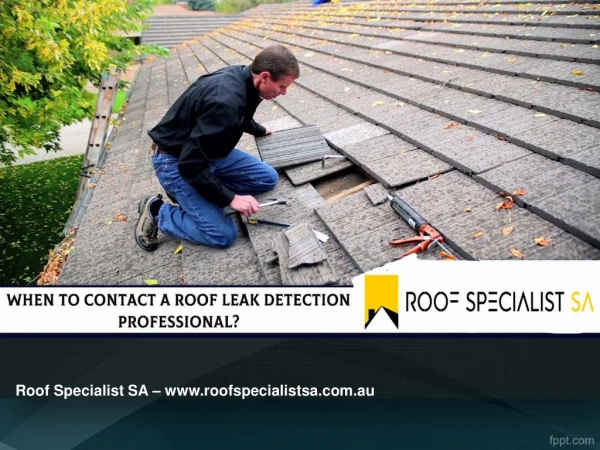
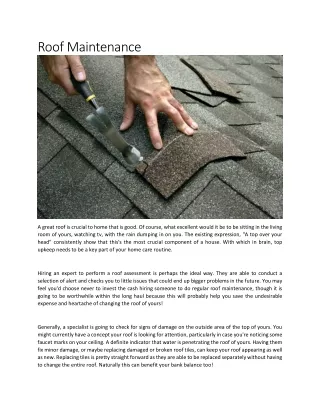
Step-by-Step Guide to Repair the Shingle Identify the Leak Source: Before you can repair a shingle roof leak, you first need to locate its source. Some common causes of leaks in shingle roofs include: ● Damaged or missing shingles ● Cracked or deteriorated flashing around vents, chimneys, or skylights ● Ice dams in the winter months ● Clogged gutters or downspouts To identify the source of the leak, start by inspecting your attic or crawl space for signs of water damage directly above the area where the leak is occurring. Follow the water trail upwards to pinpoint the entry point. Gather the Necessary Tools and Equipment: After locating the leak's source, let's gather the necessary tools and materials to fix it. Here's a blurb of what you'll need to repair: ● Ladder ● Pry bar ● Hammer
● Roofing nails ● Replacement shingles or flashing (if needed) ● Roofing cement or sealant ● Roofing tar paper (if needed) Repair or Replace Damaged Shingles: Follow the below straightforward yet practical steps to fix or replace damaged or missing shingles to restore your roof's integrity: Remove the Damaged Shingles: Take a pry bar and gently lift the shingle above the damaged one, being mindful not to harm any neighboring shingles. To remove the nails securing the damaged shingle, slide it out from under the overlapping one. Inspect the Underlying Tar Paper: If the tar paper beneath the damaged shingle is also damaged, remove it carefully and replace it with a new piece cut to size. Install the New Shingle: Slide the new shingle into place, ensuring it's aligned with the surrounding shingles. Secure it with roofing nails, driving them through the new shingle and the tar paper beneath it.
Seal the Nail Heads: Apply a small dab of roofing cement or sealant over each nail head to create a watertight seal. Repair Cracked and Deteriorated Flashing: If the leak is caused by cracked or deteriorated flashing, follow these steps to repair it: Remove the Damaged Flashing: Use a pry bar to carefully lift the shingles or roofing material above the damaged flashing, taking care not to damage any surrounding materials. Remove the nails or fasteners securing the flashing and comprehensively pull it away from the roof surface. Clean the Area: Use a wire brush or scraper to remove any debris, rust, or old sealant from the area where the flashing was removed. Cut and Shape the New Flashing: Measure and cut a new piece of flashing to the same size and shape as the damaged piece. Use tin snips or a utility knife to shape the flashing around vents, chimneys, or other roof penetrations if necessary.
Install the New Flashing: Slide the new flashing into place, ensuring it's properly aligned and overlaps the surrounding roofing materials. Secure it with roofing nails or fasteners, driving them through the flashing and the underlying roof surface. Seal the Edges: Apply a bead of roofing cement or sealant along the edges of the flashing where it meets the roof surface, creating a watertight seal. Address Other Potential Causes of the Leak: If ice dams, clogged gutters, or downspouts caused the leak, take the necessary steps to address these issues to avert future leaks. It may involve removing ice dams with a roof rake, regularly cleaning your gutters and downspouts, or installing gutter guards to keep debris out of your gutters. Source https://techplanet.today/post/how-to-repair-shingle-roof-leak