Download
1 / 24
240 likes | 394 Views
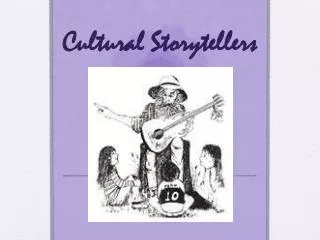
ARTISTS ARE STORYTELLERS . Characters talk. Stories have characters. We have already created characters using a turntable effect:. You can see yours at:. http:// www.nycanimation.professorklein.com / index.php / Character -Design. Characters are part of a story.

E N D
ARTISTS ARE STORYTELLERS Characters talk. Stories have characters
We have already created characters using a turntable effect:
You can see yours at: • http://www.nycanimation.professorklein.com/index.php/Character-Design
Characters are part of a story. • In animation, we don’t tell who our characters are. We show who they are. One way doing that is by dialogue. • What does your character want to say? • Once you have decided what your character is going to say, you need to record the dialogue. • Is the voice going to be yours, or will you use a friend? If you’re a female, who has created a male character, you’re going to need some help!
Using Audacity A quick overview of the Audacity application controls: • “Rewind to Start” • “Play” • “Record” • “Pause” • “Start” • “Stop” • “Rewind to End”
Recording a voice clip with Audacity. • Click the Record button. • Start speaking into the microphone. • When you are done speaking, click the Stop button. • As you record, the red “level” bar should move corresponding to your voice, and a voice waveform should be recording across the Audacity screen. If it is not, recheck the microphone settings to make sure they are correct. If the microphone “level” is set to 0, nothing will be recorded.
To play a voice clip... • Click the Rewind button. • Click the Playbutton. • When you have heard enough or the clip has completed, click the Stop button. • The output device “volume” controls may have to be adjusted to hear the recording play at the proper volume level.
Saving the file in *.wav format. • In the File menu, click Export as WAV..., then specify (1) the destination folder and (2) the filename. Click the Save button. Now we are ready to line up the characters’ mouths with the dialogue!
You may need to look in the mirror! • As you speak, your lips make different shapes. • Learning which mouth shapes and mouth positions is crucial to create convincing lip sync animation. • The good news is that others have already done the work of figuring out which facial expressions and mouth drawings work best. • It can be very easy to do once you have the right information.
It’s up to you! • You must draw your character, making each of those 8 expressions. • You will NOT want to draw your character from a long shot, or medium long shot pose. • You WILL want to draw your character in the poses you plan to film him or her talking. • I recommend a medium, to a medium close shot.
Don’t forget: • The eyes • Other facial movements. • Anything else that might be going on in the background.
And then: • You’ll need to scan in your drawings. • I’ll play the role of the producer and align them in ToonBoom at home. • I will also import your WAV file. • At that point, you will use the Sync Registration Sheet.
Once that is complete • The producer will assign the mouth positions as you have indicated. • And your animation will look something like this: