Download

1 / 4
0 likes | 2 Views
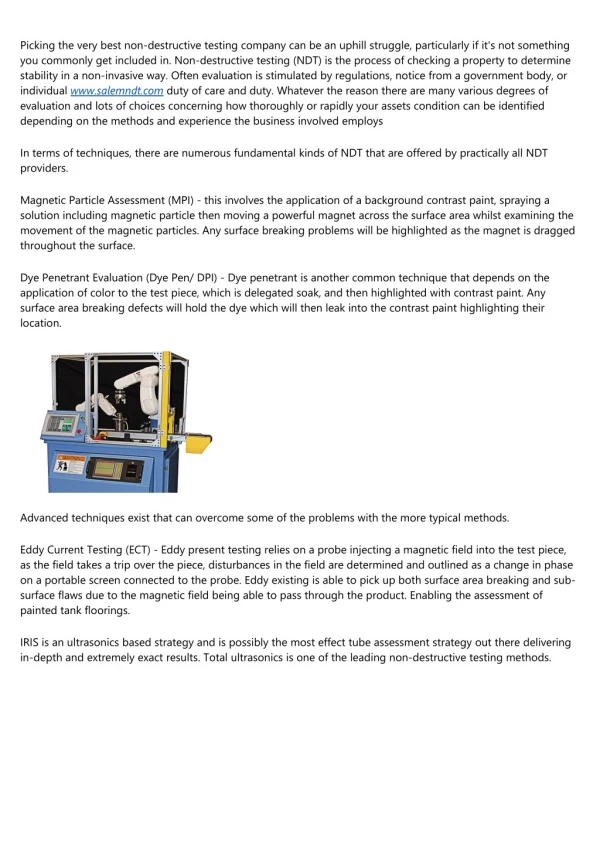
A Technical Guide to the Non-Destructive Removal of an Automotive Bumper Assembly

E N D
A Technical Guide to the Non-Destructive Removal of an Automotive Bumper Assembly Abstract: The removal of a vehicle's bumper cover, a critical first step for numerous repair and modification procedures, requires a methodical approach to avoid damage to the bumper itself, adjacent panels, and its integrated components. This guide outlines a generalized, technically oriented procedure emphasizing the identification and careful handling of fasteners and electrical connections to ensure a damage-free removal and correct reinstallation. 1. Preliminary Preparations and Safety ● Workspace: Park the vehicle on a level, solid surface, engage the parking brake, and disconnect the negative battery terminal. This is critical to de-energize the Supplemental Restraint System (SRS) if fog lights or parking sensors are present, preventing accidental deployment or electrical shorts. ● Technical Documentation (ESSENTIAL): Consult the vehicle-specific Service Manual or a reliable repair database (e.g.,remont-bampera.com/en/). Bumper attachment methods vary significantly between manufacturers and model years. This guide provides a universal framework, but manufacturer-specific procedures are paramount. ● Tools Required: ○ Trim panel removal tools (non-marring nylon pry tools) ○ A socket set with extensions (typically 8mm, 10mm, 13mm) ○ Screwdrivers (Phillips, Torx bits - common are T20, T25, T30) ○ A jack and jack stand (if underbody fasteners are present) ○ A container for organizing fasteners
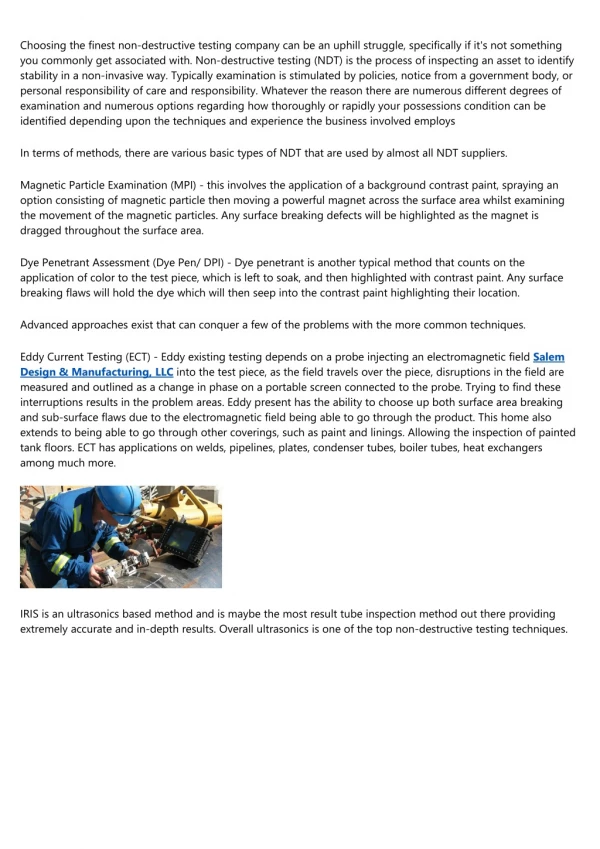
2. Systematic Procedure for Bumper Cover Removal Step 1: Removal of Wheel Arch Liners and Undertray The bumper cover is typically secured at its extremities by fasteners hidden behind the wheel arch liners and often from beneath the vehicle. ● Turn the front wheels to gain access. Using the appropriate socket or screwdriver, remove the fasteners (often plastic push-clips or screws) along the front edge of the liner. Partially peel back the liner to expose the side bolts or clips of the bumper cover. ● From underneath the front end, locate and remove any screws or clips securing the bottom edge of the bumper cover to the radiator support or undertray. Step 2: Release of Upper Grille and Radiator Support Attachments ● Open the hood and locate the fasteners along the top of the bumper cover. These are usually found along the radiator support cross-member. They may be bolts, plastic push-clips, or Christmas tree clips. Carefully remove each one using the correct tool to avoid stripping the heads of plastic clips. Step 3: Disconnection of Electrical Components ● Critical Step: Before attempting to remove the bumper, identify and disconnect all electrical harnesses. ○ Fog Lights: Trace the wiring harness to its connector, depress the locking tab, and disconnect. ○ Parking Sensors (PDC): Locate the main harness plug for the Park Distance Control system and disconnect. ○ Headlight Washer Systems: If equipped, note that these may have hydraulic lines in addition to electrical connections. Do not pull on the bumper with excessive force if you feel resistance.
○ Ambient Temperature Sensors: Some vehicles house this sensor within the bumper. ● Technique: Never pull on the wires themselves. Always grip the connector housing, depress the locking mechanism fully, and then separate. Step 4: Final Release and Removal ● With all fasteners and electrical connections detached, the bumper cover should be held in place only by its locating pins or hooks on the vehicle's chassis or fender. ● Enlist an assistant. Grasp the bumper cover firmly at both ends. Pull straight back and away from the vehicle with even, steady pressure. A common point of failure is breaking the plastic locating tabs; a straight pull is crucial to avoid this. ● If resistance is met, DO NOT force it. Re-inspect the area for missed fasteners or electrical connections. 3. Key Considerations to Prevent Damage ● Fastener Management: Organize all removed fasteners by type and location. Many clips are designed for single use; replace any that are damaged or lose retention capability with OEM-quality parts. ● Paint and Panel Care: The bumper cover's edges often sit over the fenders and headlights. Use painter's tape on adjacent panels to prevent accidental scratches during removal and handling. ● Storage: Once removed, place the bumper cover on a clean, soft, non-abrasive surface (e.g., a moving blanket) with the painted face up to prevent scratches and deformation.
4. Reinstallation Procedure Reinstallation is the reverse of removal, with added emphasis on: ● Alignment: Carefully guide the bumper cover onto its locating pins. Ensure it is evenly aligned along both fenders and with the hood and headlights before reinstalling any fasteners. ● Connection Verification: Before securing the bumper, reconnect all electrical harnesses and ensure they are securely locked in place. A forgotten connector will necessitate another removal. ● Torque Sequence: Snug all fasteners in a criss-cross or outward-to-inward pattern to ensure even tension and proper alignment before final tightening. Avoid overtightening plastic clips and screws, as this will strip the threads. Conclusion The non-destructive removal of an automotive bumper is a task of patience and attention to detail rather than force. Success is predicated on comprehensive preliminary research, the use of correct tools, and a meticulous approach to de-tabbing the assembly from its mountings. Adherence to this technical protocol will ensure the structural and aesthetic integrity of the bumper cover and its integrated systems. Visit to know about: bumper removal