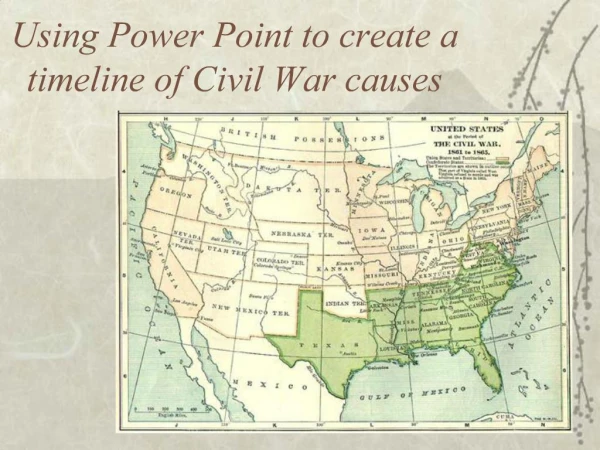
Using Power Point to Create A Research Poster
80 likes | 256 Views
Using Power Point to Create A Research Poster. Open a new Blank Presentation Close the Slide Panel on the left, so that it looks like this . Click the Layout Tab Select the Blank layout. Click the Design tab Click Page Setup.

Using Power Point to Create A Research Poster
E N D
Presentation Transcript
Open a new Blank Presentation • Close the Slide Panel on the left, so that it looks like this • Click the Layout Tab • Select the Blank layout
Click the Designtab • Click Page Setup • Select Custom in the “slides sized for:” dropdown menu. • Enter the “Width” and “Height”:48x36 or 40x28
Grids and rulers make placing objects easier. • Click the View tab • Check the Ruler and Gridlines and Guides boxes. • Click Show (below Guides) • Select 1 inch from the Spacing dropdown box
Check the Guide Settings boxes. They are guides only, they will not print. (PC only). • Click the OK button • Your screen should look like this • You can click on a Guide Line and drag it to a new position when needed to provide a straight line to align text and images • You can remove the grid, guides, and rules at anytime by clicking the View tab and unchecking the boxes
To add a text box, click the Insert tab, then Text Box • Use your mouse to place and stretch the box as needed • If your text is in a different file (e.g. a Word document) be sure that it pastes into a text box in PowerPoint for easy editing. • Left click on your presentation, go to Paste Options, and choose Keep Text Only • This creates a text box
Crop out unnecessary parts of an image • Compress images to reduce the size of your file • Double-click the image, then click Compress Pictures BeforeAfter
CIW Library room 107 • Phone:607-777-4324 • E-mail: urc@binghamton.edu • Website: http://binghamton.edu/undergraduate-research-center Undergraduate Research Center