Create Your Own GIF: A Step-by-Step Guide
Learn how to create a GIF from photos using Photoshop with our easy-to-follow instructions. A GIF (Graphic Interchange Format) is an image format that allows for animation through a series of pictures. This guide takes you through the essential steps: gathering your images, loading them into Photoshop, creating frames from layers, and saving your final product. Whether you're making a fun animation for social media or a presentation, this tutorial makes it simple to produce your own GIF in just a few steps!

Create Your Own GIF: A Step-by-Step Guide
E N D
Presentation Transcript
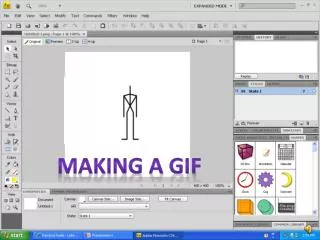
Making A GIF By:MarisolAranda and Hiram Cano
What is a GIF? • A GIF is a format for an image file,with a built in data compression. • GIF stands for Graphic Interchange Format • We use GIF’s to make animations using various of pictures and timing them.
Steps towards making the GIF • First ,you gather all the pictures into one single file. • Second , you open Photoshop and go to file. • Once in files go to scripts then click on Load files • into stack.
Steps Continued.. • A pop up will come out and you will click on browse and look for the file with the pictures. You will press command and click on all the pictures you want to use in your GIF.
Next you go to Window and click on Animation. • On the menu button at the bottom right hand corner of the timeline click Make Frames From Layers.
Then, you will click the button with the three squares to create thumbnails. • Next, you choose the time under the picture. • After that you choose once, three times or forever depending on how you want it to repeat.
Next to save you will go to file and click on Save for Web and Devices and a pop up will come out and you need to make sure it says GIF then save.