Download
1 / 8
80 likes | 180 Views
We have solutions for all your BGA (Green Chip) rework and repair needs. We're equipped with top-of-the line BGA rework systems and a staff of engineers and operators with in-depth knowledge and experience at the intricate process of BGA rework.

E N D
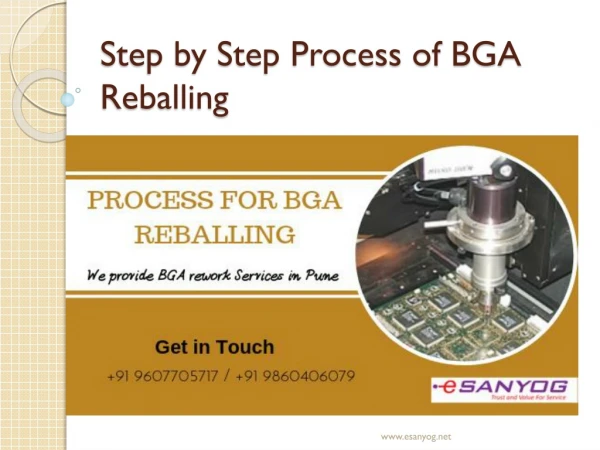
Step by Step Process of BGA Reballing www.esanyog.net
Introduction • Reballing means changing all the Soldered Balls on Chip Ball Grid Array Circuit, there are a lot of different reasons why we need to reball a Chip. • Reballing mainly runs on the computer, laptop, and game console motherboards, the reason behind this problem is the video graphics chip. It may be unbelievable, but your device's Video Chip is the most unfortunate chip to get the most broken soldered joints, and in most cases needs repair. • In fact, as well as video chips, there are a lot of BGA circuit chips on the market, which need to be reballing when they break or fail. • Esanyog have solutions for all your BGA rework and repair needs. We have a state-of-the-art BGA rework system and staff of engineers and operators with deep knowledge and experience in the complex process of BGA rework. • We offer a wide range of services including removal, replacement and recovery of BGA parts. Modification of circuit pattern design at X-ray inspection BGA site. Repair of lifted or missing BGA pads. Solder mask repair at BGA site www.esanyog.net
Ball Grid Array, BGA rework • It is not easy to rebuild a board containing BGA If you suspect that the BGA is defective, it is possible to remove the device. • This is achieved by locally heating the device to the underlying solder. • In the BGA rework process, heating is often achieved. • This includes a jig with an infrared heater, a thermocouple for the monitor and a vacuum device to lift the package. • Care must be taken to heat and remove only the BGA. Contact information www.esanyog.net
BGA Repair • The removed BGA can be replaced with a new one. Occasionally, it may be possible to repair or repair a removed BGA. • This BGA repair may be an attractive proposition if the chip is known to be an expensive device that will operate once removed. • This BGA repair can be done using some small off-the-shelf solder balls that are manufactured and sold for this purpose. • Sanyog Electronics has extensive experience in both repairing and replacing failed BGA connections www.esanyog.net
Steps for BGA Reballing • Step 1: Deball the Device Apply a water soluble paste flux using a syringe and apply a ball of the device with a gloved finger. Remove the solder ball using the appropriate blade tip or temperature setting based on the solder ball alloy. Use a soft-solder to ensure that the pad is flat and remove any remaining solder. Move the blade up and down without sweeping the bottom of the part to scratch the mask or lift the pad of the part. • Step 2: Clean Deball part Remove flux residue from the bottom of the Devar section using isopropyl alcohol and a non electrostatic induction wipe to clean the Deball part • Step 3: Apply water soluble paste flux Examine the device to make sure that the mask or lift pad is not scratched on the bottom of the device. Apply water soluble paste flux to the bottom of the part. Spread with a soft brush until the uniform thickness is at the bottom of the part. www.esanyog.net
Step 4: Place the perform ball on top Place the perform ball on top of a flat heat-resistant surface, such as a flat ceramic plate. Make sure that the performs are aligned with the device pattern. Make sure you have the correct solder alloy solder ball attached to the device. Step 5: Carefully place the device on top of the preform Carefully place the device on top of the BGA recall preform, making sure that the orientation of the pattern is correct. Step 6: Square up the device to the perform Use square brackets or other measures to "square" the preform to a BGA Step 7: Reflux Place the "sandwich" structure of the preform and equipment into a Reflux oven or other heat source. Make sure that the proper temperature setting is made. Step 8: Wipe out Preform While still warm, remove the preform from the device. Make sure that all balls have moved to the device. Please wipe with water and a soft brush. Re-inspect the scratches on the mask or lifted pad. Step 9: Check Reballed equipment Examine the reballed device by expanding it to the criteria you have in mind. www.esanyog.net
Contact Us Shop No 15,Harshal Heights, Opp.Gavde Petrol Pump, Pimpri-Chinchwad Link Rd, Pune, Maharashtra 411033 www.esanyog.net
Thank You! www.esanyog.net