Download
1 / 9
90 likes | 100 Views
Steps to Connect Canon TS3120 Printer to WiFi. Dial 1-888-633-7151 for Canon TS3120 Wireless Printer Setup, Connect Canon TS3120 Printer to Wireless Network.

E N D
Connect Canon TS3120 Printer to WiFi Call us Toll-Free : USA/CA: +1-877-760-6133 UK: +44-808-164-5280
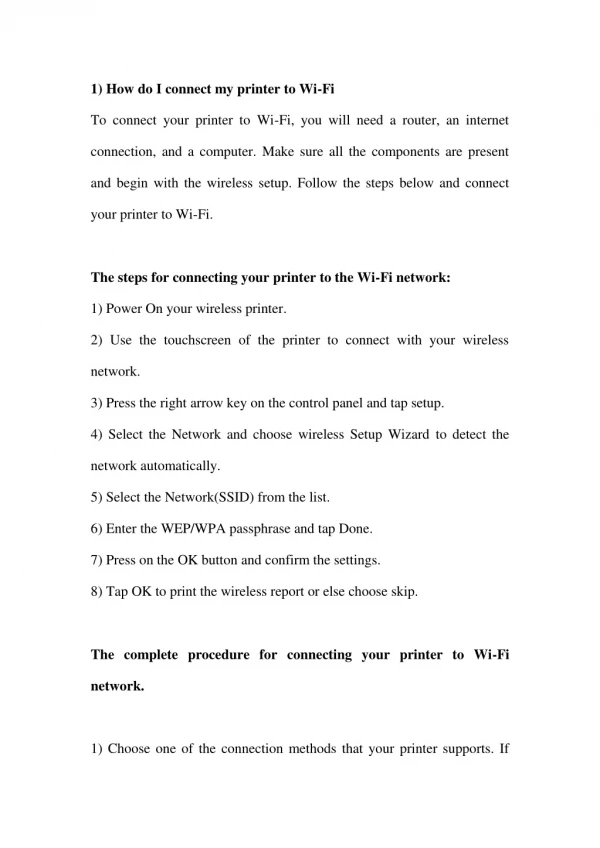
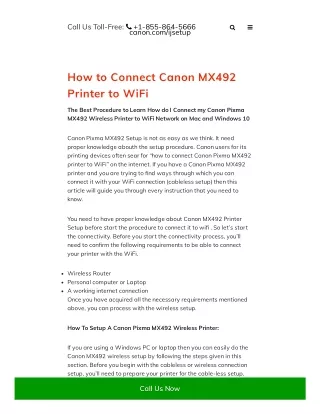
Connect Canon TS3120 Printer to WiFi Are you receiving printed papers and images using Canon TS3120 Printer? To use the PIXMA TS series printers for wireless printing or scanning on a Windows or Mac system, make sure the printer is linked to the wireless network and the necessary software drivers and apps are installed on the computer system. This post allows you to Connect Canon TS3120 Printer to WiFi. The two phases of the Printer Setup Procedure are: 1. Initiate your printer 2 with Easy Wireless Connect. To install the drivers and software on your computer, run the setup file.
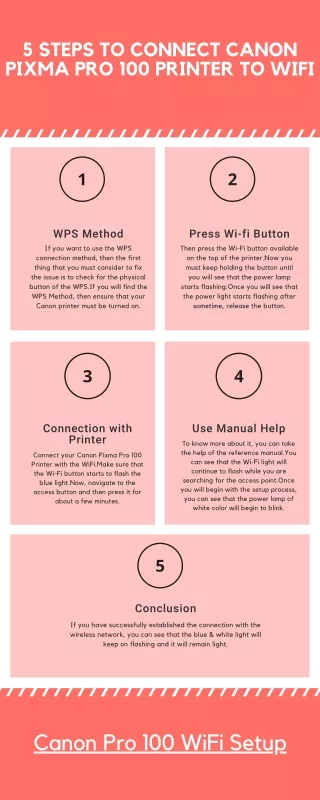
Start Easy Wireless Connect on the printer Start the Easy Wireless Connect on the printer before installing and setting up the printer drivers on your system, Smartphone or tablet computer. You can finish the configuration on your desktop or device once after this. To start the Easy Wireless connection, follow the specified procedure. • Make sure you are prepared to press the button on the wireless router device.• Press and hold the Network button on the Printer continuously and release when the WiFi LED light flashes.• Press and hold the button for 2 minutes on the wireless router.• Upon connecting the printer to the wireless router, Wifi and network signals will automatically shine.• Check troubleshooting tips if the alarm lamp is lit. The TS3120 wireless link configuration is now finished effectively. Finally, download and continue with the installation process of the application software. Note: Using the Setup CD-ROM, print setup can also be installed
For Windows: • click the Setup icon in the task bar, follow the on-screen setup directions. • For Mac: • Click the Dock Setup icon, follow the on-screen setup directions. • To use the Windows or Mac system printer, you need to download and run the Setup File-Printer setup file. Using Setup CD-ROM, the setup file can also be installed. The setup method is a bit distinct for Windows and Mac, both of which have been discussed below: • For Windows: • Step 1: Click the setup wizard setup option. This enables the printer machine to be used by the computer. • Note: For the full setup wizard, you can set the required language. • Step 2: Choose your home nation or region. If the alternatives do not include your nation, pick Others and press Next button. • Step 3: A permit agreement will be displayed on the screen to use the printer software. After reading the words, click on the Yes button. • Step 4: The screen will now display an expanded survey program. If you agree to begin the survey program installation, select Agree or otherwise disagree with the survey.
Step 5: Firewall Settings are displayed on the next screen. You can disable the block of the firewall and click Next to proceed. Note: Deactivating this software’s firewall feature as the Windows firewall function in the background is suggested. Step 6: You can then test the technique of connecting the printer to the wireless router. Click Yes to proceed. Step 7: The installation wizard will continue to display the list of wireless networks accessible. To connect the printer, select a suitable Wireless router and enter the respective network key. Note: If your network is not displayed in the list for some purposes, then add it manually. Click Next button again. The printer wizard load screen appears. Step 8: Click Next button when the link is finished. Step 9: You can conduct the Head Alignment and Print screen test to verify the efficiency of the printer. Step 10: You can also pick and install with your printer any optional application software and press the Next button. Now the software is mounted and the configuration of the printer is complete.
For Mac: Step 1: Start the installation wizard and click on the first screen of the Next choice. This will install the necessary Helper tool for installation activities. Step 2: Enter the username and password for the fresh Helper instrument to be installed. Click the option Install Helper. Step 3: Click the Start button to allow the printer to be used by the device. Step 4: Select a suitable region or residence place and click Next button. Step 5: Carefully read the License Agreement and if you acknowledge the contract, press Yes button. Step 6: Select Agree or disagree with the Program for Extended Survey. It will take some time to verify the status of the printer. Step 7: Check the status of the connection and click Yes if the right router data is displayed. Step 8: Select the wireless router you want to link to your printer on the next screen of the wizard and enter the respective network password. Step 9: Complete network connection, press Next button. Installation of the driver will now take place. Step 10: Next, on the Add Printer screen, press the Add Printer button. Step 11: Select the Canon TS series from the Add screen and pick AirPrint or Secure Air Print from the Use box.
Step 12: On the Add Printer screen, click Next. Step 13: Optional application software can be added or installed and press the Next button. Step 14: Finally, as the setup completes effectively, press the Exit button.
Get in touch with us USA Toll-Free : +1-877-760-6133 UK Toll-Free : +44-808-164-5280 Mail us : support@canonprintersupport247.com