Download

1 / 6
60 likes | 88 Views
Step by step instructions to Connect Dell E310DW Printer to wifi issues. Approach for dell e310dw remote Printer arrangement, dell e310dw wifi arrangement.

E N D
CONNECT DELL E310DW PRINTER TO WIFI CALL US +1888 CALL US +1888- -633 633- -7151 7151
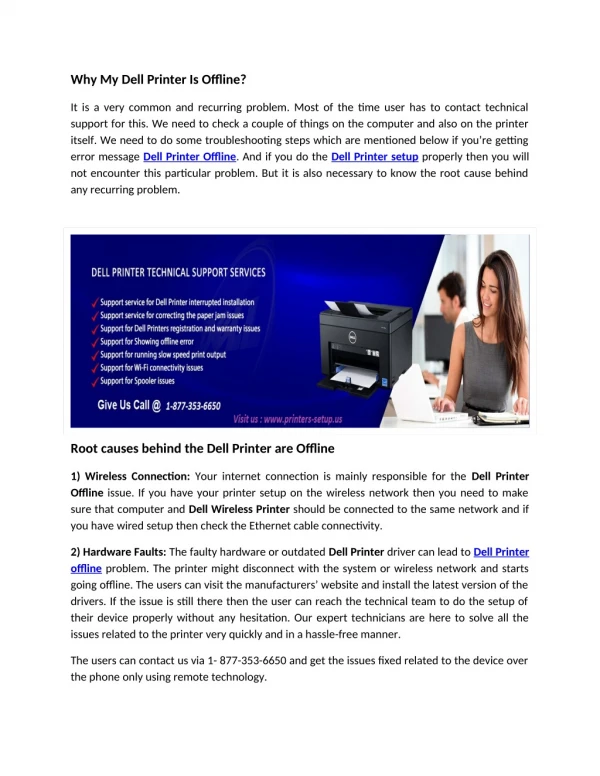
Is your Dell E310DW Printer linking to Wifi facing a issue? Read this paper. To connect Dell E310DW Printer to the Wifi network, you can understand easy measures here. The Dell E310DW Printer comes with integrated wifi connectivity and two-sided automatic printing. With Wi-Fi Protected Setup (WPS), you can readily Connect Dell E310DW Printer to wifi. COMPLETE GUIDE ON HOW TO CONNECT DELL E310DW PRINTER TO WIFI Dell E310DW Printer is a Windows, Mac OS and Linux mono laser printer. Wifi is supported by this laser printer. The Dell E310DW can connect in distinct ways to a fresh wireless network. You must follow a few steps below before linking your Dell E310DW Printer to Wifi. Place your printer close to the wireless LAN access point/router with minimal obstructions. If there are any obstructions, then it can affect the data transfer speed of your documents. You must know your Network name (SSID) and Network Key (Password).
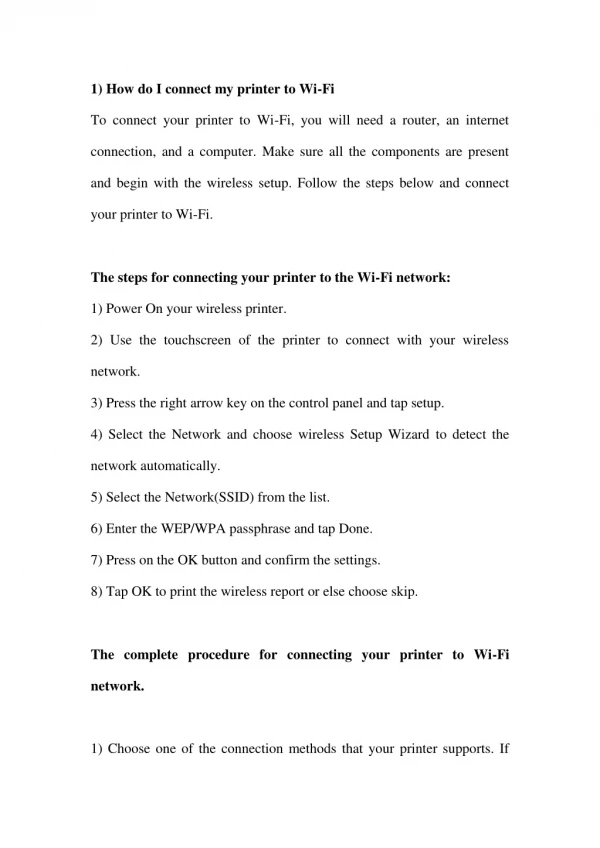
HOW TO CONNECT DELL E310DW PRINTER TO WIFI? Method 1: Using the One-Push Method of WiFi Protected Setup (WPS) or AOSS Make sure that your wireless access point/router supports either WPS or AOSS. Using up and down arrow buttons, select ‘Network’ option and press OK. Now select WLAN option and press OK. Choose the WPS/ AOSS option and press OK. Press OK, when WLAN Enable appears. The wireless setup wizard will be started. Press the back button to cancel. When ‘Press Key on rtr’ displays on your LCD screen, press the WPS or AOSS button on your wireless access router. Now press up arrow on the printer’s control panel and your printer will automatically detect the mode of your wireless access point/router and tries to connect to your wireless network. If your wifi is connected successfully, the printer’s LCD screen displays connected, and it will print machine’s wireless status report. If the connection fails, check the error code on the printed report.
Method 2: Using the Printer’s Control Panel Setup Wizard Firstly, note down your Network name (SSID) and Network Key (Password) on a piece of paper. Using arrow keys, select the Network option and press OK. Choose WLAN option and then press OK. Now select Setup Wizard option and press OK. Click on the ON option when WLAN Enable appears. Now your printer will search for your network and displays a list of available SSIDs. Select SSID you want from the list displayed and then press OK. Now enter the Network Key (Password). Now your printer attempts to connect to the wireless device you have selected. If your wifi is connected successfully, the printer’s LCD screen displays the Connected message. The printer will print the wireless status report. Once the wireless network setup is completed, install the necessary drivers and software for operating your device from the Installer CD-ROM
❑ Call Us At:- +1-888-633-7151 For USA +44-808-164-5280 For UK ❑ Visit Our Website:- https://www.delltechnicalsupportnumber .com/blog/how-to-connect-dell-e310dw- printer-to-wifi/