Download
1 / 9
90 likes | 109 Views
Steps to Connect Canon Pixma Pro 100 Printer to WiFi. Dial 1-888-633-7151 for Canon Pixma Pro 100 Wireless Printer Setup and Connect Canon 100 Printer to WiFi.

E N D
Connect Canon Pixma Pro 100 Printer to WiFi CALL US Toll Free US/CA: +1-877-760-6113 UK: +44-808-164-5280
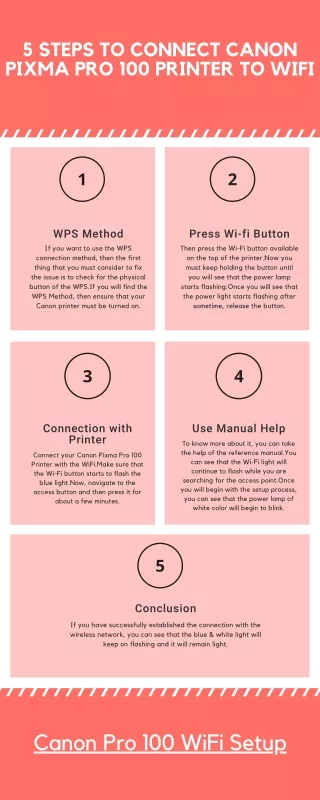
Connect Canon Pixma Pro 100 Printer to WiFi If you’re a client with trouble linking your Canon printer pro to Wi-Fi, we’ve come up with a solution for you. Your router has some access points with an automatic communication key called WPS(Wi-Fi Protected Setup). This helps you to connect devices like printer to a network without the password entry requirement. It’s a very simple and easy way to connect your phones. This is the easiest method out of all the available methods for connecting Canon Pixma Pro 100 Printer to Wi-Fi. So, if your access point has a WPS key, you’ll need to use the WPS connection process. If your router does not have WPS settings, you can use the default communication method to do the Canon Pixma Pro 100 printer wireless setup.
Method 1: WPS Connection Process You need to satisfy those requirements before you actually start the process. A physical WPS button is required for the access point. If you can’t see it, you’ll need to read the manual to see the specifics. In this case, if the WPS button is not visible, you should follow the instructions provided in the standard method of connection. You must have Wi-Fi enabled access to the network you use. This protocol is used by many of the access points allowed by Wi-Fi. Here are some of the steps to connect Canon Pixma Pro 100 Printer to WiFi that you need to follow. Phase 1: You must first ensure that the printer is turned on. Phase 2: Press the Wi-Fi button at the top of the printer. Keep pressing the key until the power lamp in front of you starts blinking. Once the power light begins to blink, the button must be pressed. Step 3: You also need to make sure that the Wi-Fi button begins blinking the blue light to connect Canon Pixma Pro 100 Printer to Wi-Fi. Now, in the next two minutes, go to the access button and press it. Read the manual if you need to know the exact specifics of how to push the WPS button.
Phase 4: When you check for the access point, the Wi-Fi light will begin to glow. The power lamp of white color will start blinking when you begin the setup process. • Step 5: Once you have formed a stable link with your wireless network, both the blue and the white light will begin to flash and stay on. • Confirmation of network settings You can take a print out of the network settings page to check if your printer is connected to the wireless network or not. • Make sure your printer is switched on. • Second, theA-4 size sheets need to be packed. • Press and hold the cancel and restart button afterwards. Keep pressing until the white light begins to blink 6 times. After that, the printer’s information should start printing. You should check that the relation indicates the active sign when you delete the document. • Also, make sure the SSID shows the right Wi-Fi network name. • So, this is how you use the WPS communication system to set up Canon Pixma Pro 100 Printer wireless.
Method 2: Standard Windows Users Connection Process Step 1: Install the CD that came with the printer and begin the installation process. If the CD run setup does not run automatically, go to the’ this PC’ or My machine choice. Use MSETUP4.EXE now. If you don’t have a CD to boot, you need to download the software and manuals in that situation. Phase 2: Select next when the first monitor appears before you. Step 3: To connect Canon Pixma Pro 100 Printer to WiFi, pick the connection method for wireless LAN, then press Next. Phase 4: Make sure the printer is switched on. Always, make sure the white power light is on as well. Tap Next after that. Step 5: The code will then start to look at whether or not any printer machine is linked to the network. When, for the very first time, you set up the printer, you won’t be able to detect a connected device. So, make sure you can’t find the printer setting option on the list. Tap Next again. Step 6: After that, the installation of the setup guide will begin to connect Canon Pixma Pro 100 Printer to WiFi. Hit First. Step 7: Now pick wireless setup Step 8: when you see the wireless setup monitor in front of you. Click the Wi-Fi button and hold it until the power light starts to blink twice before you. Then release and pick the key.
Step 9: Make sure the blue Wi-Fi light flashes rapidly to switch on the white light. Tap Next after that. The network connection message will then be briefly deactivated and shown in front of you. Step 10: If you see a link between the access point and the printer has been created. Tap Next, then. Phase 11: Choose a residence if a screen that says appears in front of you. You then have to pick an area and then press the next one. You need to pick a preferred language after that and choose the next one. Step 12: Now pick and select the program you want to download. If the program you want to download can not be determined, then there is nothing to worry about as the software can be uninstalled later. Step 13: If the License Agreement Goods display screen appears in front of you, accept by clicking yes. Step 14: The monitor to allow wizard processes to be enabled will then be displayed. Tap on Next. Step 15: The program will begin to download now to connect Canon Pixma Pro 100 Printer to WiFi. If at the time of activation, the redetect option appears, then click on redetect. The program will then start searching again for your printer. Phase 16: It won’t take more than a minute for the code to find the printer. If so, this depends on the configuration of the network. You may also need to press several times to redetect.
Phase 17: When the wireless setup is complete. A screen shows the model number of the printer and the name of your wireless network. Then, press the full button. Step 18: When you set up a printer for the very first time, then press execute when the screen shows the print head alignment. If not, click first. Step 19: If the full screen is mounted, press next. If you want your printer to be registered, then press Next. Additionally, you can navigate to the program for the short menu. Tap Cancel now. Step 20: If you are interested in participating in the expanded survey program, go to agree and click on it. If not, do not consent to choose. Step 21: While attaching Canon Pixma Pro 100 Printer to WiFi, go to exit and finish the setup. That is how you use the regular communication form to complete the wireless setup. You can contact the Canon team if you need any further assistance. If you are unable to Connect Canon Pixma Pro 100 Printer to WiFi, just Dial 1-877-760-6113 for Canon Pixma Pro 100 Wireless Printer Setup and Connect Canon 100 Printer to WiFi
GET IN TOUCH WITH US USA Toll-Free : +1-877-760-6113 UK Toll-Free : +44-808-164-5280 Mail us : support@canonprintersupport247.com