Download
1 / 12
120 likes | 148 Views
Era Swap Life offers the advantage of one access to multiple utility platforms accepting Era Swap (ES) Utility token. The user can add his / her wallet to access these platforms which offers multiple solutions to community members.<br><br>for more details: https://www.timeally.io/pdf/TimeAlly.pdf<br><br>visit: https://www.timeally.io<br><br>https://www.youtube.com/channel/UCGCP4f5DF1W6sbCjS6y3T1g/videos?view_as=subscriber<br><br>https://www.facebook.com/eraswap<br><br>https://www.linkedin.com/company/eraswap/<br><br>https://twitter.com/eraswaptec<br><br>https://www.instagram.com/eraswap/?hl=en<br>

E N D
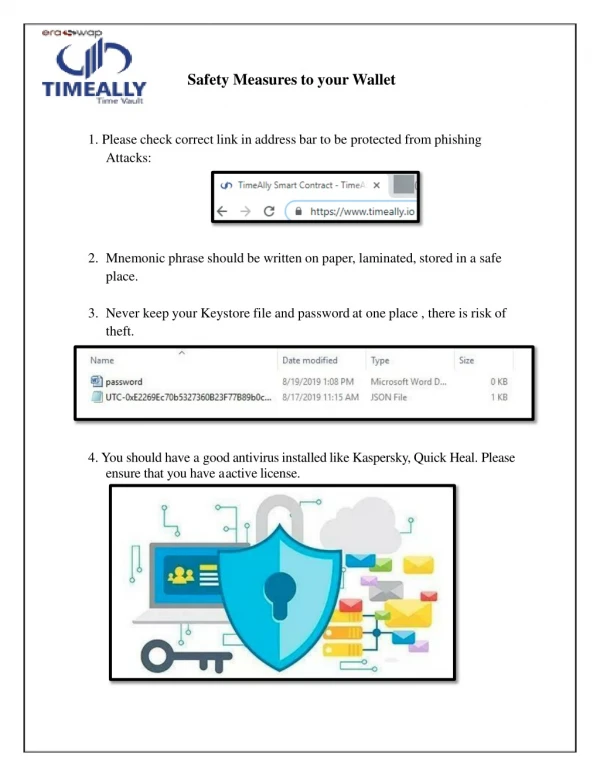
Safety Measures to yourWallet 1. Please check correct link in address bar to be protected from phishing Attacks: Mnemonic phrase should be written on paper, laminated, stored in a safe place. Never keep your Keystore file and password at one place , there is risk of theft. 4. You should have a good antivirus installed like Kaspersky, Quick Heal. Please ensure that you have aactive license.
5. Remove any non-Trusted software and browser plugins from yourdevices. 6. Ensure you have a strongpassword. 7. Don’t click on link from untrustedemails.
How to Create Accountin“TimeAlly” Step-1: Click on Create Wallet Step-2: Read Terms & ConditionsCarefully Step-3:Click on Proceedbutton.
Step-4: Enter Your Strong Password for yourwallet. Step-5: Click on Generate MnemonicButton.
Step-6: Write your Mnemonic phrase at safeplace. Step-7: Click on “I wrote it Down”Button.
Step-8: Verify your mnemonic by clicking on a particular word & clickon Verify Mnemonic . Step-9: Click on NextButton.
Step-10: Please wait your keystore file isgenerating. Step-11: Download your KeystoreFile.
Step-12:You have received your Keystore File & your wallet is successfullycreated. Step-13: Click on “Go To loginPage” Step-14: To Access your Dashboard please go through below steps : How to Log-in to “TimeAlly”
How to Log-in To“TimeAlly” Step-1: Click on LoadWallet 1. Step-2: Choose any one (Keystore File/ Access through mnemonic/ Private Key or Connect to Metamask).
Step-2.1: If Accessing through Keystore File, then follow the below mentionedsteps: Choose your keystoreFile Enter thePassword Click on Unlock WalletNow Step-2.2: If Accessing through Private Key, then follow the below mentionedsteps Enter your PrivateKey Click on AccessWallet
Step-2.3: If Accessing through Mnemonics, then follow the below mentionedsteps Enter yourMnemonics Click on Unlock Walletnow Step-3: After Completion of any of the Step 2.1/ Step 2.2 or Step2.3