Download
1 / 8
80 likes | 139 Views
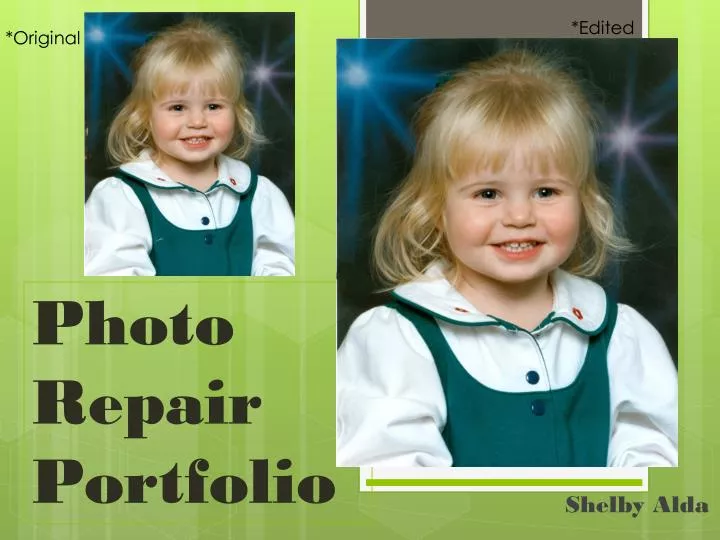
*Edited. *Original. Photo Repair Portfolio. Shelby Alda.

E N D
*Edited *Original Photo Repair Portfolio Shelby Alda
This photo needed several things done to it to make the best it could be. I had to rotate the image to make the horizon flat again. I cropped the image to get rid of the cream border and boat in the background. Some areas were discolored so I had to use the spot healing brush to fix those areas. *Original Retouch *Edited Another photo that I retouched was the picture of myself at two years old that I have on my title slide. There were minor scratches on different parts of the image as well as a large scratch and discoloration on the middle far left side.
Red-Eye Removal To remove the red-eye in the image above, I used the quick selection tool in Photoshop to select the pupil area of the eye. I then changed the color of the pupil to black again.
*Original To edit this black and white image with color, I started by rotating the image. I then selected an appropriate color for the grey areas and used the brush tool to brush over the areas I wanted to add color to. I had to reset the opacity to 25% so that the color was not solid. Colorization *Edited
*Original Photo Repair This photo was scratched and desperately needed repair. I used the spot healing brush in the scratched areas of my hair and dress. I used the clone stamp tool to fix the scratches in the patterned background. I was very pleased with the outcome. The most difficult area to edit was my hair because it kept having a blur effect. *Edited
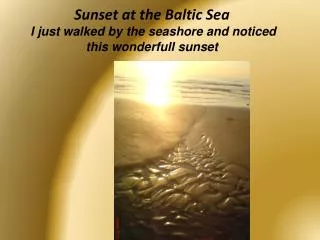
Panorama To make this panoramic photo, I took three photos from the same vantage point and kept my arms at the same level. I simply twisted my body to get different areas, remembering to overlap so they could easily be combined in Adobe Photoshop. In Photoshop, I used the Automate to Photomergefunction to create my panorama.
I like the technique of colorization because it is relatively easy to get the hang of. Basically, the grey areas in the image are painted over. *Greyscale I chose to use colorization to create my unique image. I used a dark orange which turned very light when I reduced the opacity to use the brush. Creative & Unique *Edited *Original I still like the original better but it was fun editing the photograph.
Creative & Unique When I looked at this image, I realized that it had dust spots on it from when I had scanned it. I used the spot healing brush to get rid of them. I then used the colorization technique with the black and white image. I made my eyes an ice blue color which makes them pretty creepy looking.