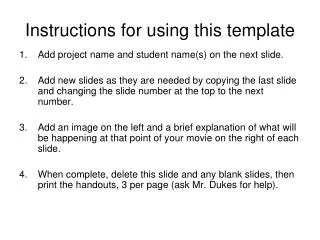
Download
1 / 11
110 likes | 430 Views
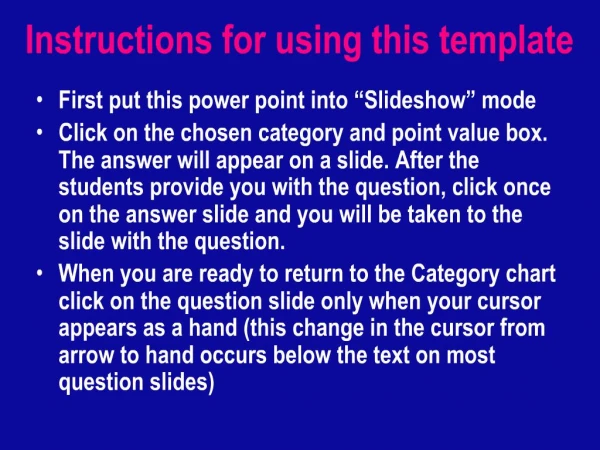
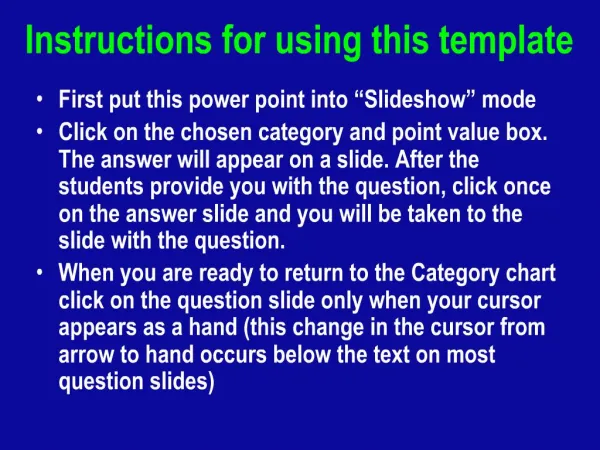
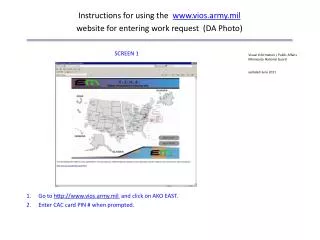
Instructions for using the www.vios.army.mil website for entering work request (DA Photo). SCREEN 1. Visual Information / Public Affairs Minnesota National Guard updated June 2011. Go to http://www.vios.army.mil and click on AKO EAST. Enter CAC card PIN # when prompted. SCREEN 2.

E N D
Instructions for using the www.vios.army.mil website forenteringwork request (DA Photo) SCREEN 1 Visual Information / Public Affairs Minnesota National Guard updated June 2011 • Go to http://www.vios.army.mil and click on AKO EAST. • Enter CAC card PIN # when prompted.
SCREEN 2 3. Select new VIOS user.
SCREEN 3 4. Select installation Minnesota ARNG and click Continue.
SCREEN 4 5. You will see a screen similar to this. Click on Work Request.
SCREEN 5 • 6. Begin inputting information. • Ignore Pickup / Ship buttons, but check the box Shipping Address same as above. • Click Next.
SCREEN 6 7. Select Photography and enter a justification. Click Next.
SCREEN 7 8. Select DA Photo. Click Next.
SCREEN 8 9. Fill in Fields and select appropriate boxes. 10. Next to the Appointment Date field, click on the calendar.
SCREEN 9 11. A calendar box will open. Select the date and time of scheduled appointment. 12. When returned to previous screen, click Next.
SCREEN 10 13. Enter any additional comments and click Next. (no cost estimate necessary)
SCREEN 11 14. Review and submit.