Download
1 / 24
240 likes | 266 Views
Explore the history, physics, and technology of ship building, from ancient dugouts to modern steel vessels. Learn how iron ships float, the process of hull creation, engine construction, and launching techniques. Discover the importance of naval architecture, testing models in towing tanks, and the significance of steel in ship production.

E N D
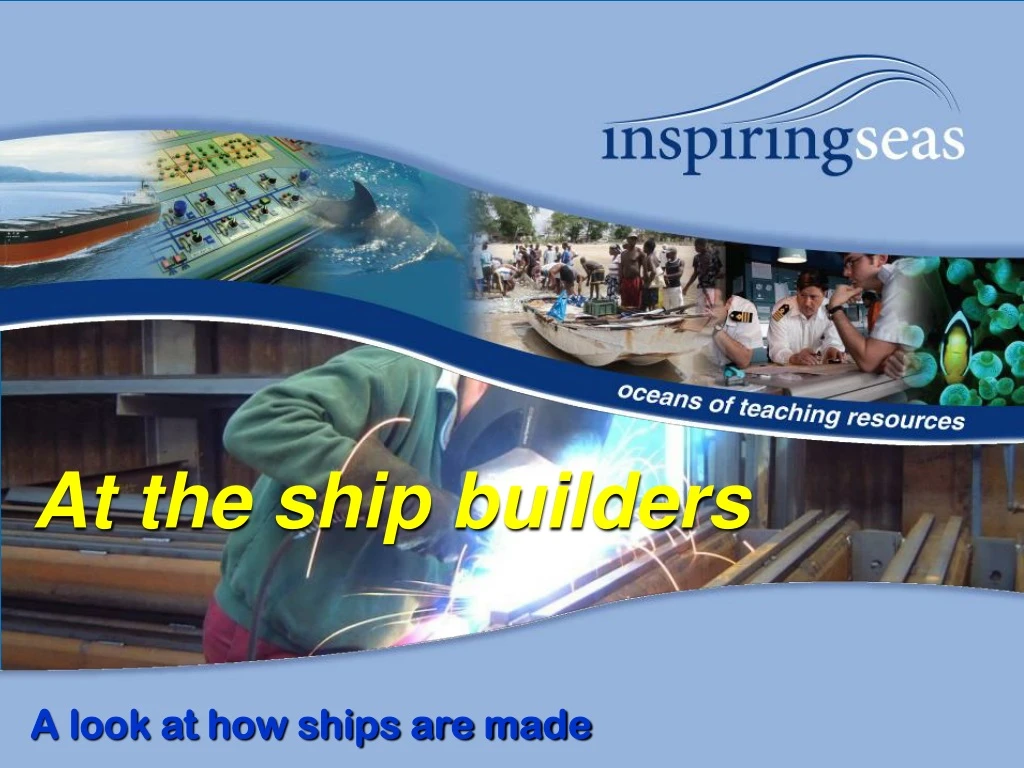
At the ship builders A look at how ships are made
Session outline The development of shipping The physics, design and technology principles behind ship building How ships are made
In the beginning… • Ships were made from hollowed out tree trunks and were called ‘dug outs’ • As humans made better tools, they were able to build better ships, powering them through the water with oars and paddles
The development of shipping • Sails allowed for wind power to propel ships forward • Oak was the best wood for making ships • With oak shortages, iron brackets were used • Later more iron was used and steam engines were added to drive paddles and propellers • The first iron ship was build be Brunel in 1839 – The Great Britain
Why do iron ships float? Archimedes Principle “An object in a fluid experiences an upward force equal to the weight of the fluid displaced bythe object”
Hull Ball Archimedes in practice: Explains why iron ships float! Ball: displaced water weighs less than the ball - SINKS Hull: displaced water weight is the same as the hull weight – FLOATS
Density = Mass Volume M D V The maths behind the theory:It’s all about density Calculating mass: In g Calculating volume: (cm3) Length x Height x Width h Golden Rule: If something has a density of <1g/cm3 it will float in water! w l
Fuel Chemical energy Heat energy Engine Combustion HC’s + O2 CO2 + H20 Propeller shaft Oxygen Work done Kinetic energy Driving ships forward Thrust
Modelling propulsion • You will need: A small box (e.g. a match box) Two wooden sticks (e.g. matches) A thick strip of card An elastic band A tray of water 1 – Fix two wooden sticks in a box like this 2 – Stretch an elastic band over them 3 – Place your paddle (thick strip of card) inside the elastic band 4 – Wind up the paddle and place in water
The tender and drawings from the naval architect Plans are drawn before ships are built by a naval architect Plans are taken to the shipping company, where they may be changed When both parties agree a test model is built, usually from wood or wax
Testing the model Use a piece of equipment known as a ‘towing tank’ Measures the resistance and stability of the model ship so that the final ship will be seaworthy Engines and propellers are also fixed to the model to decide the best ones for the final ship Towing tank at Newcastle University
Advanced Technology Points of instability in red
The mould loft • A full sized drawing of the ship is made in a huge room called the mould loft • Loftsman use a knife to cut out the lines of the ship • Makes templates out of wood, which are needed to be cut steel sheets to build the keel and the hull of the ship
The time of steel and building of the keel Today ships are made of steel Ships are often built by laying the ‘keel’ on a slope, with a river at the bottom for launch Iron becomes iron oxide (rust) Building of the keel using steel
Cutting of the hull • The templates built by the Loftsman for the hull are taken to the plater’s shop • Platers cut steel plates to size • Two pieces of steel tend to be cut at any one time • Steel plates are painted very well and evenly to prevent rust and create a streamline finish
The steel frame • Steel plates for the hull are fitted to a steel frame • The steel frame is made by frame turners • Sometimes bars are made red hot before being bent into shape • Use long handled hammers to bent the hot bars • Some machines apply enough pressure to bent steel frames cold!
Riveting the hull • The steel plates and frame bars need to be joined together to make the hull watertight • Used to be riveted together
Nowadays we use welding • Nowadays plates are electronically welded together • Hot sparks melt metal strips and the welders run the metal into cracks • When the metal cools, the plates are joined together • Better than using rivets because less steel is used and therefore it costs less to build your ship!
Fixing the propeller • When the hull is ready, the propeller, rudder and stabilisers are fitted • A hole is cut in the stern and a propeller shaft put through, which will eventually be attached to the engine Ship stabilisers
Safety on ships: the load line Samuel Plimsoll Least dense TF F T S W Most dense WNA
Did you know? British shipping earns the UK economy £162 per second!* *SeaVision UK The take home message:shipping is of great importance to our everyday lives Employs 250,000 in the UK Generates £37 billion to UK economy per year The fishing industry provides us with a good source of protein for our diets Cargo shipping provides us with 95% of the products we use on a day-to-day basis
FRONT (bow) BACK (Stern) Plenary activity: Measure the load line of your own ships! Step 1 – Using your marker pen, draw as accurately as possible a 3D outline of a ship onto your block of foam Step 2 – Cut out your ship shape using the hack saws and safety rulers provided Step 3 – To make your cargo hold, draw a box using your marker pen and score around it using a Stanley knife and safety ruler. Score across the box too. Using a flathead screwdriver, tease the pieces of foam out until you have a cargo hold. Sand the whole design down to a smooth finish and decorate using waterproof marker pens.