Download
1 / 24
250 likes | 277 Views
Discover how to use Arduino and sensors for hands-on electronics learning. Develop projects, troubleshoot circuits, and design basic scientific equipment with practical guidance and tips. Start with LEDs, LCD screens, temperature sensors, and servos. Enhance learning with ultrasonic rangers and more. Utilize resources like Arduino's official website, DIY projects on Instructables, and Make Magazine for inspiration and support. Recommended books provide additional insights for your electronics journey.

E N D
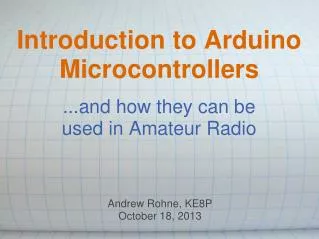
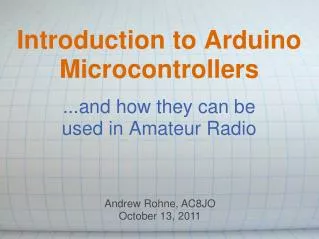
A Quick Introduction to Arduino and Sensors Philip C. Fulmer, PhD, CHP Francis Marion University Florence, SC
Why Was Arduino Developed? • Physical Computing – using components that can interact with people and with the world around us • The Arduino was originally developed for artists and designers to prototype interactive displays • Developed for non-scientists • Minimalist programming • “Forgiving” circuitry that can handle a wide variety of wiring errors
Digital Input / Digital output (PWM on pins 3, 5, 6, 9, 10, 11) USB connection Arduino Uno Revision 3 7-12 volt input power (9v is common) Analog input / Digital input or output Power pins
What Can Arduino Uno Be Used To Teach? Introductory electronics (voltage, current, resistance) How sensors and actuators work Rudimentary programming Design of basic scientific equipment Troubleshooting Challenges of communicating with users through a project (e.g., messages, formatting numbers, ease of use, etc.) Statistics and variation in data gathering
What Can Students Do? Quickly able to prototype a working project Able to produce a working computer program The tactile “feel” of assembling a project is very rewarding; making something that works FINALLY understanding that a scientific instrument is only as good as its design and calibration Get to troubleshoot circuits under the tutelage of the instructor to develop a logical, orderly method.
What Approach Have I Followed? Philosophical Approach It is physically impossible to teach students a comprehensive course in electronics in a single semester The purpose of our electronics course is to teach the basics of instrument design, function, and troubleshooting It is important to teach students the basics of electronics and teach them how to learn electronics on their own
What Approach Have I Followed? Start simple – build confidence with small projects before trying complex projects Introduce concept and then immediately do a project with it Use components that will capture the attention and imagination of the students Use new projects to build on previous projects Create a “problem” for students to solve that THEY will see as practical but not overly complicated Teach students how to search for needed information from datasheets (e.g., tolerances, current limits, etc.) from the internet
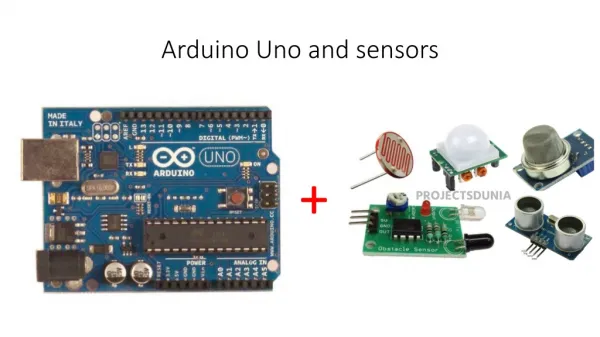
What Are Some Good Components to Start With? LEDs….lots of LEDs with variety of colors (be sure to also acquire lots of current-limiting resistors) Good for blinking, dimming using PWM, “Knight Rider” effect with 8 or more LEDs, strobe effects, etc.
What Are Some Good Components to Start With? LCD Screen with backlight (16x2 is common and teaches the complications of textual display) The parallel version uses 4 digital pins for display Instructions for how to connect is built in as a sample “sketch” in the Arduino Students get a huge degree of satisfaction from transmitting text to the LCD screen
Current-limiting resistors for RGB backlight 10 kW potentiometer to adjust screen contrast
What Are Some Good Components to Start With? Basic temperature and/or humidity sensor DHT11 or DHT22 is a good entry-level choice Library can be downloaded and incorporated to give easy access to features of the sensor
Current-limiting resistors for RGB backlight DHT 11 Sensor
What Are Some Good Components to Start With? Small servos Arduino can be used to position servo at a given angle for use in projects. Other sensors can be attached to the servo to add a layer of complexity Servo library included in Arduino IDE
What Are Some Good Components to Start With? Ultrasonic Ranger – uses ultrasonic waves to determine the distance between sensor and object based on time between emission of wave and echo of it. Good for introducing discussion of speed of sound variation with environmental conditions Calibration principles are easily discussed
Laser pointer mounted on servo that aims at a target based on readings of dual sonic rangers Sonic Rangers
What Are Some Other Components That Are Relatively Easy to Use? • 128x64 Organic LED screen that can handle graphics as well as text
What Are Some Other Components That Are Relatively Easy to Use? • GPS Module that can be used for a variety of purposes such as triggering a response only when the user is standing in a particular location
What Are Some Other Components That Are Relatively Easy to Use? • Mechanical or Solid-State Relay Boards to control alternating current loads of several amps
Resources www.arduino.cc :info on hardware, some libraries for sensors, the integrated development environment (IDE) and reference material on commands and structures www.instructables.com : info on DIY projects prepared by others www.makezine.com : Home of Make Magazine, which has lots of Arduino projects
Recommended Books By Simon Monk By John Boxall By Jeremy Blum