Arduino Uno and sensors
Arduino Uno and sensors. +. What is a sensor?. Sensors are devices that convert a physical quantity, such as light intensity or temperature, into an electrical quantity. One reason that an Arduino is so useful is that it can easily collect information from sensors.

Arduino Uno and sensors
E N D
Presentation Transcript
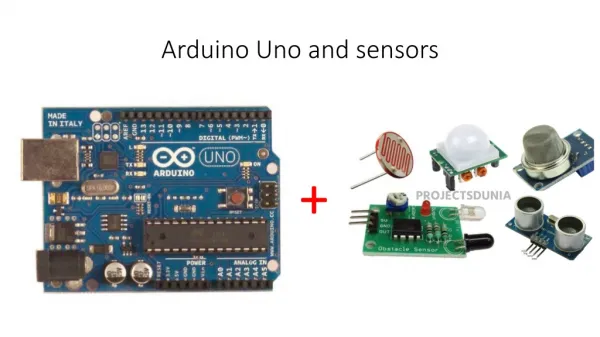
What is a sensor? • Sensors are devices that convert a physical quantity, such as light intensity or temperature, into an electrical quantity. • One reason that an Arduino is so useful is that it can easily collect information from sensors. • There are many different types of sensors: Light sensor, Motion sensor, Sound sensor, Temperature sensor, Magnetic fields sensor, Gravity sensor, Humidity sensor, Vibration sensor Pressure sensor, Position sensor etc Let’s find out more!
‘Serial communication’ – the Arduino can send data to your computer. This is useful to check data coming from a sensor. Code to communicate with your computer can look like this:
Hello World! – send this text to your computer. Copy and paste the code below to replace “Bare minimum” Upload, then click on the Serial Monitor Try changing the text ! Now, try putting this code: Serial.println("Hello World!"); between the curly brackets of the loop instead of the setup part of the program! Now add this line: delay(200); before the last } bracket void setup() { Serial.begin(9600); Serial.println("Hello World!"); } void loop() { }
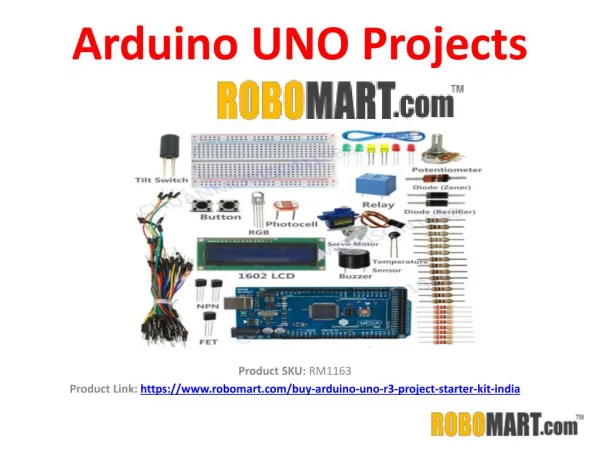
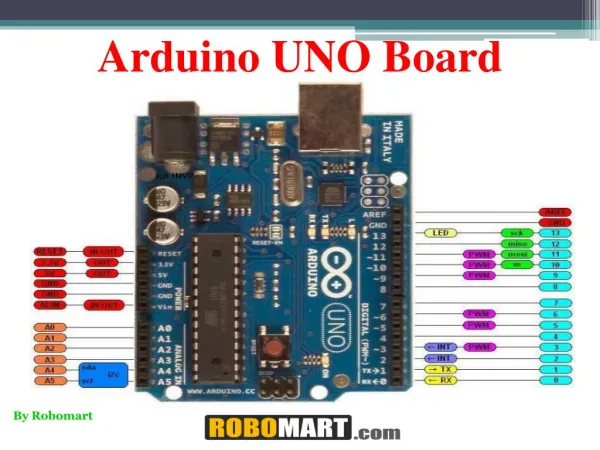
Let’s start using sensors!1. A light sensitive LED - upload the code below: int input=A0; //”input” stands for the value “A0” (Label of the analog port 0) int LED=10; //”LED” stands for the value 10 intsensorvalue=0; //variable for the sensor value with 0 as starting value void setup() //The setup starts here { Serial.begin(9600); //Start the communication with the serial port. We will //need this to get the read out value of the photo resistor on the serial //monitor. pinMode (LED,OUTPUT); //The pin connected with the LED gets defined as an //output. We won't need to define the analog pin. } void loop() { //loop part starts here sensorvalue=analogRead(input); //Read out the voltage of the photo resistor //and save it under “sensorvalue” Serial.print("Sensor value ="); //Show “Sensor value=” on serial monitor Serial.println(sensorvalue); //Send the value of the photo resistor as a number //between 0 and 1023 to the serial monitor if(sensorvalue > 512) //If the sensor value gets higher than 512… { digitalWrite(LED,HIGH); //...the LED should light up... } else { digitalWrite(LED,LOW); //else the LED should be turned off } delay(50); //short break where the LED is turned on or off. } //This last bracket closes the loop part //If the sensor value for example at normal brightness only reaches 100 (this //value depends on the used resistor, the brightness and the current //direction), it would make sense to use a lower value than 512 (for example //90), to turn on the LED. You can look up the current sensor value on the //“serial monitor”. You //can find it in the Arduino software at “tools”.
Light sensor switching LED – you will need an LDR light sensor, a 10kΩ resistor, an LED and a 390Ω resistor The LED should be ON if you connected the circuit correctly Now put your finger over the LDR light sensor…. Open the Serial Monitor to see the data from the LDR light sensor…. Can you change the light level at which the LED switches on or off?
Ultrasonic sensor This sensor measures distance using sound waves which bounce back to the sensor
Set up the ultra sonic sensor as shown, then upload the code on the next page. Open the Serial Monitor to see the distance measured.
int trigger=7; //”trigger” on pin 7. int echo=6; //”echo” on pin 6. long time=0; //The value “time” will safe the time between transmission and //returning of the soundwave. long dist=0; //The value “dist” will save the calculated distance. It will //start with “0”. Instead of “int” we are using “long” for this value, to save a //bigger number. void setup() { Serial.begin (9600); //Starting the serial communication. It will send the //data from the arduino board to the computer to show it on the serial monitor. pinMode(trigger, OUTPUT); //”trigger” (Pin 7) is an output. pinMode(echo, INPUT); //”echo” (Pin 6) is an input. } void loop() { digitalWrite(trigger, LOW); //Low voltage on the trigger pin to produce a //clear signal. delay(5); //….for 5 milliseconds. digitalWrite(trigger, HIGH); //Creating the soundwave. delay(10); //..for 10 milliseconds. digitalWrite(trigger, LOW); //Stop creating the soundwave. time = pulseIn(echo, HIGH); //With the command pulseIn (Capital “i” in the //front of the “n”) the arduino board measures the time between sending and //receiving the soundwave. dist = (time/2) / 29.1; //This calculation transforms the measured time into //the distance in centimeter. (The sound needs 29,1 seconds for one centimeter. //The time gets divided with two, because we only want to get one distance and //not the two ways that the soundwave has to take). if (dist >= 500 || dist <= 0) //If the distance gets over 500cm OR under 0cm, //the measurement is no longer accurate. { Serial.println("No measurement"); //So the serial monitor displays “No //measurement” } else //otherwise { Serial.print(dist); //The calculated distance is shown on the serial monitor. Serial.println("cm"); } delay(1000); //This command causes a short break between the measurements. } Copy then upload this code Open the Serial Monitor to see the measured distance