Download

1 / 48
480 likes | 487 Views
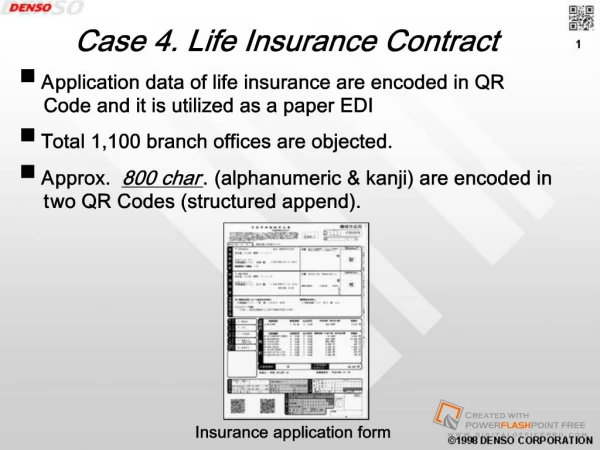
Avec DelyzQR cru00e9er un qr code pour carte restaurant. Maintenant que les menus numu00e9riques sont devenus la toute nouvelle mode dans les restaurants populaires, il est grand temps que vous en obteniez un pour vous-mu00eame. Avec notre assistance, vous pouvez obtenir qr code restaurant menuu00a0gratuit. Qu'est-ce que tu attends alors? Prenez votre QR code restaurant gratuit tout de suite!<br><br>visit: https://www.delyzqr.com/<br>

E N D
DelyzQR qr code restaurant menu gratuit
In Restaurants, you will get the list of all the restaurants registered along with the Owner name , Plan, Address and create date.
Plans in Membership will show the plans made by the admin along with the plan term, amount, currency. You can add the plans by clicking the add plan.
Package, shows the package details where you can also add the packages which includes Menu category limit, Menu item limit and scan limit and whether it is removable or not.
Upgrade Users , will show the upgraded packs of the restaurants .
Cron logs, will automatically expire the membership plan of the restaurants which are about to expire.
In Payment Setting, we can add keys into the already given gateway. Here, We are also provided with title and logo.
Transactions, will show the transaction status describing the username, amount, payment method and time.
Email Notifications, provides some email templates which can be send to the restaurant owner by the admin.
Languages, shows the different languages that can be used and there is also a “Add language” button through which you can add more languages as per requirement.
Currencies, shows different currency and it includes a button “Add currency” where we can add the new currencies.
Timezone shows us the country code along with the timezone and we can add more timezone by clicking the “Add timezone” button.
In All Blog, here you will see every blog with title, description, author, and categories.
In Add New Blog, you can add new blog where you have to provide the title, Image, Description etc
In Blog Categories, you can add the blog categories like fashion blogs or lifestyle blogs. You can add more categories by clicking on “Add New”.
Blog Comments, displays the comments of the blogs along with the user, comment, post and the date of submission.
In Testimonials, one can add the new testimonials as per the requirements including the name and the content of the testimonial.
In Pages, you can see the name, page title, and page url . You can also add the pages as per your requirements by adding these details.
In FAQ, you will see the ID, title and you can add the FAQ by clicking the “Add entry”.
General : In General, you can change the site Url or the site title . Logo : Here you can change the logo, footer logo and icons. Map : Here you can specify the map type, access token or the google map API key . International : In international, we can change the default country, timezone, currency and language. Email Setting : In here, we can change the admin email, email engine and the email sending method.
Theme setting : In here, you can change the theme color,contact address ,email. Social login test : facebook app id, google app id can be added here. Google reCAPTCHA : You can enable or disable the recaptcha. Blog setting: Here, can add on every blog related detail. Testimonial setting: Here, you can enable or disable the testimonial settings.
In Users, you can read all the data of the user their name, email, gender, status, and joining date.
In Admin, you can see the admin users along with their names and email .
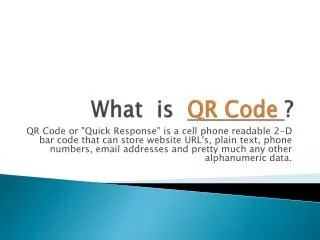
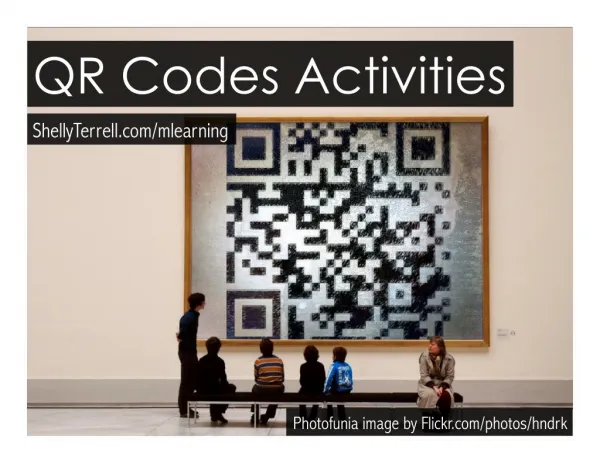
QR Code for Restaurants : Implementing restaurant menu qr code is beneficial, especially when it comes to engaging more with your customers. Get inspired your restaurant or bar with these creative QR Code ideas.
Step:1 Click on the ‘Restaurant’ button on the sidebar to fill up the restaurant details.
Step:2 After Step 1 , Click on the Menu button , where you can add new items in the menu , edit it or delete it.
Step:3 By clicking ORDERS , you can check the order status ,like, the Customer name, Price, Time and as well the Table no. There is a delete button too as if you are done with the order or somehow the order got cancelled then you can delete it. You could enter a subtitle here if you need it
Step:4 Step:2 QR Builder, will generate the QR code as per the need by managing the padding and radius then accordingly you can download the QR code as well as the QR templates. METHODOLOGY Here you could describe the topic of the section 03 RESULTS ANALYSIS Here you could describe the topic of the section 04 Here you could describe the topic of the section
After downloading the QRtemplates, three templates in pdf form will get generated . One of the example of these templates is shown in the left.
After downloading the QR Code, this will generate the QR code, which will show you the required Menu.
Step:5 In Membership, you will get detail about , the membership pack you have picked up for your restaurant or the starting date and the expiry date .
In Transactions , You can see the transaction status of the customer , whether the payment is successful or not , mode of payment , Type of membership, and the time & date of the transaction.
In Account Setting, you can change your account details , the type of currency exchange and even the menu layout .In Menu layout you can choose between the list and grid layout, or else you can choose both.
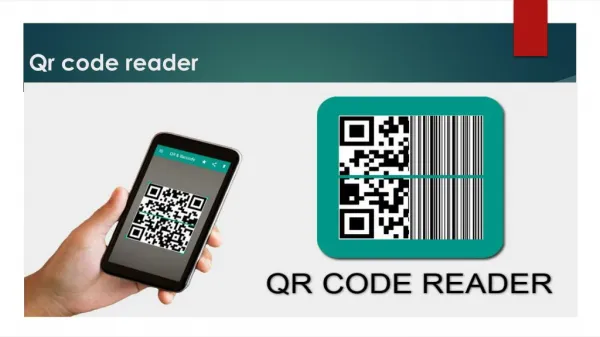
QR CODE : The User can download the QR code as shown in the previous slide , and the downloaded QR Code then can be scanned to see the required menu, shown in the next slide.
After qr code scanner menu restaurant you will see the following pages that will lead you to the requested restaurant page and the menu page.
After clicking the “ADD” button as shown in the previous slide, it will lead you to this page , where you will add the name and your table number or the message if there is any and then you can send your order.