Download
1 / 13
130 likes | 227 Views
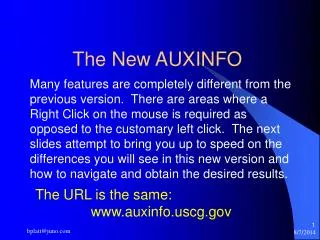
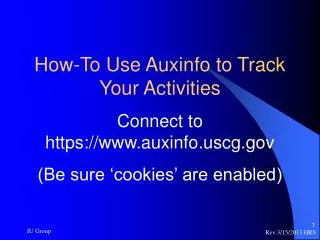
How-To Use Auxinfo to Track Your Activities Connect to https://www.auxinfo.uscg.gov (Be sure ‘cookies’ are enabled). The CFR Notice screen appears. - Click on ‘Continue’. The Main Menu appears. - Click on ‘Auxdata Cubes’. The Cube Menu screen appears.

E N D
How-To Use Auxinfo to Track Your Activities Connect to https://www.auxinfo.uscg.gov (Be sure ‘cookies’ are enabled) IU Group
The CFR Notice screen appears. - Click on ‘Continue’. The Main Menu appears. - Click on ‘Auxdata Cubes’. The Cube Menu screen appears. - Click on ‘Auxdata Member Activities’. Make a Mistake? Use your browser ‘Back’ arrow to return to the previous screen. IU Group
In the Dimension Line, click on ‘All Years’, curse through the drop-down, and click again on the desired calendar (CY) or fiscal (FY) year. IU Group
In the Dimension Viewer (DV), click on the plus [+] sign next to ‘All Units’. Continue to click plus signs that apply for your ‘chain’ - USCG, Area, sub-Area, District, Region, Sector, Division, to your Flotilla. A member list appears. Then RIGHT click on your name, and LEFT click on ‘Replace Columns’ in the pop-up box that appears… IU Group
Notes... - You can slide the black line between the DV & Report area to the right or left to see all of the needed DV or Report, and.. - You can collapse [-] the DV selections after the Report repaints because... IU Group
You may want more data than just the default Mission-Hours. In the DV, RIGHT click on the ‘Measures’ TITLE and then LEFT click on ‘Nest Columns’ in the action box. IU Group
To Much Information? Click on the ‘Zero Suppression’ icon in the bottom toolbar. This reduces the Report to those rows and/or columns that have a non-zero entry. IU Group
Need more detail? (Option) Curse to the small rectangle above the 1st column. It will change color. Click on it. This highlights the column in yellow. In the pop-up box click on ‘Down-a-level’ (Title or icon - varies by browser) to see sub-mission detail. IU Group
Activity Position? (Option) In the Dimension Line, click on ‘All Positions’, then curse to the desired position in the drop-down and click again. You can view Lead, Non-Lead, or Trainee activity. (The default in this cube is ‘All Positions.) IU Group
Clean up - Click on the White space at the top of any column. The column will turn yellow. Then click on the Hide-Show icon in the bottom Menu Bar to bring up the Hide Show control box. IU Group
In the Hide-Show control box, disregard the mini boxes content. Your only action is to uncheck the Show Summaries box. To complete the action, click “OK” IU Group
To be able to use this report in the future without all of the previous steps, you can bookmark it. See the How-To on Export/Bookmarking to bring up the report with the latest data with only one click. IU Group