FrontPage 2000 Online Tutorial
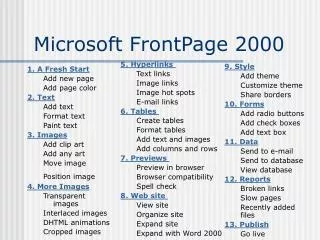
References: 1. Overview 2. Creating a web 3. Creating a web page 4. Saving a web page 5. Creating Hyperlinks 6. Adding an image 7. Creating Tables 8. Entering Intranet for editing. FrontPage 2000 Online Tutorial.

FrontPage 2000 Online Tutorial
E N D
Presentation Transcript
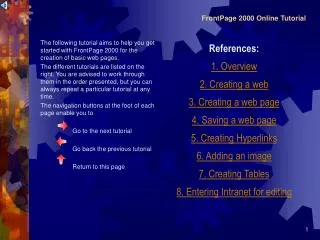
References: 1. Overview 2. Creating a web 3. Creating a web page 4. Saving a web page 5. Creating Hyperlinks 6. Adding an image 7. Creating Tables 8. Entering Intranet for editing FrontPage 2000 Online Tutorial The following tutorial aims to help you get started with FrontPage 2000 for the creation of basic web pages. The different tutorials are listed on the right. You are advised to work through them in the order presented, but you can always repeat a particular tutorial at any time. The navigation buttons at the foot of each page enable you to Go to the next tutorial Go back the previous tutorial Return to this page
Overview of FrontPage You will be dealing with 2 views when working in FrontPage! 1. Page View is for editing the page 2. Folder View is for managing and selecting your files to edit Edit like a word processor or with HTML
Click FILE - NEW - WEB Choose a Web Site template from the list. How to Create a Web Site The NEW Web dialogue box will appear. Specify where the web will be saved. This will automatically default to your MY WEBS folder on N Drive, but you can write in another path if you like. This file is called Index.htm and is the home page of the web you have just created. Frontpage will automatically seek out this page when it opens the site in a browser, so it is best not to change its name. Just remember, it will be the first page your viewers will see. Click OK A web will then be created. It will contain • The name and location of the web • Two folders called “Images” and “_Private” • And an empty page, calledIndex.htm, for you to work on.
How to create a web page Now you have a web, you’ll want to put some pages into it. Remember that when the web was created, a page, called “Default.htm” was also created. This is your web’s homepage and you can start to work on this page immediately if you like. However, we’ll create another page to put into the web to show you how easy it is to create a new page. You follow a similar process to that which you used to create a web. Click FILE – NEW - PAGE Choose the kind of page you want from the dialogue box which appears. Then click OK A new page will load automatically into the Work Area. It will be called “new_page_1.htm”. You have actually created a web page There’s nothing in it yet, of course – and the name is bit clumsy – so let’s save this page to your web site and give it another name.
Saving a web page 2. Select Save drive/ folder 1. Click Save icon 4. Change title of web page 3. Write the filename like usual 5. Click Save to Finish
Adding hyperlinks to a page 1. Highlight text 2. Click on Hyperlink button on the Toolbar. 3a. Alternatively, use this to get address from the web 3b. Or create an email link 3c. Or even get address from your PC drives 3. Put internet address on 4. Click OK to Finish
Adding An Image 1. In FrontPage, place curzor to where you wish to add an image 2. click the image icon 3. If not already in images folder-select it 4. Click on an image file n.b. you could also use the arrows to view the pictures 5. Press OK to insert then repeat as appropriate
Dealing with Tables 2. Specify table size e.g. 3 by 2 1. Click create table button 3. Table Created- Now fill in with info.
Entering Intranet for editing 1. Open Microsoft FrontPage 2. Click open 3. Select Intranet on ‘Proxy’ Drive N.B. Drive letter will vary 5. Now select your Intranet folder then the index.htm file and click open. 4. Click on Intranet folder
The Menu Bar All of the functional tools of Front[page can be accessed by one of these menus. The Tool Bars Shortcuts to common tasks you will perform Different Views Click on these to see different views of the page or we site your are creating The Work Area Where you will perform most of the design tasks. View Tabs Click on these to see the page as it will look (normal), the raw HTML or Preview the oage in a browser The FrontPage Work Screen