
MySQL Server Configuration and Data Ingestion Guide
E N D
Presentation Transcript
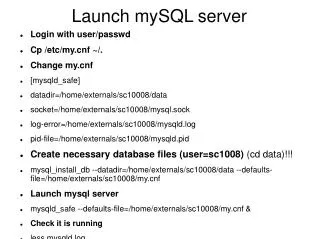
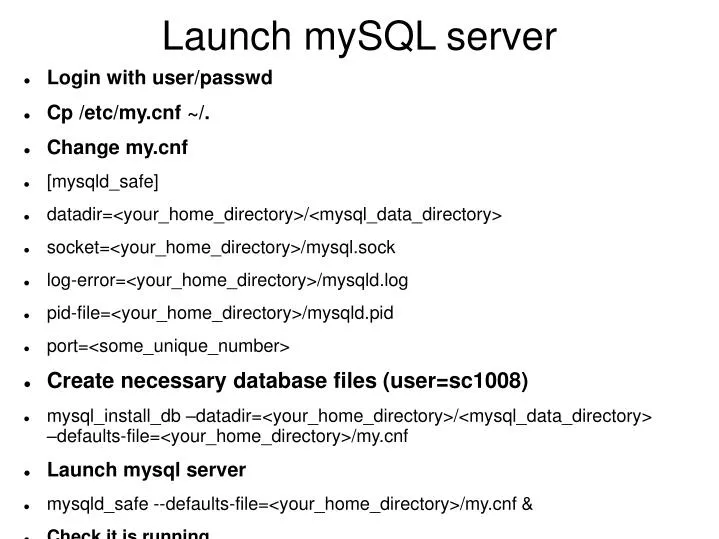
Launch mySQL server • Login with user/passwd • Cp /etc/my.cnf ~/. • Change my.cnf • [mysqld_safe] • datadir=<your_home_directory>/<mysql_data_directory> • socket=<your_home_directory>/mysql.sock • log-error=<your_home_directory>/mysqld.log • pid-file=<your_home_directory>/mysqld.pid • port=<some_unique_number> • Create necessary database files (user=sc1008) • mysql_install_db –datadir=<your_home_directory>/<mysql_data_directory> –defaults-file=<your_home_directory>/my.cnf • Launch mysql server • mysqld_safe --defaults-file=<your_home_directory>/my.cnf & • Check it is running • less mysqld.log
Create database prob Connect to MySQL with CLI mysql --socket=<your_home_directory>/mysql.sock -u root Create database prob create database prob\g show databases \g use prob \g create database prob\g show databases \g use prob \g Create table prob create table prob (a1 double, a2 int)\g show tables \g Insert into prob values (0.12,1)\g Insert into prob values ('a',2)\g
Load test data from Vizier • vizier.u-strasbg.fr • 2MASS, USNO-A2 • 1 deg region • Note the format of the data
CREATE TABLES • Create 2 tables: for USNO-A2 and 2MASS data • Note format of the data
Ingest data • Write a simplest script to ingest data
Ingest with SQL statement • LOAD DATA INFILE <filename> INTO TABLE <tablename> FIELDS TERMINATED BY <delimiter> • LOAD DATA INFILE '2mass.csv' INTO TABLE TWOMASS FIELDS TERMINATED BY “|” • Compare performance with row-by-row ingest
Cross-identify data sets • Use python for row-by-row cross-identification • Ingest data back into database • COS(Ra1)COS(Ra2)COS(Dec1)COS(Dec2)+SIN(Ra1)SIN(Ra2)COS(Dec1)COS(Dec2)+SIN(Dec1)SIN(Dec2) > COS(angle)
CREATE FUNCTION • Create function dist (ra1 double, dec1 double, ra2 double, dec2 double ) returns double return ACOS(COS(ra1/180.0*3.141593)*COS(ra2/180.0*3.141593)*COS(dec1/180.0*3.141593)*COS(dec2/180.0*3.141593)+SIN(ra1/180.0*3.141593)*SIN(ra2/180.0*3.141593)*COS(dec1/180.0*3.141593)*COS(dec2/180.0*3.141593)+SIN(dec1/180.0*3.141593)*SIN(dec2/180.0*3.141593))*180.0/3.141593
Cross-identification on-the-fly • Create cross_id_table with coordinates, Ids and magnitudes with errors from 2MASS and USNO-A2 • INSERT INTO CROSS_ID_TABLE SELECT dist(RA1,RA2,DEC1,DEC2) from (SELECT t1.RA2000 RA1, t2.RA2000 RA2,t1.DEC2000 DEC1, t2.DEC2000 DEC2 from TWOMASS t1, USNOA2 t2 where abs(t1.DEC2000-t2.DEC2000) < 0.05) tn; -modify this statement to include all attributes you need for cross_id_table
Home • Ingest 2 cones of 2 deg radius (one in galactic plane, 1 in NP or SP) • Cross-identify • Plot CMD • Find completeness limit for each magnitude • Find completeness limit for each color range