Download
1 / 15
150 likes | 271 Views
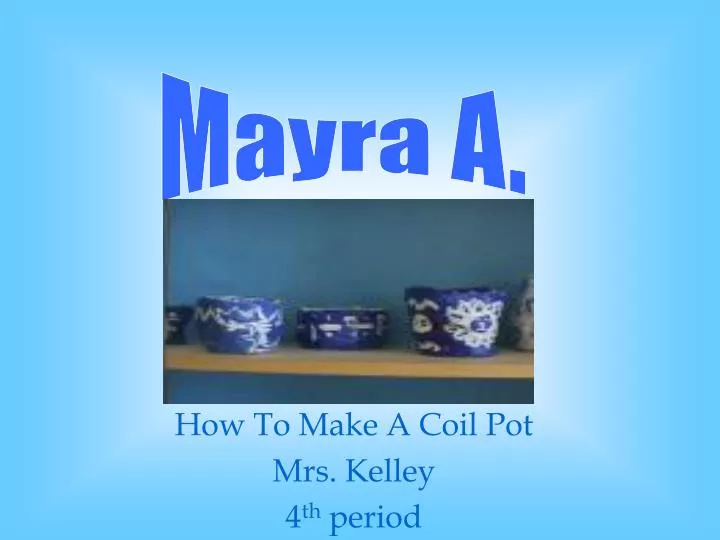
Mayra A. . How To Make A Coil Pot Mrs. Kelley 4 th period. COIL POTS. Coil pots are usually quite large as for pinch pots a usually quite small. Coiling is one of the loveliest things to do- it is quiet, calm, and peaceful. WEDGING. First step is to WEDGE, check for air bubbles.

E N D
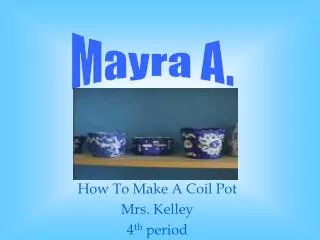
Mayra A. How To Make A Coil Pot Mrs. Kelley 4th period
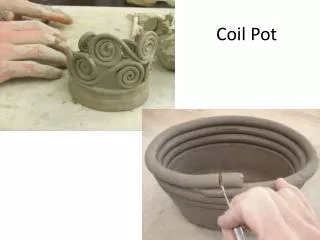
COIL POTS Coil pots are usually quite large as for pinch pots a usually quite small. Coiling is one of the loveliest things to do- it is quiet, calm, and peaceful.
WEDGING First step is to WEDGE, check for air bubbles.
START OF You should start of by making a ball the size of a golf ball.
PINCH POT Now that you have you ball do as if you were to do a pinch pot.
BASE Now from the pinch pot make what would be the BASE Make the pinch as big as the pot is going to be.
COILS By making the coils you have to roll out the clay keeping your fingers straight
JOINED Place one coil on top of the base which would join them together.
PRESSING With your own fingers press down the clay to the inside keeping the clay together.
ADDING COILS Add coils one-by-one until the desire height. (2) (1)
SMOOTHING After every four or five coils, a scraper is used to smooth the clay from the outside. (2) (1)
CLOSING Now if you want to start going in place the coil in the inside.
FINISHING Now they coil pot is almost done. You smooth out the outside, closed it in.
DECORATING After the pot is done now you can decorated as you like.
Slide1:http://kent.k12.oh.us/webusers/grondin/images/chinese%20coil%20pots%202.jpgSlide1:http://kent.k12.oh.us/webusers/grondin/images/chinese%20coil%20pots%202.jpg • Slide2:http://www.tafensw.edu.au/artsprizes/2000/gallery/hargraves.shtml • Slide3:http://members tripod.com/kengeorgepottery/id18.htm • Slide4:http://www.wildwoodsurvival.com/survival/containers/pottery/aa/aamakingpg1.html • Slide5:http://www.nativetech.org/pottery/making.html • Slide6:http://www.wildwoodsurvival.com/survival/containers/pottery/aa/aamakingpg1.html • Slide7:http://www.nativetech.org/pottery/making.html • Slide8:http://www.mantengacrafts.com/making/potmaking.htm • Slide9:http://www.wildwoodsurvival.com/survival/containers/pottery/aa/aamakingpg2.html • Slide10:(1)http://www.nativetech.org/pottery/making.html • (2)http://www.mantengacrafts.com/making/potmaking.htm • Slide11 :(1)http://www.nativetech.org/pottery/making.html • (2)http://www.mantengacrafts.com/making/potmaking.htm • Slide12:http://www.wildwoodsurvival.com/survival/containers/pottery/aa/aamakingpg2.html • Slide13:http://www.wildwoodsurvival.com/survival/containers/pottery/aa/aamakingpg2.html • Slide14:http://www.mantengacrafts.com/making/potmaking.htm