Download
1 / 6
60 likes | 68 Views
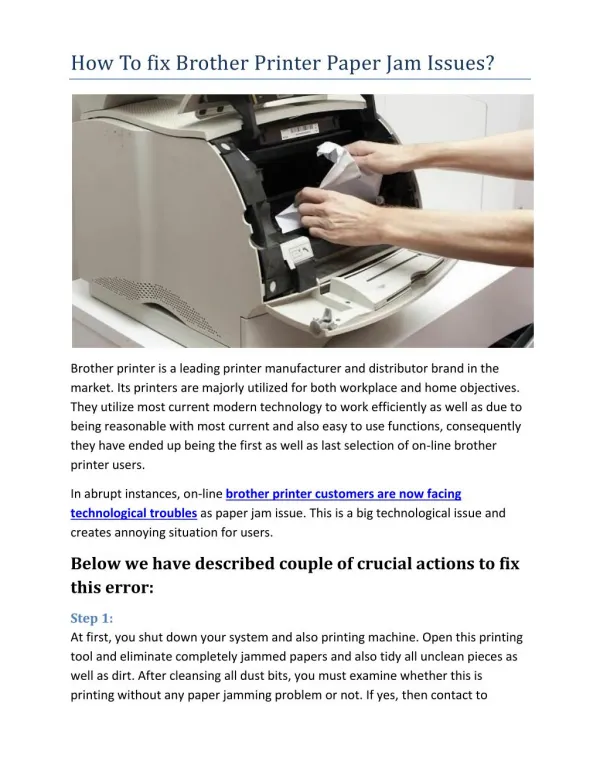
The message "Print Unable 32" will appear on the LCD display if paper or labels are stuck inside the printer or drum unit. Power off the printer using the On/Off switch located on the right side of the printer. Press the front cover release button and then open the front cover.<br><br>

E N D
How do I resolve the issue of Brother Printer Print Unable 32? 2
What is Print Unable 32? The message "Print Unable 32" will appear on the LCD display if paper or labels are stuck inside the printer or drum unit. Power off the printer using the On/Off switch located on the right side of the printer. Press the front cover release button and then open the front cover.
Troubleshooting Brother Printer Print Unable 32. Let us fix this error: To resolve this error message please follow the given solutions. Please make sure you follow them in the order mentioned below: Solution: Firstly switch off your printer by pressing the power on/off button on your printer. Open the front cover by pressing the front cover release button. You will now see the drum unit. Hold the green handle and carefully pull it out till it allows. Release the gray lock lever which is situated on the left side of the printer. Now again hold the green handle and this time pull the drum unit completely out of the machine.
Note: 1. Hold the drum unit with the green handle and never touch the sides of the drum unit. Do not touch the electrodes inside the machine to prevent yourself from static electric shock. Place the drum unit on a clean disposable paper as there are chances of any toner ink spilling on the surface where you will place the drum unit. Carefully inspect the insides of the printer. If you find any paper bits, scrapes of paper, labels, dust etc, please remove them. Now remove the four ink cartridges from the drum unit. You can do so by holding the handles of the toner cartridges and pulling them out carefully. 2.
Note: Carefully place the cartridges on clean disposable paper as there are chances of any toner ink spilling on the surface where you will place the cartridges. Now inspect the cartridges installation areas for any paper bits, stuck scrapes of paper, labels, dust etc. Check the openings of the cartridge area, black rollers, left hand side and the right hand side of the drum unit area, and the waste toner box. Reinstall the drum unit and the four cartridges back into the printer and take a test print and start using the printer normally.