Download

1 / 9
160 likes | 859 Views
Melting point determination. Why take melting point?. To help identify sample To check purity of sample. Filling sample holder. dip the open end of the capillary into dry, powdered sample several times, shoving more in each time. Packing the sample. drop the capillary

E N D
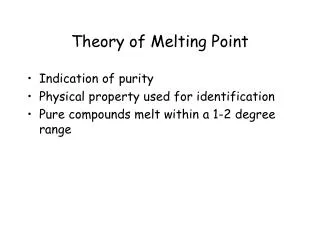
Why take melting point? • To help identify sample • To check purity of sample
Filling sample holder • dip the open end • of the capillary • into dry, powdered sample • several times, • shoving more in • each time
Packing the sample • drop the capillary • (closed end down) • through a long glass tube • several times • until sample is • compacted at the bottom
Turn machine on, andset resistor for temp range • ON button • indicated • by white arrow. • Set dial • to expected melting range
How to determine the right setting • This chart shows • heating curves • at various settings. • For accurate m.p. • determination • the expected m.p. • is on the flat • part of the curve
Taking m.p. • Turn on • the digital • thermometer
Taking m.p. • insert • up to 3 • samples
Wait for • and watch • samples melt. • Record • melting range