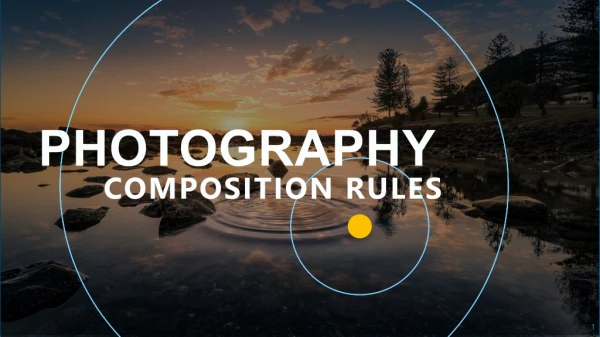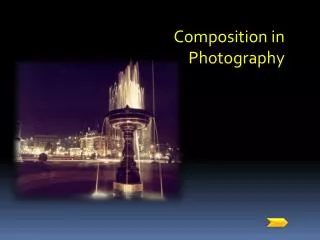
Composition in Photography
430 likes | 598 Views
Composition in Photography. PHOTOGRAPHING PEOPLE. PHOTOGRAPHING SCENERY. PHOTOGRAPHING NIGHT TIME. Photographing People. Menu. Menu. How to make a great photo by applying several concepts: point of interest, rule of thirds, form, framing, light. Menu. Menu.

Composition in Photography
E N D
Presentation Transcript
PHOTOGRAPHING PEOPLE PHOTOGRAPHING SCENERY PHOTOGRAPHING NIGHT TIME
Photographing People Menu
How to make a great photo by applying several concepts: • point of interest, • rule of thirds, • form, • framing, • light. Menu
POINT OF INTEREST RULE OF THIRDS FORM FRAMING LIGHT Menu
Point of Interest • To spot good subjects to photograph: • take a fresh look at things around • see a lot of interesting subjects. Which one is the point of interest, the building, fountain or persons? Menu Content
Point of Interest: • What is the subject? • Where is the subject? • Is the subject interesting, eye catching, or important? Menu Content
Let’s practice Menu Content
Which of the two photos applied point of interest correctly ? Just click the letter A or B B In this photo, the point of interest is not clear, whether the building or the persons. (click to close) In this photo, the focal point is the persons. The scenery functions as a nice background. (click to close ) Menu Content
Rule of Thirds Basically rule of thirds is where you should place your subject in the camera frame. Menu Content
Rule of Thirds • How to place your subject in the picture? • Imaginary vertical and horizontal lines • Imaginary four circles Menu Content
Rule of Thirds Here is another good example of an application of rule of thirds. The person as the main subject poses in the right spot while you still can capture the nice background as well. Menu Content
What do you think? Menu Content
Rule of Thirds What do you think about each of the pictures in terms of applying this rule of thirds? Click A, B, or C A B C Menu Content
What do you think? Menu Content
What do you think? Consider to leave space in front of moving objects Menu Content
What do you think? Here's another action shot where it's important to leave more space in front of a moving subject than behind it. Menu Content
Let’s practice Menu Content
Which pictures apply the rule of thirds? The position of the subject is a bit dull and seems so static because the subject is sort of in the middle of the picture. (Click to close) The position of the subject is in the middle of the frame. It is too centered. Remember, the rule of thirds don’t have to put subject in the center. The picture would be a bit static if you do so. (Click to close) Yes…this picture is the most perfect picture in applying the rule of thirds. (Click to close) Yes…this picture is the most perfect picture in applying the rule of thirds. (Click to close) The position of the subject is a little boring and seems very ordinary, because the subject is sort of in the middle of the picture. (Click to close) This one This one This one This one This one Menu Content
FORM Menu Content
FORM Menu Content
Let’s practice Menu Content
Which form do you think is better? Click the arrows! The vertical form looks better. With the vertical form you can see a nice fountain and part of a nice building as a background. The concept of vertical form is the object will be better if taken in a vertical form, and it is obvious that the composition of the vertical form is nicer with a clear background. --close this pop-up-- The horizontal form looks better than the vertical form. The nice background view can be seen more when the photograph is taken in horizontal form. --close this pop-up-- Menu Content
FRAMING You can always find suitable framing devices almost anywhere Menu Content
FRAMING To create a well balanced and striking composition by framing your subject within the confines of an architectural detail, such as a window or a doorway. Menu Content
FRAMING You can always find suitable framing devices almost anywhere Menu Content
Let’s practice Menu Content
Do you think the pictures here taken by applying the skills of framing? This man is nicely framed between the trees. This picture is a good example of framing. (Click to close) This picture would be nicer if it is taken by showing more of the gate framing the persons . (Click to close) The big trees framed this man nicely in this picture. This can be considered a good example of framing in photographing people. (Click to close) B A C Menu Content
LIGHT • Basic type of light in photography can be differentiated into: • Backlighting • Side lighting • Diffused lighting Menu Content
LIGHT Backlighting is just as it sounds: light that comes from behind your subject. This can make a beautiful photo, or turn into a disaster photo. Menu Content
LIGHT Side lighting can have a very drastic effect on your photos, also. But, unlike backlighting, its brightness comes from the right or left of your subject. Menu Content
LIGHT • Side lighting: • showing texture • adding depth to a photo Depth in a photo is the sensation that we’re looking at a three dimension picture, which in fact we are looking at a flat sheet of paper. (Click to close) Menu Content
LIGHT Diffused Lighting • To avoid a very bright sunlight, • wait for the sun to go behind a cloud • if your subject is moveable, put them in the shade of a tree or building. Diffused light is light that scattered and spread out as opposed to direct light. It is softer than direct light. (Click to close) Menu Content
Let’s practice Menu Content
The light coming from the side of the face of the man is too bright for his face. (Click to close) The soft side light just enough to give effect on the woman’s hair. (Click to close) • The side light of this photograph gives a depth or dimension effect. • (Click to close) A C B Menu Content
Let’s practice evaluating Bayu’s photos Menu Content
Ready to evaluate and analyze Bayu photographs he made during his practice? Analyze these photographs using all skills you learned in this instruction. Click A, B, or C to see the feedback . In this photograph you can see that the subject position is not following rule of thirds. There is no space in front of the man, so that it looks like the man is going out of frame. If the man look at the opposite way, the composition would be better. From the light aspect, it is a bit difficult to say. It looks like the light is to bright, the hat used by the man try to diffuse the light. (Click to close) In this photograph, the rule of thirds is applied, the position of the subject just perfect ly lies in a very good spot. The light coming from the side of the subject gives a nice effect on the girl’s face. (Click to close) This photograph applied the rules of thirds fairly well but the backlight seems too bright ,so that we could not see the face of the man clearly. Since this photo is taken in long shot ,we can see him from feet to head. In this case, may be it is better to take his photograph vertically instead of in a horizontal form. (Click to close) A B C Menu Content
Explain whether these photos applied the skills of photography we have discussed? Send your answer here Menu Content
Very good! At this point you have learned the skills for photographing people. Now, you are ready to learn the second task, which is “photographing scenery.” Continue