Download
1 / 6
60 likes | 145 Views
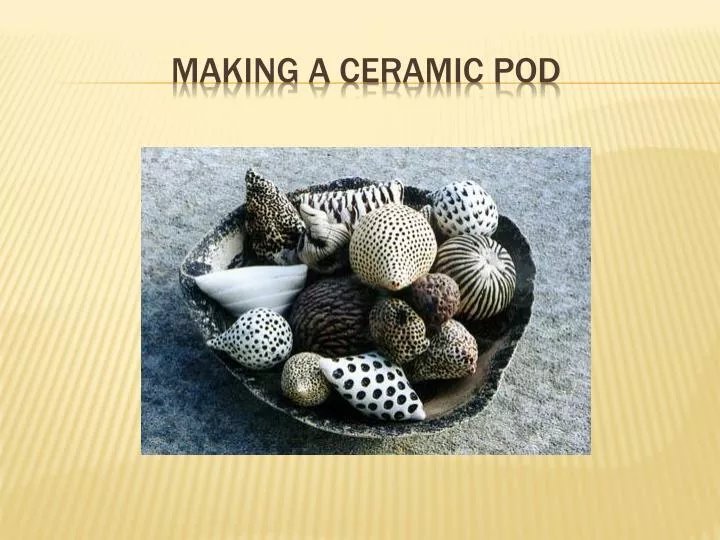
MAKING A CERAMIC POD. You must wedge or knead your clay to remove air pockets that could expand during firing and cause the piece to explode. Step one. Form the clay into two pinch pots that you will then attach together following the score, slip and seal method. Step two.

E N D
You must wedge or knead your clay to remove air pockets that could expand during firing and cause the piece to explode. Step one
Form the clay into two pinch pots that you will then attach together following the score, slip and seal method. Step two
Add texture to the piece through incising (cutting in to the clay body) or relief (attaching shallow pieces of clay to the main clay form). Step three Relief design Incised design
Create a small vent hole in the pod to prevent the piece from exploding during firing. Trapped air will expand when heated and cause the piece to explode out. Step Four
Sign your ceramic pieces on the bottom…keep it simple and put the year as well. Ex: AB ‘08 Step Five