Download
1 / 55
550 likes | 661 Views
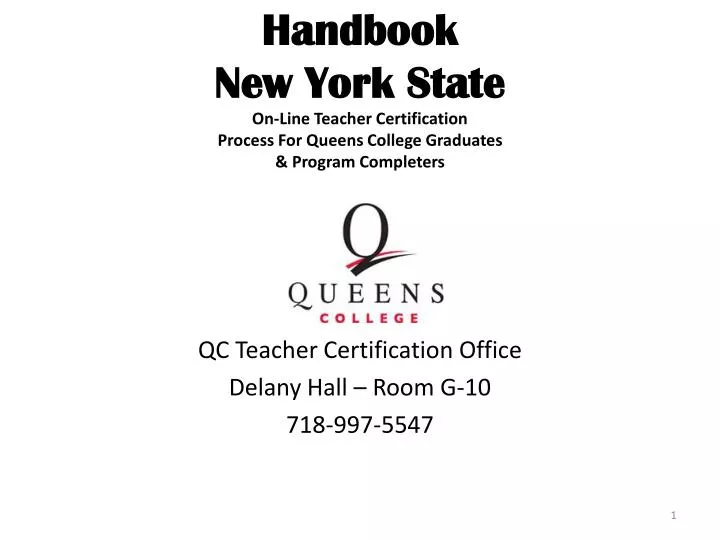
Handbook New York State On-Line Teacher Certification Process For Queens College Graduates & Program Completers. QC Teacher Certification Office Delany Hall – Room G-10 718-997-5547.

E N D
Handbook New York State On-Line Teacher Certification Process For Queens College Graduates & Program Completers QC Teacher Certification Office Delany Hall – Room G-10 718-997-5547
This Handbook is an approximation of what an individual will see when they log onto and use the New York State TEACH On-line System. The Handbook coupled with the Queens College Excel Spreadsheet delineating the proper Teacher Preparation Program a graduate has completed should enable the graduate to select and apply for the correct certification. I hope you find this Certification Information Handbook useful Please contact my office and let us know if it has been helpful. Teacher Certification Office Delany Hall, Room G-10 718-997-5547 Sincerely, Christine Howard, Director Teacher Certification Office
Important Information • The Certification issuance dates (Initial/Professional or Provisional/Permanent) are 9/01 and 2/01. • If you are applying for Initial/Provisional certification: • Your certificate Initial Certificate it will NOT be mailed to you. As of 02/01/10, the NY State Education Department no longer prints Initial/Provisional certificates. If you would like a paper copy of your certificate, you can request one online from the NY State Education Department for an additional fee. Otherwise, please check your NY State account for confirmation of your certification. • When being recommended by a college for certification, your completed workshops/seminars will not be listed on the State website. Please keep originals of your workshop completion certificates for your records. • Verify that the NY State Education Department has your fingerprints on file. You can check this on the Account Information section of your TEACH account. You MUST have fingerprint clearance in order to become certified. • If applying for Professional certification, you MUST mail the following to the NY State Education Department: • Proof of your work experience (Mail proof only if work is not completely full-time): • Minimum of 3 years full-time classroom teaching. • 540 days total part-time/substitute teaching. 180 days of part-time each year. The State counts full-time teaching experience in increments of ½ years. • Proof of your Mentored experience: First year observed/supervised as a full-time classroom teacher • Teaching Assistant and Para-professional Experience Does Not Apply towards full-time teaching experience • If applying for Permanent certification, you MUST mail the following to the NY State Education Department: • Proof of your work experience (Mail proof only if work is not completely full-time): • Minimum of 2 years full-time pupil personnel experience. Or 360 days of part-time/substitute work experience.
Place the website highlighted in yellow in your browser and you will get the first screen of the TEACH Website you see below http://www.highered.nysed.gov/tcert OR
Read the instructions on the screen. Select Continue to proceed.
Read the instructions on the screen. Select Continue to proceed.
STOP if you have a TEACH account already – call The New York State Teach Department of Education - 518-486-6041 to straighten out or re-establish your TEACH Account
DO NOT self-register if you already have a TEACH account. If this is your first time creating an account, click “Self-Register NOW”
Fill in all of the personal information requested. Make a note of the username and password that you create. Once all information has been entered, click “Create Account”.
Review the information you have entered. If you need to change any information refer to slide #19. Click Continue to proceed
This is a legal document. Confirm that the you are entering accurate information. Select “OK”
You have begun to create an account. Click the “Click here” link to continue.
You will be taken to the screen below. Select “TEACH Online Services”
Enter your Social Security Number, then select Submit. THIS MUST BE ACCURATE.
Fill in the following information. Be sure to enter an e-mail address that you check regularly. Check the box to allow the Office of Teaching to e-mail you.
<- Be sure to answer this question. You can work with Initial certification as a non-citizen or permanent resident but must become either a citizen or permanent resident when you are applying for Professional Certification. <- Be sure to enter an e-mail address that you check regularly. Check the box to allow the Office of Teaching to e-mail you.
This is the TEACH home menu screen. Select “Update/Add Education, Employment and Personal Information” Links of Special Interest
Any changes to you personal information can me made here. Select “Submit” when you are finished
<- Be sure to update your e-mail address to one that you check regularly. Check the box to allow the Office of Teaching to e-mail you.
Complete the below fields using the first four columns of the excel spreadsheet PLEASE NOTE: You cannot remove incorrect educational information. If an error is made, select edit to change it. After you complete filling in the information select add then done <- Example
Review the educational information that you have entered. It will appear in the yellow box at the bottom of the screen. Select “Done” when complete
Review EducationAfter reviewing and editing education information if you need, click on next
Select the “Edit Employment” button. Only follow this step if you are applying for Professional or Permanent Certification at this time. Otherwise, skip to slide #30
Update employment information up to current date. Be sure to enter a description of the work experience. Select Add.
Review entered experience. Add additional employment locations if applicable. Select Add first and then Done.
Review all of the below information. If accurate, select “next”
You will now be returned to the home menu screen. Select “Apply for Certificate” to apply for your certification
Review the steps that you will be taking to complete the application. Select Next
Review your account information. Edit any incorrect information. Select Next
Select your Certificate Type and Title. NOTE: Refer to the 5th, 6th, 7th, 8th, & 9th columns of the excel spread sheet you have been given for you specific entry information
Refer to the excel spreadsheet for your program code. Enter it below and select Submit. <- Example
The name of your program should be listed below. If it is not, be sure that you entered the correct program code. Fill in the circle and then select Next
You should see the certificate that you are applying for now listed under “Certificates in this application”. This screen can also be used to apply for additional certifications. Select Next
Fill in the circle “ I want my application to be reviewed….” Select Next
Confirm application information by selecting & clicking the “Sign Application” Button
Carefully read the following screen outlining your requirements. PRINT for your records
Payment: Fill in the square to make “Payment by the Credit Card” option. Then select Submit
Enter your credit card information. Select “Process Payment”. Make sure that the computer you are using is connected to a printer
Select “Print Receipt” then click here to return home which is the menu screen
To review all information, or to check the status of your application, select “Account Information”
Highlight all of the options in the box by dragging the cursor, then click “GO”
Below is a report of all of your current account information.