Download

1 / 5
0 likes | 71 Views
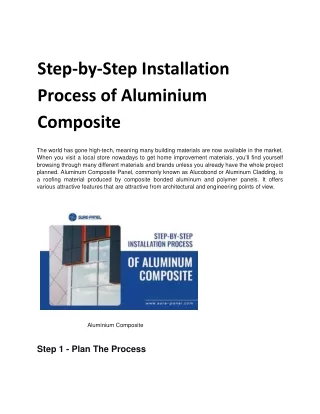
Master the art of ACP installation! Our guide covers tools, preparation, waterproofing, and more. Achieve flawless results with Alumaze ACP Sheets.

E N D
Essential Tools for ACP Installation Gathering the right tools beforehand is crucial for a smooth installation. Required Tools: • Aluminium Composite Panels • Measuring Tape • Level • Electric Saw or CNC Router • Twist Drill • Screws and Adhesive Tape • Brackets and Clamps • Sheet Metal Punching Machines • Three-roll Press Machine and Press Brake Machine • Safety Equipment (Gloves, Goggles, etc)
Preparing the Panels Step 3: Surface Preparation • Ensure the installation surface is clean, dry, and free from debris. • Make necessary adjustments to create a smooth and even base. Step 3: Measurement • Take precise measurements vertically and horizontally using measuring tapes. • Mark the ACP sheets accordingly for accurate installation. Step 3: Fabrication • Fabrication involves several steps for shaping ACP sheets. • Use electric saws for cutting; CNC Router for mass grooving. • U-groove and bend panels at 90 degrees for desired shapes.
Pre-Installation Process Step 4: Waterproofing with AVB • Create an Air Vapor Barrier (AVB) using a rainscreen system. • AVB adhesive sheets prevent water damage and are installed like bumper stickers. • Smooth out wrinkles with hands or J Roller. Step 5: Flashing • Install flashing to manage water flow through the rainscreen system. • Ensure water is directed away from the building. Step 6: Grid Design • The grid ensures aligned and uniform ACP installation. • Plan dimensions, extrusions, backplate locations for a complete blueprint.
ACP Installation and Post-Installation Step 7: Mounting Panels • Mount fabricated sheets over the grid using MS Profiles. • Install cladding boards in predetermined order with nuts and rivets. Step 8: Protective Layer Removal • After installation, peel off the protective layer to reveal the ACP's beauty. • Follow manufacturer's arrow indications for proper peeling. Alumaze ACP Sheets • Alumaze ACP Sheets are flexible and easy to bend. • Prioritize worker safety with appropriate safety equipment. • Choose Alumaze for consistent color and design excellence.