1 / 0

Creating Your Portfolio Site with Google Sites

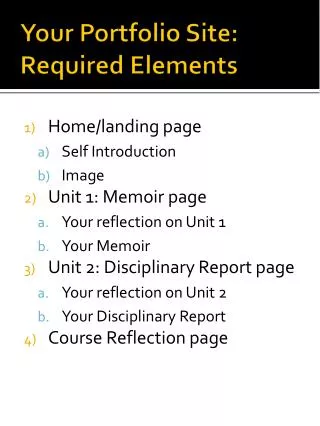
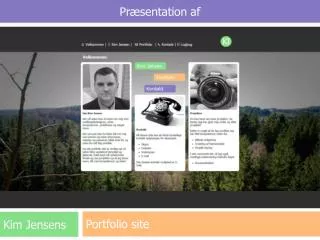
Creating Your Portfolio Site with Google Sites. So Mi Kim, UGA (cotton93@gmail.com). Your task is. Go to:  http://sites.google.com  and log in using your Gmail account. Open your Google Site. Create a Home Page and include: - Picture of you

alissa
Download Presentation

Creating Your Portfolio Site with Google Sites

An Image/Link below is provided (as is) to download presentation Download Policy: Content on the Website is provided to you AS IS for your information and personal use and may not be sold / licensed / shared on other websites without getting consent from its author. Content is provided to you AS IS for your information and personal use only. Download presentation by click this link. While downloading, if for some reason you are not able to download a presentation, the publisher may have deleted the file from their server. During download, if you can't get a presentation, the file might be deleted by the publisher.

E N D

Presentation Transcript


  1. Creating Your Portfolio Site with Google Sites

    So Mi Kim, UGA (cotton93@gmail.com)
  2. Your task is.. Go to: http://sites.google.com and log in using your Gmail account. Open your Google Site. Create a Home Page and include: - Picture of you - Short description of what you would like to learn this semester Create an “About Me” page and include: - Insert 2-3 pictures - Include 2-3 links to relevant websites - Write 2-3 paragraphs about yourself Create a Blog Postings page and link to your home page. - Post your learning story - Post your response to the reading assignments.
  3. 1. Create a “Homepage” (1) Once you create a new site, you will automatically have a default page, this is going to be your home. Click “edit page”
  4. 1. Create a “Homepage” (2) “Insert” an image (picture) of yourself
  5. 1. Create a “Homepage” (3) Sorry, it is not me, but you should insert your photo!! Adjust your image alignment size Wrap on/off
  6. 1. Create a “Homepage” (4) Write a short description of what you would like to learn this semester and click “save”.
  7. 2. Create a “About Me” page (1) Click “new page” and name it as “About Me.” 1. You should select a “Web Page” template to use!!! 2. Put page at the top; otherwise, you will create a sub-menu (for example, under Home).
  8. 2. Create a “About Me” page (2) Insert 2-3 pictures, and write 2-3 paragraphs about yourself (see “#1. Create a homepage” if you are not sure about how to insert images).
  9. 2. Create a “About Me” page (4) Highlight text and insert 2-3 links to relevant websites for additional information. 2. Click “Link” 1. Highlight text!
  10. 2. Create a “About Me” page (4) 1. Put the site address Specify link settings 2. Select the page where you will create a link 3. Select “Open this link in a new window” option
  11. 2. Create a “About Me” page (5) You should be able to see the link.
  12. 3. Create a “Blog Postings” page (1) Click “new page” and name it as “Blog Postings.” 3. Click “create” 1. You should select an “announcements” template! 2. Put page at the top; otherwise, you will create a sub-menu (for example, under About Me).
  13. 3. Create a “Blog Postings” page (2) You should be able to see the “Blog Postings” page It is RSS, which allows your readers get posts through a s/w like Google or Google Reader. 1. Click “New post”
  14. 3. Create a “Blog Postings” page (3) Name the title, type your text, and save it.
  15. 3. Create a “Blog Postings” page (4) You should be able to see a new post.
  16. 4. Link the “Blog Postings” page to your home (1) We would like to have your current postings displayed at your home. First, click “edit page”
  17. 4. Link the “Blog Postings” page to your home (2) Let’s change the page layout. Click “layout.” We will have two columns
  18. 4. Link the “Blog Postings” page to your home (3) Click “Insert” and insert gadgets “recent posts”
  19. 4. Link the “Blog Postings” page to your home (4) Specify settings 1. Choose from where you would like to get posts. 2. Chose the post length and number of posts. 3. Name title as “recent postings”
  20. 4. Link the “Blog Postings” page to your home (5) Now your first column has the original text and image. The second column has recent postings updated.
  21. 4. Link the “Blog Postings” page to your home (6) Save the page; you should be able to see a page like this.
More Related