Download
1 / 12
120 likes | 125 Views
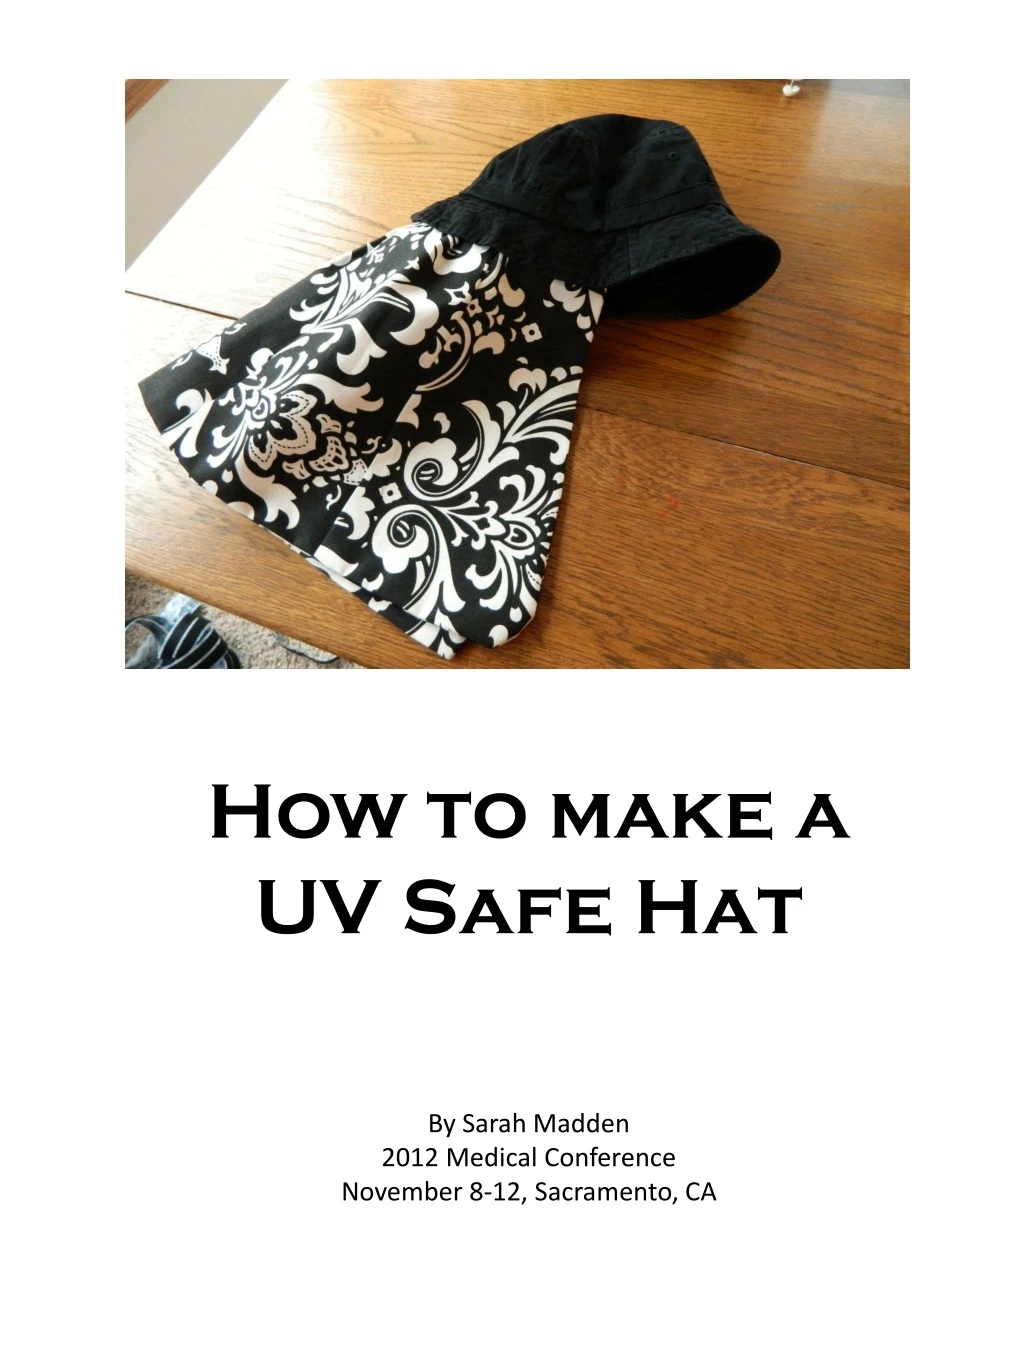
Learn how to make a UV safe hat to protect yourself and your loved ones from harmful sun rays. This step-by-step guide by Sarah Madden provides detailed instructions and a pattern to create a stylish and effective hat for all ages. Join us at the Medical Conference in Sacramento, CA on November 8-12, 2012, to learn more.

E N D
How to make a UV Safe Hat By Sarah Madden 2012 Medical Conference November 8-12, Sacramento, CA
Items Needed • Sewing Machine • Straight Pins • Scissors • Pattern (included) • Material • Material Tape Measurer • Bucket Hat • UV Safe Plastic • Velcro
Step 1 – Cut out Material • Cut out your material into panels. Pay special attention to the direction of the material. • Cut 8 panels for small children • Cut 10 panels for older children/adults • If no direction to material, double it to save on cutting
Pin Material • Pin Material together on one long side • Remember to put the pattern on the inside so the seams will be hidden when you sew
Sew Panel • Just sew a straight line. • When you get to the end of the line, reverse direction of sewing for a few stitches. • Trim thread, you have first seam
Pin Material • Pin Material together on one long side. • Remember to put pattern on inside so seams will be hidden when you sew. • Repeat until you have 4 or 5 panels. Enough to attach to half of a hat & fit comfortably over shoulders. • Once you have a full piece, start over until you have 2 full pieces
Sew Panels together • Put both panels together (pattern to inside) and pin on sides and bottom (not top). • Start at top, sew down once side, then around bottom and back up other side. • Turn inside out, so all seams are on inside.
Sew top of panel • After your material is turned right side out, sew the top of the material. You can tuck material inside if you want cleaner seams.
Sew panel to size of hat • If you are making a hat for an older child or adult, measure with a tape measure ½ of the hat brim. • Pin panel at top to same measurement as hat • Sew down about 1 -2 inches. This will make the panel easy to attach to the hat, but still leave plenty of material for around the shoulders.
Hat Assembly • Attach the soft sided velcro around inside of hat
Hat Assembly • At the top of the fabric that you want to be on the outside of the hat, put a strip of hard velcro • Stick to back of hat
Hat Assembly • Put soft sided velcro on edge inside of material. • Next fit plastic to hat • Always put the velcro on the same way, and all your hats will be interchangeable.