Download
1 / 18
200 likes | 382 Views
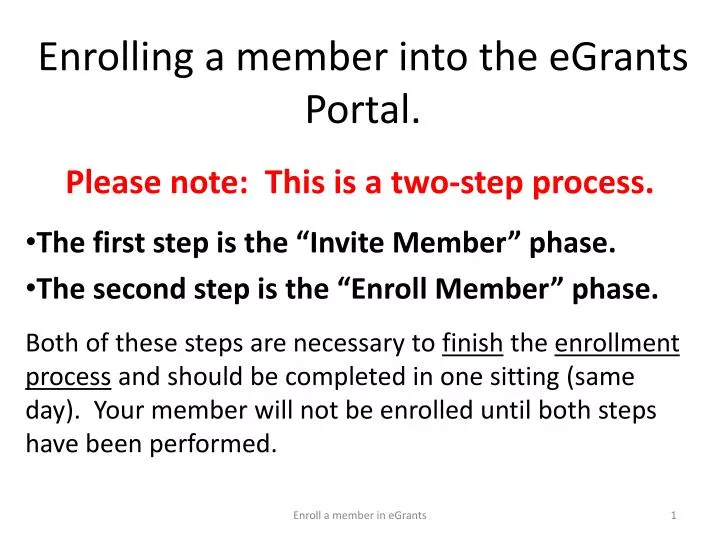
Enrolling a member into the eGrants Portal. Please note: This is a two-step process. The first step is the “Invite Member” phase. The second step is the “Enroll Member” phase.

E N D
Enrolling a member into the eGrants Portal. Please note: This is a two-step process. The first step is the “Invite Member” phase. The second step is the “Enroll Member” phase. Both of these steps are necessary to finish the enrollment process and should be completed in one sitting (same day). Your member will not be enrolled until both steps have been performed. Enroll a member in eGrants
This is your eGrants Login Page. Enter your User Name and Password. Enroll a member in eGrants
Once you log in to your eGrants account, this is the page you will see. You want to choose “Portal Home” Enroll a member in eGrants
Once you choose to go to your Portal Home, you will automatically be sent to your “S&N Workbasket” tab. From here you will click on “Invite Members”. This is the beginning of the first step – “Invite Members” phase of the enrollment process. Enroll a member in eGrants
You must complete all of the boxes that have an * next to them. When enrolling the member, put your own email address, on this form. You will change this to the member’s actual email address during the “Enrollment Phase” of this process. (This will be made clear on a subsequent slide.) Enroll a member in eGrants
This is the screen after you have entered the member’s information. Please note that the SSN does not show up on the screen. You will enter 2010for the 2010-11 school year, choose your campus from the drop down list, and again choose your campus for the “Service Location”. Once you have entered in the information, click on the save button. Enroll a member in eGrants
After you hit “save” on the previous page, eGrants will immediately take you to this screen. This is your “S&N Workbasket” tab in your eGrants Portal. Notice that the new member is already listed under “Pending Invitations. At this point, you will click on the member’s name. Enroll a member in eGrants
This is the top half of the member enrollment page. Please note that in eGrants the “permanent address” section is before the “current mailing address” section. This is opposite from the paperwork you will receive from the member. Please double check that you input these addresses correctly. Also, there is no way to indicate that the member only has one address. If the member’s permanent address and mailing address are the same, you will have to type the address in twice. Additionally, here is where you will enter in the student’s actual email address. Update with member’s email address. Enroll a member in eGrants
PLEASE NOTE: When the member turns in their enrollment paperwork, they must indicate whether or not they are a veteran of the U.S. Armed Services! Enroll a member in eGrants
***Education Award Waiver*** is a new question. This box should NOT be checked without express direction from member. If member waives their Education Award for their SIS service, they will not receive any type of education award voucher for their service. Enroll a member in eGrants
This is the bottom half of the member’s enrollment page. The calendar on the left is what I get when I click on the small calendar icon next to the start date field. You can either enter the start date manually (mm/dd/yyyy) or use the calendar function. Again, your campus is both the “Program Title” and the “Service Location”. ***The official enrollment date is the date that you are inputting this information into eGrants. Backdating is not an approved practice! Enroll a member in eGrants
Please note that when it comes time to choose a “Slot Type”, the drop-down menu has the slots in the order shown below; “Quarter Time”, then “Two Year Half Time”, and last, “Minimum Time”. Enroll a member in eGrants
The other important thing to note on this screen is that at the bottom of the page you will have to certify the form. You should only be entering information into eGrants when you are ready to enroll them (all paperwork, including criminal background check is complete). Therefore, you should only choose “enroll member” on this screen. Enroll a member in eGrants
Once you select enroll on the previous page, this is the screen you will get. Please note that it says in red “Your member has been enrolled successfully.” Enroll a member in eGrants
So where did your member go? To find and edit your member’s information you will click on “Manage Members”. This is what you will see on the “Manage Members” screen. Enroll a member in eGrants
Your member should now be added to your list of members at your school/program. To find your member in your list of members, you are first going to fill in program year (2010 is for the 2010-2011 grant year). The program name is a drop down list-- you will need to find and select your school/program, and then click on “submit” at the bottom of the page. See the following slide for an example. Enroll a member in eGrants
Choose 2010 for the year, use the dropdown box for “Program Name” to find your school/program and then click “submit” at the bottom of the page. (For the example below, I entered “2010” and chose “Western Washington University” for both the Program Name and the Service Location.) The Program code for your 2010 members is “10EDHWA001” and to view your 2009 members, you will enter in “2009” as the Program Year, leave the “Service Location” blank and look under Program Code 07EDHWA001) Enroll a member in eGrants
My search gave me a list of WWU members. Please notice that in eGrants, the member’s city and state are based on their mailing address-not their school or service address.The easiest way to find your member to click on the “Name” Column. This will sort your members alphabetically, by last name. Please note that if you do not see your member on this screen, there are further pages that follow. (See the words Next and Last on the top right hand corner.) Enroll a member in eGrants