Download
1 / 7
0 likes | 6 Views
Upgrade your dryeru2019s reliability with a high-quality electric dryer belt replacement from West Coast Belts. Designed for precision and strength, our belts are crafted to reduce downtime and extend your applianceu2019s lifespan. West Coast Belts ensures compatibility, durability, and satisfaction with every product. Get your dryer spinning smoothly again with our professional-grade replacement solutions.

E N D
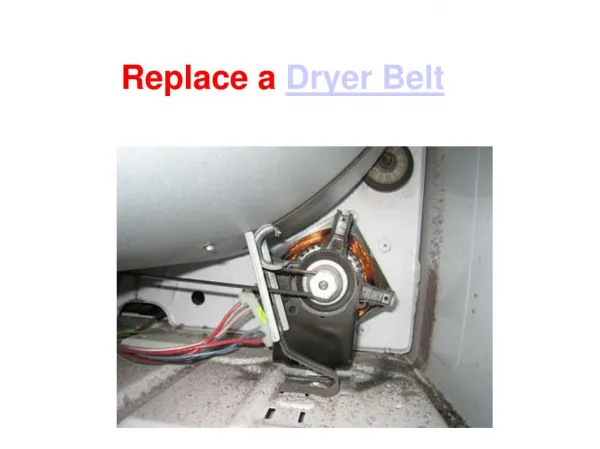
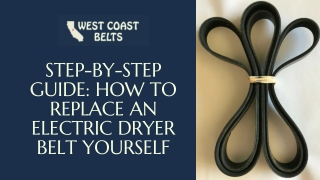
STEP-BY-STEP GUIDE: HOW TO REPLACE AN ELECTRIC DRYER BELT YOURSELF
Is your dryer making strange noises or failing to spin? Chances are, you need an electric dryer belt replacement. Don’t worry — you don’t have to call a repair technician just yet! With the right tools and a little patience, you can replace the belt yourself and save money. At West Coast Belts, we know how frustrating a broken dryer can be. That’s why we’ve put together this easy- to-follow guide to help you get your dryer running smoothly again in no time.
What You’ll Need Before you start, gather these tools: A new dryer belt (make sure it’s compatible with your model) A screwdriver (Phillips or flathead, depending on your dryer) Pliers A putty knife (optional, for prying open panels) A flashlight (to see inside the dryer) Step 1: Unplug the Dryer Safety first! Always disconnect your dryer from the power source before working on it. Unplug it from the wall or turn off the circuit breaker.
STEP 2: REMOVE THE DRYER DRUM Most dryers require you to remove the front or top panel to access the belt. Here’s how: For front-loading dryers: Use a screwdriver to remove the screws around the door frame. Gently pull the front panel forward and set it aside. For top-loading dryers: Remove the screws on the back panel, then lift the top carefully. You may need to pry it open with a putty knife. Once the panel is off, locate the drum and lift it slightly to release tension from the belt. STEP 3: REMOVE THE OLD BELT Take a look at how the belt is routed around the drum and motor pulley. Snap a quick photo for reference if needed. Then, slide the old belt off the drum and pulley. If it’s broken, simply pull it out.
STEP 4: INSTALL THE NEW BELT Now, it’s time for the electric dryer belt replacement. Follow these steps: 1.Loop the new belt around the drum, making sure it sits in the groove. 2.Stretch the belt over the motor pulley, ensuring it’s properly aligned. 3.Double-check that the belt is snug but not overly tight. STEP 5: REASSEMBLE THE DRYER Carefully place the drum back into position. Reattach the front or top panel and secure it with screws. Make sure everything is aligned correctly before tightening. STEP 6: TEST THE DRYER Plug the dryer back in and run a test cycle. Listen for any unusual noises and ensure the drum spins smoothly. If everything works, congratulations — you’ve successfully replaced your dryer belt!
WHY CHOOSE WEST COAST BELTS FOR YOUR ELECTRIC DRYER BELT REPLACEMENT? At West Coast Belts, we provide high-quality, durable replacement belts that fit most dryer models. Our belts are built to last, so you won’t have to worry about frequent replacements. FINAL THOUGHTS Replacing an electric dryer belt might seem intimidating, but with this guide, you can do it yourself in under an hour. Remember, regular maintenance can extend the life of your dryer, so keep an eye (and ear) out for signs of wear. Need a reliable replacement belt? Check out West Coast Belts for top-notch dryer belts that get the job done right! Original Content: https://medium.com/@elara.novaaa/step-by-step-guide- how-to-replace-an-electric-dryer-belt-yourself-9a66b775029a
THANK YOU CONTACT NO.: (559) 907-3224 ADDRESS: COARSEGOLD, CALIFORNIA 93614 info@westcoastbelts.com