Setting Up Snapmaker Home 3D Printer
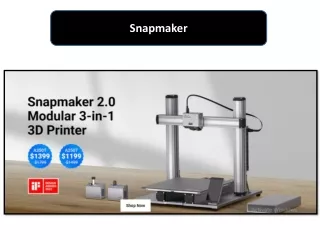
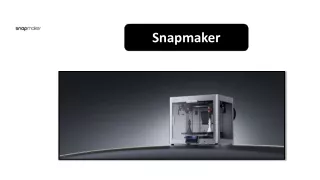
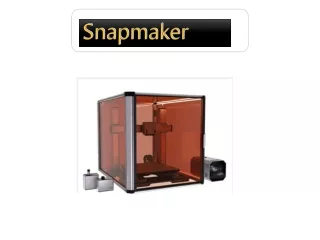
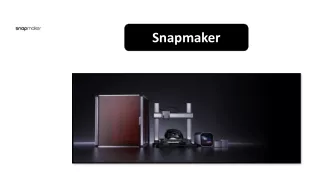
Begin the setup by unpacking the Snapmaker 3D printer and laying out all components. The assembly process typically involves connecting the printer's frame, attaching the build platform, and securing the print head.

Setting Up Snapmaker Home 3D Printer
E N D
Presentation Transcript
Setting Up Snapmaker Home 3D Printer Setting up a Snapmaker home 3D printer can be an exciting venture into the world of additive manufacturing. This step-by-step guide covers the essential aspects of the setup process, ensuring a seamless experience for users, from hardware assembly to software installation and calibration. 1. Hardware Assembly Begin the setup by unpacking the Snapmaker 3D printerand laying out all components. The assembly process typically involves connecting the printer's frame, attaching the build platform, and securing the print head. Follow the provided instruction manual, which includes detailed illustrations and clear instructions to simplify the assembly. Pay close attention to proper cable routing and connection points to ensure a tidy and functional setup.
2. Software Installation Once the hardware is assembled, move on to the software installation phase. Visit the official Snapmaker website or use the provided installation media to download the necessary software suite. The Snapmaker software integrates slicing, modeling, and printer control functionalities into a user-friendly interface. During installation, users may need to configure printer parameters such as bed size and printing resolution. Familiarity with the software is crucial for optimizing prints and utilizing advanced features. 3. Firmware Update Ensure the Snapmaker home 3D printer is running the latest firmware version to access new features and enhancements. Navigate to the firmware update section in the Snapmaker software and follow the prompts to download and install the latest firmware. Regular firmware updates from Snapmaker provide stability improvements and compatibility with new software releases.
4. Bed Leveling Accurate bed leveling is paramount for successful 3D prints. Most Snapmaker 3D printers feature an assisted bed leveling process. Activate the bed leveling wizard in the software, and the printer will guide users through the adjustment of each corner of the print bed. This step is critical for achieving proper adhesion and consistent layer heights across the print surface.
5. First Print Calibration Before embarking on intricate projects, perform a calibration print to fine-tune print settings. Choose a simple model from the Snapmaker library or upload a G-code file. Monitor the first layers closely to ensure proper adhesion and filament flow. Adjust settings such as nozzle temperature and print speed if needed. The calibration print serves as a test, allowing users to identify and address any remaining issues before diving into more complex prints. In conclusion, setting up a Snapmaker 3D printer involves a systematic approach that encompasses both hardware and software aspects. Following the provided instructions diligently ensures a smooth assembly process, while careful calibration and firmware updates contribute to optimal print quality. The journey from unboxing to the first successful print marks the beginning of a creative exploration into the capabilities of home 3D printing with Snapmaker. Visit us.snapmaker.com for more information.
Thank You! For More Email: info@snapmaker.com Web: https://us.snapmaker.com