Download
1 / 3
30 likes | 50 Views
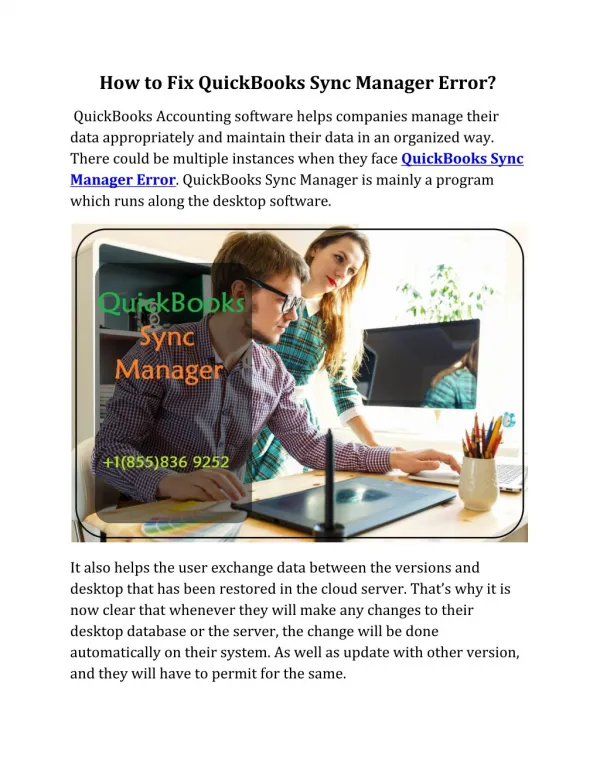
The Outlook Synchronization issue could result from a defiled .ost document. Get Quick and Easy Support to Resolve Outlook Sync Issues by yourself.<br>

E N D
How To Resolve Outlook Sync Issues? • The main motive of Outlook sync is that it allows the user to work in an offline mode or when the user faces any issues with respect to the network connectivity, it keeps all data saved in an OST file that synchronized with MS Exchange Server automatically. In some situations, the OST unable to synchronize itself and does not update any change in the offline mode and display an error message “cannot open the Outlook” or “the set of folders cannot be opened”. This error occurs if the .ost fileiscorrupted.Followthesteps belowtoresolveoutlooksyncissues. • First, check whether the offline folder is being synchronized correctly or not. Right-click the folder that you want to verify and click the Properties option. Click the Synchronization tab and verify the settings under the Statistic for this folder. • If the synchronization is working accurately, the number of items in the Server folder and in the Offline folder should be same. If it is not exact, follow the steps below and resolve outlook syncissues. • For Outlook 2003 version, click E-mail Accounts on the Tools menu. The E-mail Accounts dialog box opens. Check whether the View or change existing e-mail accounts option is selected under the E-mail section and clickNext. • Assure that Mailbox-account name is selected in the Deliver new mail to the following location list. Click Microsoft Exchange Server object and clickChange. • Make sure the Use Cached Exchange Mode is selected and click Next. Click Finish and Ok. Finally, exit and reopen theoutlook. • For Outlook 2007 version, click the Account Settings option on the Tools menu. Assure that the Mailbox-account name is set to default in the Data Files tab. Click the E-mail tab. Click Mailbox-account name and click the Settingsoption. • Verify that the Use Cached Exchange Mode is selected in the Advanced tab and click Ok. Click Close to exit the Account Settings dialogbox.
Exit the outlook and reopen the Outlook and check if the process to resolve outlook sync issues issolved. • For Outlook 2010 version, select theAccount Settingson the File menu. Choose Account Settings from thelist. • Check whether the Mailbox-account name is set as default in the Data files. Click theE-mailtab.SelecttheChangeoptionfromMailbox-accountname. • Make sure the Use Cached Exchanged Mode is selected in the account dialog box and click Close to exit the account settings dialog box. Exit the outlook and open the Outlook and check the issue issolved. • After you check the above settings, synchronize the folder again either by manual or by automaticsynchronization.
To do manually, click the folder to synchronize in the Folder List pane. Click Send/Receive on the Tools menu and click This Folder tosynchronize. • To synchronize automatically, click Options on the Tools menu. Click the Mail Setup tab. Select the Send immediately when connected checkbox in the Send/Receive section. • Click Send/Receive. Assure that Perform an automatic send/receive when exiting option is selected. Click Close and Ok to resolve outlook syncissues. • Create a new .ost file and synchronize the folders. To create a new file, rename the old file and then synchronize the new .ost file with the computer that is running Microsoft ExchangeServer. • After creating a file you will notice the new synchronization in the lower-right part of thescreen.