Download
1 / 15
150 likes | 165 Views
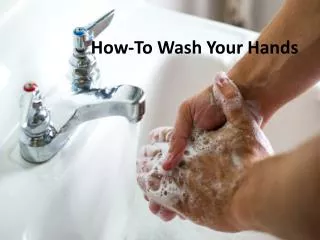
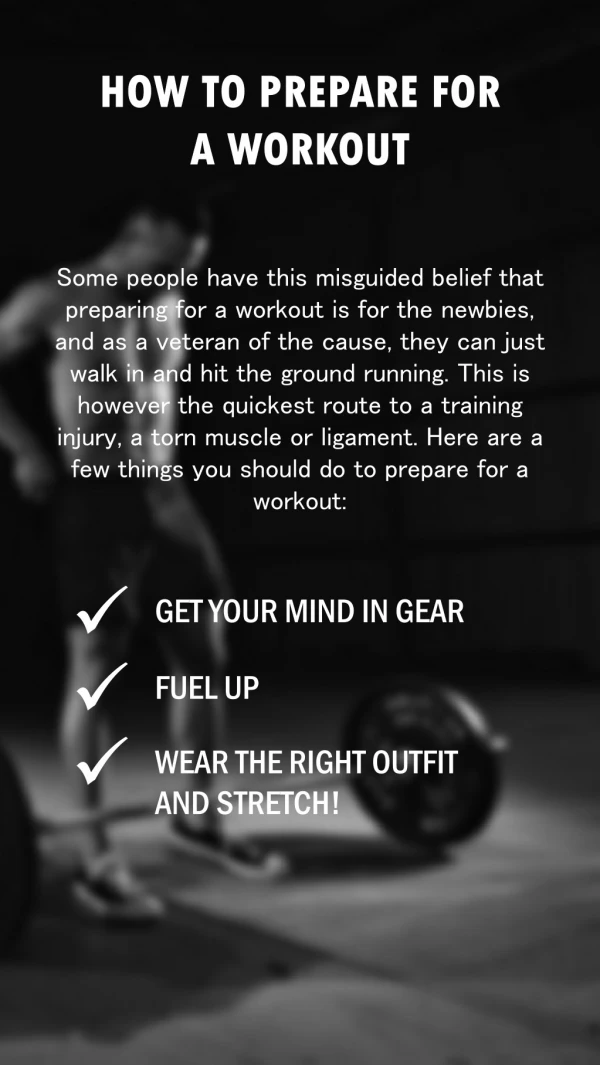
This set of instructions explains how to effectively wrap your hands for a boxing work out. Boxers wrap their hands before practice and competition to protect their wrists, knuckles, and fingers from injury. The hand wrapping technique described here will work well for boxers of all skill levels. This includes athletes preparing for a hard sparring session or someone just trying to stay in shape during a cardio kickboxing class. The idea behind this hand wrap technique could also be applied to kickboxnig or mixed martial arts.<br>

E N D
This set of instructions explains how to effectively wrap your hands for a boxing work out. Boxers wrap their hands before practice and competition to protect their wrists, knuckles, and fingers from injury. The hand wrapping technique described here will work well for boxers of all skill levels.
A number of beginners have asked my advice on how to wrap their hands. The main idea is to protect the hands from injury, but the trick is making the wrap solid without coming loose or cutting off blood circulation to your hand. Most people wrap their hands a little differently because not everyone's hands are the same shape. So, after practicing a few times, feel free to adjust the procedure to your liking.
Step 1: Select Your Hand Wrap There are many different hand wraps to choose from.Tape and Gauze: Professional Boxers often wrap their hands using athletic tape and gauze. This is the most protective and the lightest method for wrapping hands. However, these wraps cannot be reused, take considerably more time to wrap, and often require an additional person to assist. This instructable will not focus on this method because it is not practical for everyday training.
Cloth Reusable Hand Wraps: The pictured hand wraps are Ringside 180" Classic Hand Wraps. These are a good standard wrap. There are a few options to choose from when selecting a wrap. There are many brand names selling hand wraps, but it mostly comes down to a matter of personal preference. The characteristics are covered below.
-Length: Cloth hand wraps usually vary between 108 and 210 inches in length. The longer hand wraps provide more protection because there is more material to wrap your hand with. I would suggest the longer wraps to individuals with larger hands or individuals planning to spar. I would suggest shorter wraps to individuals with smaller hands or individuals planning a shadow boxing (no contact) workout.
-Elasticity: Standard wraps do not have much stretch to them because you want them to conform to your hand like a cast. Some people prefer "Mexican Style" wraps that stretch a little to conform to the hand. Others prefer the "Mexican Style" wraps because they will not loosen up as much during the course of a workout, however, it is a matter of personal preference.
Step 2: Unroll the Hand Wrap Unroll the hand wrap. One side has a Velcro closure; the other has a loop. Most wraps have some sort of marking which says "this side down." If your hand wrap does not have this marking, follow the wrap back to the Velcro closing and make sure you have the correct side so the wrap will fasten when rolled up. It will be frustrating if you get to the end of wrapping your hand and realize you started with the wrong side down.
Step 3: Start the Wrap Place the loop around your thumb with the "this side down" marking against the back of your hand. This will serve as an anchor for this end of the wrap. Pull the rest of the wrap to the outside edge of your hand.
Step 4: Wrap Your Wrist Wrap around your wrist tightly. The goal is to keep your wrist straight so the impact of a punch is absorbed through the arm instead of bending the wrist. Repeat this step 3-4 times depending on the length of your hand wrap. End the last wrap beneath the base of the thumb, with the excess material to the inside of your hand. It should look like the pictures below.
Step 5: Wrap Your Knuckles After supporting you wrist, continue the wrap up to your knuckles. Wrap your knuckles twice around so that it looks like the attached picture. Make sure to spread you fingers out during this step. If your fingers are too close together, your knuckles will feel crunched when making a fist.
Step 6: Wrap Your Thumb Continue the wrap back to the base of your thumb. It should look like the first picture below. It is these diagonal steps that tie the knuckles to the wrist and solidify the structure. Continue over then under your thumb. Careful not to wrap this step too tightly or you will cut off blood circulation to the thumb. If you have a longer hand wrap, or have suffered thumb injuries in the past, I would suggest circling the thumb twice.
Step 7: Anchor Your Thumb After wrapping the thumb, it needs to be be anchored to the wrist to keep it from over extending. Wrap around the wrist one time to accomplish this.
Step 8: Return to the Knuckles • Step 9: Return to the Wrist • Step 10: Secure the Velcro • Step 11: Finished Product • Step 12: Optional: Wrap In-between Your Fingers • Step 13: Optional: Finished • Step 14: Wash Your Wraps