Download
1 / 4
40 likes | 41 Views
In todayu2019s world, there is an ever-growing demand for technology connected to the internet. You can use this technology in various ways, including Connected lighting and home automation. By being connected to the internet, these systems can be monitored and controlled from anywhere in the world.

E N D
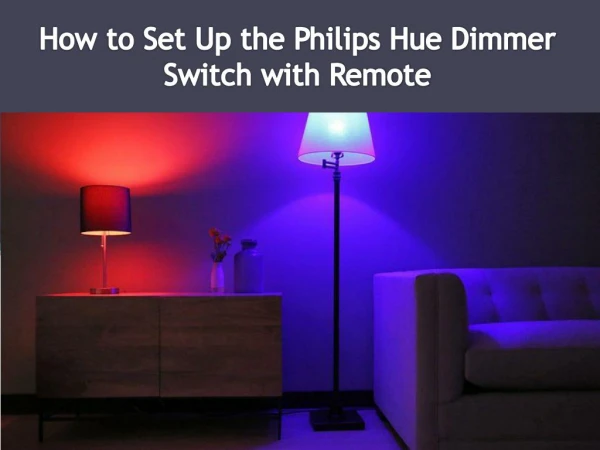
4 Steps to install a Philips Hue Dimmer switch Some people have a massive phobia of drilling big holes in the wall to add more light switches. With the Hue Smart Lighting ecosystem, you can add an accessory that will resolve this issue. Philips Hue dimmer switch has a cheap light switch that needs no screws, and no critical setup. Just get it out of the packaging, take a few bits of packaging off and fix it to the wall. Installation Process Find the perfect location for your Dimmer Switch. It is worth noting, that the Philips Hue can be placed anywhere it is just a remote dock you can grab 1 remote and place it in another dock elsewhere if you really wanted to. The actual Hue dimmer switch is made of only two components, the base plate and the remote itself. It is advisable to place these next to entries/exits in your rooms.
Stick with the adhesive backplate: Whilst you can screw in the base, there is absolutely no requirement the adhesive is amazing. Whilst the packaging doesn’t include screws, it is something you can easily do yourself without issue. As the remote is fitted with magnets, you can put it on your fridge! Perfect for those of you who use double-sided magnets for the remotes and have a collection! But remember that when using the adhesive backing it can take up to 24 hours to settle, so plan ahead as it is incredibly tough to maneuver after. • Start removing the plastic remote strip. The remote control dimmer actually has batteries inside it, so you need to remove the plastic strip in the back. There’s no need to unscrew the back panel and rip it out! You’ll see that in the top left of the front of the remote, there is a flashing orange LED light. This refers to your dimmer being ready to be set up.
Now pair your Dimmer switch with the Hue lights. There are two different techniques for setting up your Philips Hue dimmer switch, these are: • With a Hue Bridge: Open the Hue app on your device and select “settings > accessory setup“. Once you’re there, tap “add an accessory." • Without a Hue Bridge: If you have Philips Hue lights that do not connect to a Bridge, for example, Bluetooth, follow these steps: • Keep your remote 6 inches away from your Hue dimmer switch, press, and hold ON for 3 seconds under the light till the remote blinks green. • Congratulations! Your Philips Hue remote is now synced. • Conclusion • The Hue ecosystem is well known for its reliability and an incredible array of attributes, so the Dimmer Switch with Remote is a great choice to add to your setup. • Visit: https://www.philips-hue.com/en-in to see installation process with pictures.