Download

1 / 10
0 likes | 0 Views
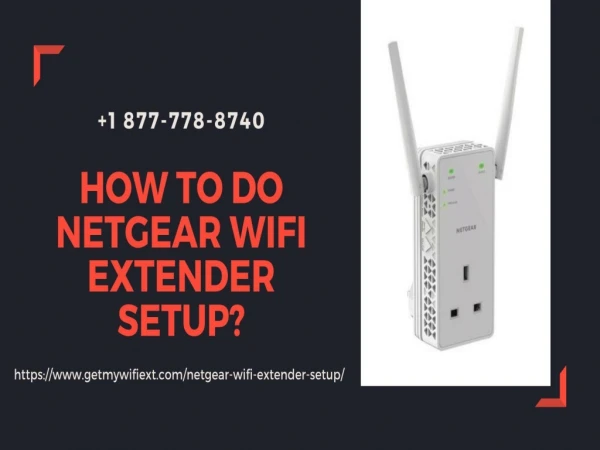
Netgear Extender model EX2700 is small and easy to connect networking device. You can set it up wirelessly. From this post, you will learn the whole NETGEAR EX2700 Wi-Fi Range Extender setup and configuration. So, letu2019s dive into this informative guide. visit : https://netgerext.net/

E N D
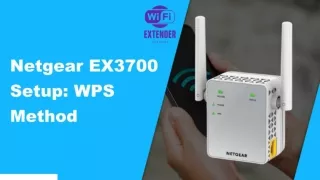
Setting Up Your NETGEAR EX2700 Wi-Fi Range Extender Extend your wireless coverage in minutes with this simple step-by-step guide. Visit Website : https://netgerext.net/
What You'll Need Your Router Wall Outlet Must be powered on and broadcasting Wi-Fi signal Located halfway between router and dead zone Device Phone, tablet, or laptop to complete setup
Step 1: Power Up Plug the EX2700 into a wall outlet halfway between your router and the area with weak signal. Important: Don't place it in a dead zone—it needs good signal from your router to extend it effectively. Wait for the power LED to turn solid green. If it doesn't light up, press the power button or try a different outlet.
Step 2: Connect to Setup Network 01 02 Open Wi-Fi Settings Find NETGEAR_EXT On your phone or laptop, view available networks Look for the extender's temporary setup network 03 Connect No password required for initial connection
Step 3: Access Setup Page Open Your Browser Navigate to one of these addresses: • mywifiext.net • 192.168.1.250 Troubleshooting: If the page doesn't load, try a different browser or clear your cache. Chrome can sometimes cause issues.
Step 4: Run Setup Wizard Network Scan Select Network Enter Password Wizard detects your main Wi-Fi networks (2.4GHz and 5GHz) Choose your main network from the list Type in your Wi-Fi password to connect
Step 5: Name Your Extended Network The wizard will prompt you to name your extended network. You can use the default naming (like HomeNetwork_EXT) or create your own custom name. Remember this name—you'll use it to connect your devices after setup is complete.
Step 6: Reconnect Your Devices Disconnect from Setup Find Your Extended Network Leave the NETGEAR_EXT network—it's only for initial configuration Open Wi-Fi settings and locate the new network name you created Connect and Test Join the extended network and verify internet connectivity
Step 7: Find the Perfect Location 1 Unplug Extender Remove from temporary setup location 2 Move to Permanent Spot Place halfway between router and dead zone 3 Check Signal Lights Verify optimal placement using LED indicators
Understanding Signal Strength Green Light Amber Light Red Light Excellent signal Acceptable signal Weak signal Perfect placement—strong connection to router Decent connection—may work but not optimal Too far from router—move closer for better performance Adjust the extender's position until you achieve a green or amber light for best Wi-Fi coverage.