Download
1 / 6
0 likes | 15 Views
If you have any issues regarding your extender, you can contact our toll-free number ( 1-323-471-3045) or<br> email: support@mywifiextension.net

E N D
Wavlink AX1800 Setup The Wavlink AX1800 Extender Setupis a powerful gadget that can be used to increase the range and coverage of your existing WiFi network. The Wavlink AX1800 Extender can help you establish smooth connectivity if you have dead zones or weak signals in some areas of your house or office. This detailed tutorial will help you through the installation process.
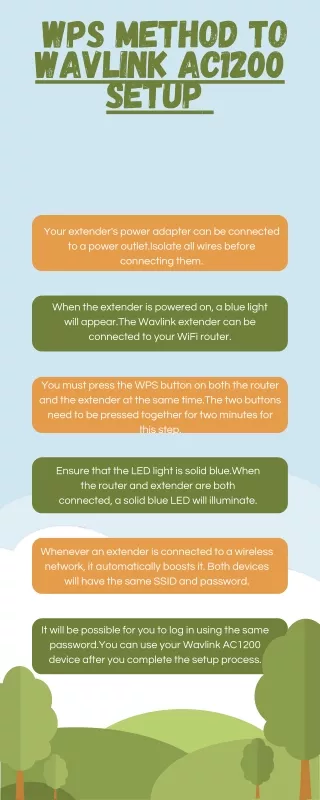
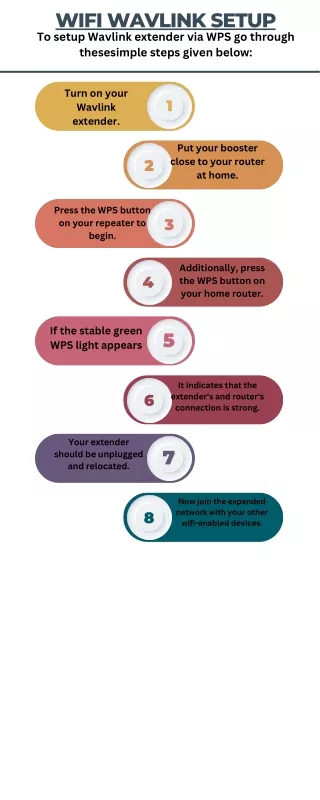
Wavlink AX1800 setup: WPS method Step by step instructions for the Wavlink AX1800 Extender Setup Via WPS (WiFi Protected Setup) : • Place the extender in a central location within the range of your existing router's WiFi signal. • Plug the extender into a power outlet and wait for the LED indicator lights to stabilize. • Press the WPS button on your router. • Within 2 minutes, press the WPS button on the AX1800 Extender. • The extender's WPS LED should turn solid green, indicating a successful connection. • Wait for a minute and check the Extender's LED status. • If the WPS LED is solid green, the setup is successful. The Wavlink AX1800 WPS configuration is now complete. Check that you have a good signal and acceptable speeds in the coverage areas.
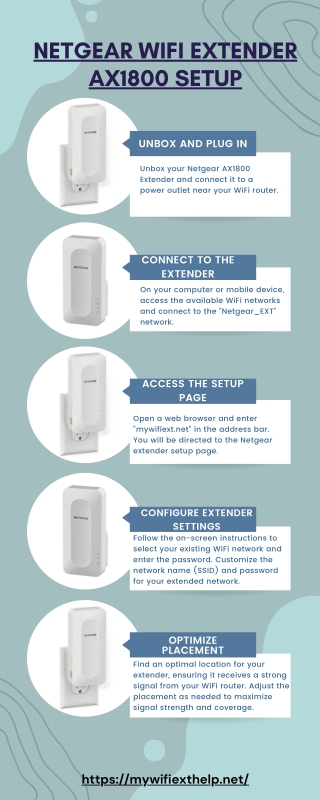
Setting up Wavlink AX1800 using Manual Method The following are the methods for manually configuring a Wavlink AX1800 extender: • On your WiFi enabled device, scan for available networks and connect to the one named "WavlinkExt." • The default password can be found on the label of the extender. • Open a web browser and enter "ap.setup" or "192.168.10.1" in the address bar. • You will be prompted to provide your default login credentials. • Follow the onscreen instructions to select your existing WiFi network and enter its password. • Choose an extended network SSID and password for the extender. • Once configured, apply the settings and wait for the extender to reboot.
Performing Factory Reset on Wavlink AX1800: If you encounter issues or want to start fresh, you can perform a factory reset: • Locate the reset button (typically a small hole) on the extension. • Press and hold the reset button for roughly 10 seconds with a paperclip or pin. • When the LEDs begin to blink, release the button. • The extender will be reset to its default settings. t's important to note that completing a factory reset will wipe out any custom settings you've previously selected on the extender. As a result, before proceeding with this reset, ensure that you have all of the necessary information and settings for the future resetting process that is tailored to your specific requirements
If you have any issues regarding your extender, you can contact our toll-free number(+1-323-471-3045) or email: support@mywifiextension.net