install cyberpanel
Follow these easy steps to Install CyberPanel

install cyberpanel
E N D
Presentation Transcript
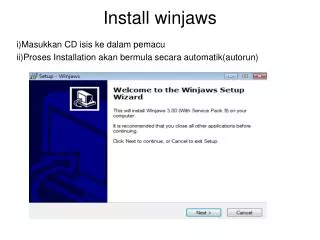
How to Install CyberPanel on CentOS Follow these easy steps to Install CyberPanel Step 1: To begin, log in to your CentOS server as root or another user with sudo access. Step 2: Execute the following command to update the system packages to the most recent versions: yum update sudo Step 3: Install the necessary CyberPanel packages: wget unzip is installed with sudo yum install -y. Step 4: Use the following Arduino code to download the CyberPanel installation script: wget -O installer.sh https://cyberpanel.net/install.shnet/install.sh Step 5: Execute the installer script: chmod +x installer.sh.sh Step 6: Execute the installer script using the given command: install.sh with sudo During the installation process, the installer will ask you for numerous setting choices. Here are a number of the maximum vital choices: • Web Server: Select the LiteSpeed or OpenLiteSpeed web server that you want to use. • PHP Version: Decide the version of PHP you desire. • MariaDB: Make a choice regarding MariaDB installation. • MariaDB root password: Enter a root password for the database. Enter your email address here for administrative needs. Give the hostname of your server here. In accordance with your choices, follow the prompts and make the required decisions. Step 7: After the setup is finished, a web browser can be used to view the CyberPanel interface. Launch your browser and type this address: Your CentOS server’s IP address should be used in place of your_server_ip. Step 8: You will be asked to choose a new password for the admin user when you first log in. Choose a secure password and keep it private. Congratulations! CyberPanel has been successfully installed on CentOS. It is currently available for use in managing your websites and services. For further setup and personalization possibilities, make sure to go to the CyberPanel documentation.