Install Ruby
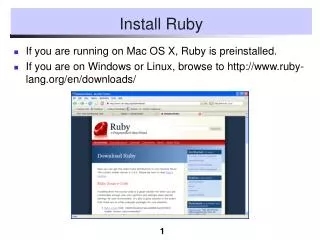
Install Ruby. If you are running on Mac OS X, Ruby is preinstalled. If you are on Windows or Linux, browse to http://www.ruby-lang.org/en/downloads/. Scroll to the Options for Your OS. I suggest the one-click installer. Adding Ruby Support to Eclipse.

Install Ruby
E N D
Presentation Transcript
Install Ruby • If you are running on Mac OS X, Ruby is preinstalled. • If you are on Windows or Linux, browse to http://www.ruby-lang.org/en/downloads/
Scroll to the Options for Your OS • I suggest the one-click installer.
Adding Ruby Support to Eclipse • There is a Ruby plugin for Eclipse, just like there is a Java plugin. • Once you install the plugin, you can write and debug Ruby code like you write and debug Java code. • A good description of the process is at http://alliance.seas.upenn.edu/~matuszek/wiki/wiki700/index.php?n=Main.RDT • We will follow the steps given there.
Select Update Site • Put an appropriate name into the “Name” box. • (You will see this name later on your list of Update sites to visit). • I recommend using the release builds (the …/release URL). • Then click “OK”.
Add the Update Site • Check the box next to “Ruby Development Tools” (or whatever name you chose), and click Finish.
Select Ruby Development Tools. • Click “Next”. • Follow the remaining instructions.
Complete Installation • I recommend installing this feature even though it has not been digitally signed. • Installation will complete, and you will be prompted to restart Eclipse.
Select a Workspace • You will be prompted to select a workspace (or create a new one). • You might want to create a workspace called “Ruby”.
Create a New Ruby Project • Right-click in the Package Explorer window, then expand “Ruby” • Click on “Ruby Project”. • Then click “Next”.
Name Your Project • Type in a name. • Then click on “Finish”.
Now you can create a new Ruby class just like you did for Java.
Creating a Class • Then copy in the code from the previous lecture.