Download
1 / 11
110 likes | 113 Views
Epson WorkForce 8590 Setup - Learn to Configure Epson WorkForce 8590 printer, Driver download for windows & Mac, Manual Download, Wireless Setup, Airprint Setu & Troubleshooting Steps<br>

E N D
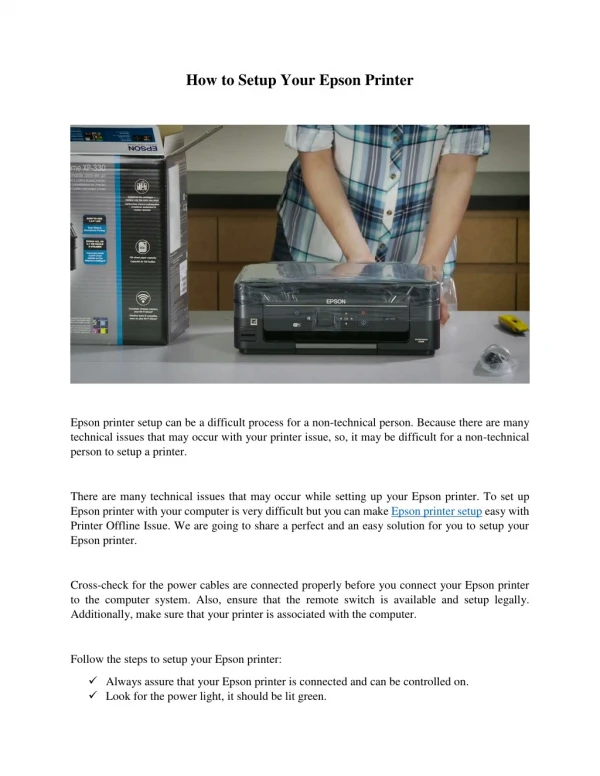
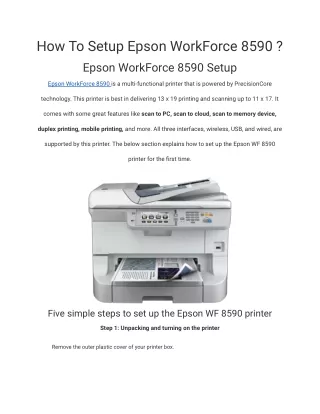
How To Setup Epson WorkForce 8590 ? Epson WorkForce 8590 Setup Epson WorkForce 8590 is a multi-functional printer that is powered by PrecisionCore technology. This printer is best in delivering 13 x 19 printing and scanning up to 11 x 17. It comes with some great features like scan to PC, scan to cloud, scan to memory device, duplex printing, mobile printing, and more. All three interfaces, wireless, USB, and wired, are supported by this printer. The below section explains how to set up the Epson WF 8590 printer for the first time. Five simple steps to set up the Epson WF 8590 printer Step 1: Unpacking and turning on the printer Remove the outer plastic cover of your printer box.
Open the box and check whether the Epson WF 8590 printer, starter ink cartridges, power cord, and user guide are available inside the box. If not, contact your printer manufacturer. Now, remove all the packing tapes present inside and outside of the printer. Connect your Epson printer to an electrical outlet and turn it on by pressing the Power button on its control panel. Step 2: Installing the ink cartridges Open your printer's front cover. Unpack the ink cartridges, then shake them 2 or 3 times. Insert the cartridges one-by-one into their slots. Make sure to install the cartridges correctly. Close the front cover. Step 3: Loading paper Remove your printer's paper cassette. ● Move the edge guides. In the cassette, load a stack of plain A4 or U.S paper. Adjust the guides correctly. Place the cassette back into your printer. Step 4: Configuring printer for the fax operation If you don't want to use your printer for the fax operation, then skip this step. Else, connect your Epson printer to a telephone wall jack using a phone cord. Turn on the printer.
Press the Start button and perform the on-screen instructions to set up the fax settings. Make sure to save the settings. Step 5: Installing the printer software On your Windows or Mac computer, double-click on the Epson WF 8590 printer driver file. ● Make sure that your printer is not connected to the computer. Connect the printer to your computer only when prompted during the driver installation. Complete the installation by following the on-screen instructions. After installing the printer driver, print a test page to check whether the configuration is done correctly. EPSON WF 8590 DRIVER DOWNLOAD - DESC You can download your Epson WF 8590 printer's driver from this page by clicking on the Driver Download button. As soon as you do it, the printer driver available for your current OS type will be downloaded. EPSON WF 8590 DRIVER WINDOWS - STEPS Go to the Epson WF 8590 printer's official support page. Click on the Downloads tab. Choose the Windows OS from the drop-down menu if necessary. Select the printer driver that you wish to install. Click on the Download button. EPSON WF 8590 DRIVER MAC - STEPS
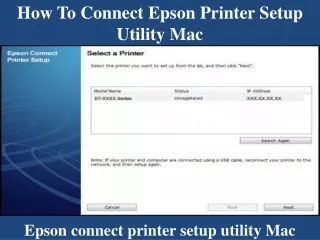
Locate and click the Driver Download or Driver Download for Mac button provided on this page. Now, the printer's driver for your Mac OS will be downloaded. You can check the status of the driver download at the bottom of the browser or in the Downloads folder. Once the driver is downloaded, you can open it and begin the software installation. EPSON WF 8590 MANUAL DOWNLOAD - STEPS Download a soft copy of the Epson WF 8590 printer's user guide from this page by clicking on the Manual Download button provided here. As soon as you click it, a soft copy of the manual will start to download. Once the manual download process is complete, you can open and utilize it as per your needs. EPSON WF 8590 WIRELESS SETUP - STEPS Wireless setup using the printer's control panel
Turn on your Epson printer and the wireless router. On your printer's control panel, press the Home button. Choose the Wi-Fi option followed by Wi-Fi Setup. On the Wi-Fi Setup screen, select the Wi-Fi Setup Wizard option. Select or type your wireless network's SSID in the given field. When prompted, type your network's password. Press the Enter button and select OK. To print the network setup report, press the Start button or select the Done option. Now, open the Epson printer driver on the computer (that is connected to the same wireless network as the printer). Choose the Wi-Fi Connection option when prompted. Complete the printer driver installation and finally print a test page to check whether the wireless setup is done correctly. EPSON WF 8590 AIRPRINT SETUP - STEPS
Initially, check if your Epson WF 8590 printer and the iOS device are connected to the same wireless network. If not, connect them together. Make sure that the AirPrint option is enabled on your printer. Now, open the document or page that you want to print via AirPrint on your iOS device. Tap on the Share icon. Choose the Print option. Select your Epson printer and the other print preferences as per your desire. Finally, tap on the Done button. Now, the printer will start printing the selected document. Once the print operation is complete, check the print quality. EPSON WF 8590 FAX SETUP - STEPS Hardware setup
Get a phone cord. Connect your Epson printer to the telephone wall jack using the phone cord. If you're using an answering machine, then connect the printer to the machine using another cable. Make sure to connect the answering machine to the EXT port of your printer. Turn on your printer and perform the fax setup. Configuring the fax features Go to the Setup menu. Choose the System Administration option. If prompted, type your printer's administrator password in the given field. Select Common Settings. Configure the fax settings such as date & time, country/region, receive mode settings, and other settings as per your desire. After configuring the fax settings, try to send a test fax. HOW TO SCAN ON EPSON WF 8590 - STEPS Scanning a document Initially, check whether your Epson printer setup is done correctly. If not, complete it and then begin the scan operation. Similarly, check if your printer driver is installed on your computer. If not, install it. Now, on your printer's scanner glass, load the document that you want to scan. Choose the Scan option. On the Scan to screen, choose the destination location of your desire.
Select the Preset option. Now, your printer will start scanning the placed document. Once the scanning is complete, a copy of the scanned document will be saved in the selected destination. Make sure to remove the document from the scanner glass after completing the scan operation. EPSON WF 8590 SCAN TO COMPUTER - STEPS From the printer's control panel Initially, make sure that your Epson printer and the computer are connected to the same network. Now, load the original document page that you want to scan on your printer's scanner glass. From the printer's home screen, choose the Scan option. Select the Computer option on the Scan to screen. If prompted, choose the connected computer. Set the scan preferences as per your desire. Press the OK button. Now, the Epson printer will start scanning the placed document. Once the scanning is done, a copy of the placed document will be saved on the selected computer. Open the printer folder and check the scan result. EPSON WF 8590 TROUBLESHOOTING - STEPS
Basically, an error message or code will be displayed on your printer's screen when something goes wrong inside the printer. In case your printer starts to misbehave unexpectedly, then run a product check to view the status of your printer. Running the printer check First, make sure to unplug all the external devices and the cables from the printer. Choose the Setup option on the printer's home screen. Select the Maintenance option followed by Print Head Nozzle Check. Initiate the product check process by pressing the Color button. Now, the printer will start printing the nozzle check pattern. If the printer prints the check pattern successfully, then it means the printer is working properly. In case the printer fails to print, then it indicates a problem. Clean your printer's print head if there is a gap in the nozzle check pattern.
Almost all printer errors can be resolved easily by performing some basic solutions. If the basic solutions don't resolve the Epson printer issue, then perform the advanced solutions. In case the advanced solutions also don't resolve the printer issue, then factory reset your printer. Basic solutions Restart your Epson printer. Make sure that the interface cable between the printer and your computer is connected securely. Check if the front cover is closed properly. If not, close it correctly. Make sure that the ink cartridges are loaded correctly. Similarly, check if the paper cassette has enough paper to perform the print operation. If not, fill the cassette with enough paper. Make sure that your printer driver is up-to-date. The advanced solutions will vary based on the error. Refer to the printer's user guide to resolve the printer issues. To get remote assistance in resolving your Epson printer issue, contact us. Factory resetting the printer settings Go to the Setup menu of your Epson printer. Choose System Administration. If prompted, type your printer's administrator password in the given field. Select the Restore Default Settings option followed by Clear All Data and Settings. Now, the factory resetting process will be initiated. Once it is complete, check if the printer issue is resolved.