Download

1 / 5
50 likes | 70 Views
How to Setup Epson Workforce 845 Printer? Contact on 1-844-266-0040 for Setup Epson Workforce 845 Printer, Connect Epson Workforce 845 Printer to wifi.<br><br><br><br>

E N D
Setup Epson Workforce 845 Printer: Dial toll free +1-888-633-7151
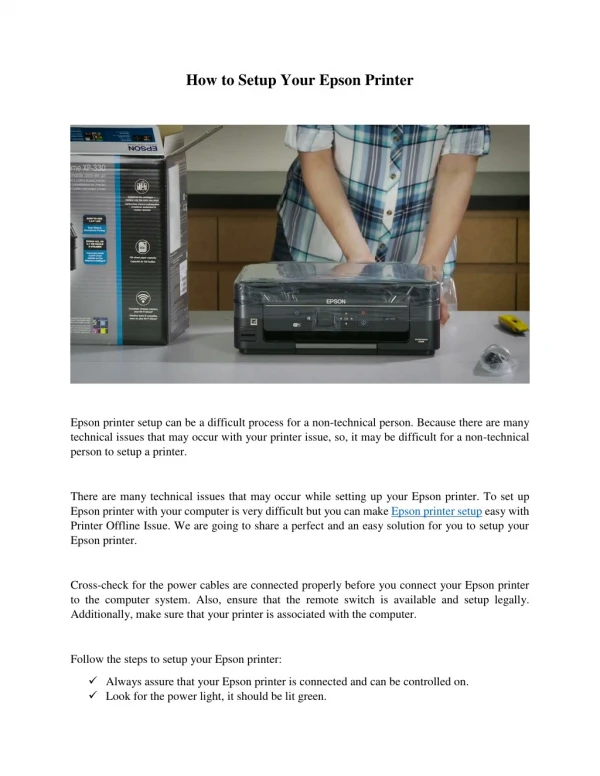
Setup Epson Workforce 845 Printer: • Would you like to learn how to set up epson workforce 845 printer? If your response is yes, this blog can help you understand the process of setting up. Here we will give you a comprehensive explanation of how to set up your printer from the unboxing to the installation of the software.
Steps to Setup Your Epson Workforce 845 Printer Unit: • 1) Unboxing • Take off all the protective covering. • 2) Turn on • nullConnect your printer’s energy wire to the wall outlet. Do not connect to the computer system with your device. • Hold and squeeze the release bar to open the control panel. Now, click on the energy button. • Do not push it in the downward direction to guarantee that your printer is not harmed. • 3) Select Settings • nullChoose your language and nation. Tap the screen to select your preferred option. • After that, choose the format of the date. • Use the number keypad to set the date and then press OK. • Set your preferred time format, i.e. 24 hours or 12 hours format. • Again, use the time setting number keypad. • Tap OK once all the steps are completed. • 4) Install Ink Cartridges • nullLift the unit of your scanner. • Lift the cover of the cartridge as well as gently shake and open the ink bottles 5-6 times. • Take off each ink tank’s yellow tape. • Install the original position of each ink tank. Push the holder cartridge and continue to push it down until you hear the click noise. • Shut down the cover of the cartridge. Push it until a click is heard. • nullClose the scanner unit of your printer as well. • To prim the ink cartridges, press the OK button. It will take about 5 minutes to complete this process. • If a menu appears on the screen of your printer, do not tap any of the possibilities. Continue to follow the information for paper loading and driver installation. • 5) Load Paper • nullRemove a cassette of paper. • Adjust the guide to the size of the document you are using. • Load the sheets in the cabinet and make sure the side of the printed document faces downwards. • To adjust the document, move the corner guides. Please make sure the document is in the corner guides below the tabs. • Now, inside push the cassette of paper. • To load the simple paper in the second cassette, follow the above 5 steps. Take off the transparent plastic cover before loading the cassette sheets. • Place it again after the document has been loaded. • Take the production tray out. • 6) Installing Software • Here we can use the software installation method to set up your Epson workforce printer using a CD. If you can’t locate a DVD or CD drive on your system, visit Epson’s official website and download the software from there. • Please close all the background applications before you begin with the installation procedure. • nullThe first thing you need to verify is not to connect your printing machine to the PC or laptop. • Insert the disk of installation. • If the screen shows an AutoPlay window, select Runsetup.exe. After that, the screen for user account control will open. Click either the Continue option or Yes. • Click on install if you are a Windows user and follow the rules on the screen. If you are a Mac user, click Continue and follow the instructions to continue the installation process. • Select your link screen’ will be opened after that. To get more information, take a look at all the link possibilities. Click Continue (for users of Mac) or Next (for users of Windows) and follow directions on the screen. • The last thing remaining in the setup phase after all these steps is to create a network link. When you first set up the printer, it is suggested that you use a USB connection for simple wireless configuration. Once your printer is attached to a wireless network, it will complete your installation process.
Get in touch with us • Visit our site. https://www.epsonprintersupport247.com/how-to-setup-epson-workforce-845-printer/ • Dial toll free. • +1-888-633-7151