Download
1 / 4
40 likes | 52 Views
<br><br><br><br>https://www.vipfixphone.com/blogs/news/100-fix-erase-iphone-non-genuine-battery-warning<br><br>Fixed: Erase the Non-Genuine Battery Warning on iPhone 11 12 13<br><br><br><br><br>

E N D
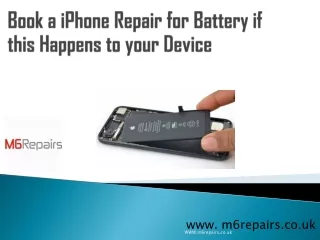
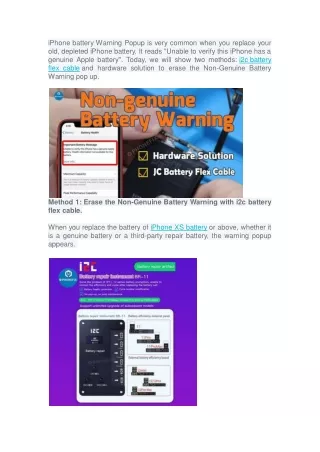
iPhone battery Warning Popup is very common when you replace your old, depleted iPhone battery. It reads "Unable to verify this iPhone has a genuine Apple battery". Today, we will show two methods: i2c battery flex cable and hardware solution to erase the Non-Genuine Battery Warning pop up. Method 1: Erase the Non-Genuine Battery Warning with i2c battery flex cable. When you replace the battery of iPhone XS battery or above, whether it is a genuine battery or a third-party repair battery, the warning popup appears.
i2c battery flex cable can erase iPhone battery Warning Pop Ups with one-click on the iPhone without removing the battery. The battery flex cable support auto-read battery information and one button key to clean battery using times, and it suits for iPhone 11, 11Pro, 11ProMax, 12mini, 12, 12Pro and 12ProMax. Method 2: Erase iPhone battery Warning Pop Ups with hardware solution. Step 1: Tear down the battery BMS board and replace with the original BMS board. 1. Disconnect the new iPhone X battery and the display flex cables, take down the battery. You can check the way to replace an iPhone X Battery from the previous blog. 2. Separate and take out the BMS board after tearing off the original battery bottom cover tape. Remove the new battery BMS board as well, apply some solid paste flux on the original BMS board, and solid the board to the new battery.
Paste the battery cover tape on the board, connect the battery to the machine and then activate the battery. Step 2. Install the battery and reassemble the iPhone. 1. Place the new iPhone X battery back to the phone and connect the flex cable. Connect the iPhone X screen display flex cables to the iPhone. Turn on the iPhone and go to Settings to test. Non-genuine battery warning disappear. Turn off the phone, reassemble the display back, and tighten the two screws with screwdriver on the bottom. The whole process is completed.