Download
1 / 3
0 likes | 28 Views
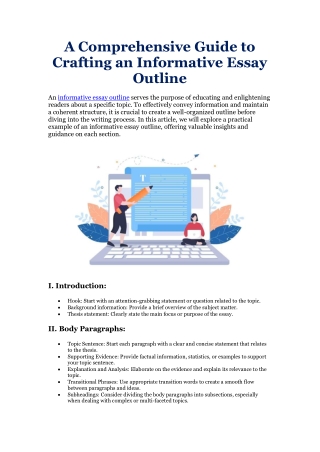
Color pencil portraits are a captivating and versatile medium for artists of all skill levels. They allow for intricate details, vibrant colors, and a sense of realism that can bring your subjects to life. Whether you're a seasoned artist looking to explore a new medium or a beginner taking your first steps into the world of portraiture, this blog will guide you through the process of creating stunning color pencil portraits

E N D
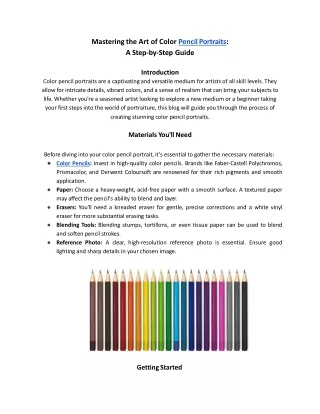
Mastering the Art of Color PencilPortraits: A Step-by-Step Guide • Introduction • Color pencil portraits are a captivating and versatile medium for artists of all skill levels. They allow for intricate details, vibrant colors, and a sense of realism that can bring your subjects to life. Whether you're a seasoned artist looking to explore a new medium or a beginner taking your first steps into the world of portraiture, this blog will guide you through the processof • creating stunning color pencilportraits. • Materials You'll Need • Before diving into your color pencil portrait, it's essential to gather the necessarymaterials: • Color Pencils: Invest in high-quality color pencils. Brands like Faber-Castell Polychromos, Prismacolor, and Derwent Coloursoft are renowned for their rich pigments and smooth application. • Paper: Choose a heavy-weight, acid-free paper with a smooth surface. A textured paper may affect the pencil's ability to blend andlayer. • Erasers: You'll need a kneaded eraser for gentle, precise corrections and a white vinyl eraser for more substantial erasingtasks. • Blending Tools: Blending stumps, tortillons, or even tissue paper can be used to blend and soften pencil strokes. • Reference Photo: A clear, high-resolution reference photo is essential. Ensure good lighting and sharp details in your chosenimage. GettingStarted
Select Your Subject: Choose a subject that inspires you, whether it's a family member, a friend, or even a famous personality. Make sure your reference photo is well-lit and has clearfeatures. • Prepare Your Workspace: Set up a clean, well-lit workspace. Good lighting is crucial to accurately judge colors and values as youwork. • Sketch the Outline: Begin with a light sketch of your subject's basic shapes and proportions. Use a lightcolor pencilor a graphite pencil for this initial outline. • BuildingLayers • Start with Base Colors: Begin by laying down light layers of color to establish the base colors of the different areas of the portrait. Pay attention to skin tones, hair, eyes, and clothing. • Build Up Layers: Gradually build up layers of color. Start with lighter shades and gradually move to darker ones. Use light pressure to avoid damaging the paper'stooth. • Blend and Shade: Use blending tools to smooth transitions between colors and create realistic shading. Experiment with different techniques, such as cross-hatching and stippling, to achieve varioustextures. • Focus on Details: As you progress, pay close attention to details like wrinkles, freckles, and highlights in the eyes. These details add depth and realism to yourportrait. • TroubleshootingTips • Avoid Overworking: It's easy to get carried away withcolor pencils, but overworking can result in a waxy buildup. Use a light touch and take breaks to assess yourprogress. • Use a Fixative: Consider using a color pencil fixative spray to prevent smudging and protect yourartwork.
Experiment: Don't be afraid to experiment with different techniques and color combinations. This is how you'll discover your uniquestyle. • Patience is Key: Creating acolor pencilportrait can be time-consuming. Be patient and embrace the process of layering andblending. • FinishingTouches • Final Details: In the final stages, add the smallest details, such as catchlights in the eyes, fine facial lines, and strayhairs. • Sign Your Work: Once you're satisfied with your portrait, sign it discreetly in thecorner. • Conclusion • Colorpencil portraits are a beautiful and rewarding form of art that allows you to capture the essence of your subject with stunning detail and vibrant colors. Whether you'recreating • portraits for personal enjoyment or as a professional artist, mastering this medium takes practice and dedication. With patience, practice, and a willingness to experiment, youcan • create stunning color pencil portraits that will leave a lasting impression on viewers. So, gather your materials, choose a subject, and embark on your journey to create captivating color pencil portraits.