Download

1 / 2
0 likes | 10 Views
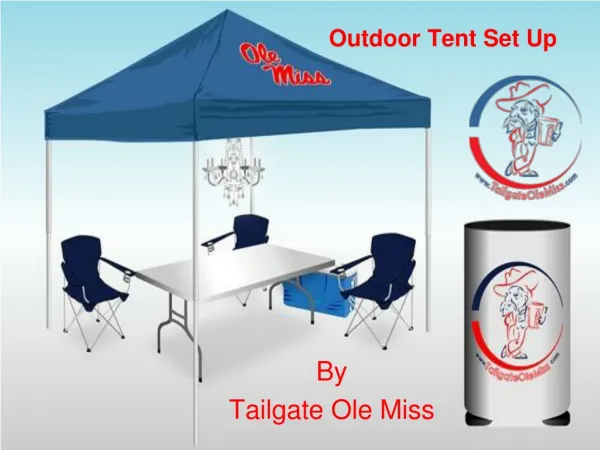
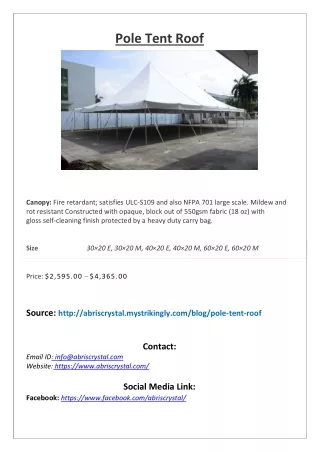
Learn the step-by-step process of setting up a pole tent to ensure maximum stability and safety. This guide covers proper site selection, secure anchoring techniques, and tensioning methods for a flawless installation. Perfect for outdoor events, this setup ensures durability against wind and weather.

E N D
How to Properly Set Up a Pole Tent for Maximum Stability Setting up a pole tent correctly is essential for ensuring its stability, safety, and longevity. Whether you’re preparing for a wedding, outdoor event, or temporary shelter, following the proper steps will ensure the tent remains secure and functional. Here's a detailed guide on how to set up a pole tent for maximum stability. 1. Choose the Right Location The foundation of a stable tent begins with the location. Select a flat, level surface free from rocks, tree roots, and debris. If the ground slopes slightly, ensure it leans away from areas where water could pool. A solid ground surface provides better anchoring for poles and stakes, reducing the risk of instability. 2. Prepare the Ground Once you’ve identified the location, clear the ground of any obstacles. If you’re setting up on grass, mow it short to create an even surface. For surfaces like asphalt or concrete, special anchoring tools such as weight plates or water barrels may be necessary. Mark the exact spots where the tent poles, stakes, and ropes will go to streamline the setup process. 3. Lay Out the Tent Unroll the tent fabric on the ground and stretch it out completely. Ensure the pole tent is oriented correctly based on the layout of your event. Arrange the center poles, side poles, and stakes nearby for easy access. Check the fabric for any damage or weak spots that could compromise stability. 4. Secure the Tent Stakes Properly anchoring the tent stakes is critical for stability. Hammer stakes into the ground at a 45- degree angle, pointing away from the tent. This angle provides greater resistance against pulling forces, especially in windy conditions. Ensure each stake is driven deeply enough to remain firm, even under tension. 5. Erect the Center Poles Start with the center poles, which form the tent’s main structure. Insert the poles into their designated grommets on the tent fabric. Raise each pole carefully, ensuring it is vertical and properly aligned. For maximum stability, attach the guy ropes to the top of the center poles and secure them tightly to the stakes. 6. Install the Side Poles
Once the center poles are upright, proceed with the side poles. These provide additional support and help maintain the tent's shape. Insert each pole into its corresponding grommet, ensuring the fabric is taut but not overstretched. Adjust the poles so the tent fabric sits evenly on all sides. 7. Tighten the Guy Ropes Guy ropes are essential for keeping the tent stable in various weather conditions. Adjust the tension on each rope, ensuring the tent fabric is taut and evenly distributed. Double-check the stakes to ensure they remain firmly in place while tightening. 8. Test for Stability Before declaring the setup complete, test the tent for stability. Gently shake the poles and fabric to confirm the structure is secure. Walk around the tent to inspect for loose ropes, stakes, or poles, and make any necessary adjustments. 9. Add Weight for Extra Security In windy conditions, adding weights such as sandbags or water barrels can enhance stability. Attach these weights to the guy ropes or tent stakes for added resistance against strong gusts. 10. Monitor the Tent Regularly Even after a successful setup, regular monitoring is crucial. Check the tension of guy ropes and the stability of poles throughout the event, especially if weather conditions change.