Download
1 / 5
50 likes | 58 Views
Make your next run more enjoyable with a ponytail hat designed just for women. Best knitted winter hat with ponytail hole. Not so square hat. Beanie with corrugated ribbing and a hole in the crown for a messy bun or ponytail. Free US shipping 100% satisfaction guarantee. Shop now. Feel free to call us at 302-208-3144.<br>Visit-https://bootsnbagsheaven.com/products/knitted-ponytail-winter-beanie<br>

E N D
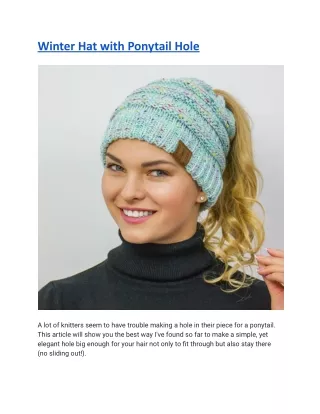
Winter Hat with Ponytail Hole A lot of knitters seem to have trouble making a hole in their piece for a ponytail. This article will show you the best way I've found so far to make a simple, yet elegant hole big enough for your hair not only to fit through but also stay there (no sliding out!).
This method is for ANY project knitted in the round. It can be done for a hat, scarf, etc., and may work well for other things as well! I use this method to make my own ponytail holes in all of my projects instead of using the yarn-over, knit 2 together methods shown on the internet. When I tried that method, it didn't look good enough for me and I didn't like the ridges. I hope you find this useful! Finished hole in a hat, after blocking. The hole is just slightly smaller than ponytail diameter. Inner-side of the finished product. No bumps or ridges if pulled tight! KNITTING TOOLS: 4 double-point needles in a size appropriate for your yarn. I use 8"/20cm needles with worsted weight, but you may need to play around with the needle size depending on the thickness of your yarn! YARN: I recommend using some sort of durable, pliant yarn that is rated for hats. I use Wool-Ease, but you may need to experiment with different kinds of yarns depending on how loose your cast-on is and the size of your needles. If you are looking for something comfortable for your hair then winter hat with ponytail hole is the right choice for you. OTHER MATERIALS: Tapestry needle (to weave in ends) & safety pin (optional) An 8"/20cm or longer needle. A piece of contrasting color yarn (optional)
NOTE: This method will make a hole slightly smaller than the width of your hair, so there may be some slipping out depending on how tight you pull it. With a safety pin attached to the back of the hat, it will stay in place better. I use a contrasting color of yarn for demonstration purposes only, but it is not necessary to do so. STEP-1: Cast-On (loosely) Using the double-point needles, cast on an even number of stitches. In my example, I cast on 12 stitches. Step-1a: Cast all stitches onto 1 needle first, then divide evenly among the 4 double-point needles for ease of working. STEP-2: Work in the round "Knit" or work each stitch as usual around until you have completed a full circle. In my example, I continue in a k2p2 rib pattern. STEP-3: Begin Making the Hole Work as usual around for another row or several more rounds (as desired). In my example, I work one more round. Step-4a: The stitch you are about to knit should be the first stitch of the row. Insert your right needle through the front loop of this stitch WITHOUT KNITTING IT (and without twisting it as shown). STEP-4b: Then insert your needle into both loops of the following stitch from behind, also WITHOUT KNITTING IT (or twisting it).
STEP-4c: Knit these 2 stitches together (as if they are only one stitch). After you've done this, you should see 1 stitch remaining. Step-4d: Let the working yarn form a loop with itself around your needle as you normally would for any st in a row. Then knit or work this stitch as usual. You should now see 1 loop remaining on your right needle, as shown below. STEP-5: Continue to Work in the Round Repeat step 4 until the hole is of desired size. In my example, I make a small 3/8" (1cm) diameter hole. If you wish, you may secure the last stitch of the round with a contrasting color of yarn as shown below for demonstration purposes only. STEP-6: Weave in Ends & Block Use your tapestry needle to weave in any loose ends into the back of the work. Step-7a: Gently pull on one of your loops to close up the hole, and secure it with a safety pin attached to the back of your hat. Your ponytail will have more friction if there is only 1 loop inside the hat! STEP-8: Try the Hat on Put on your hat & try it out! If there is still some slipping, use a couple of straight pins to secure it in place.
STEP-9: Trim Your Ponytail After blocking or laundering, you will notice that your hair has shrunk back and no longer fills up your ponytail hole. Simply trim a couple of inches off the end of your hair, and it will once again fit snuggly inside your hat! If you have any questions, please let me know in the comments section below or send me an email . Until next time...


![Pass Your HAT-450 Exam with Authentic HAT-450 Dumps [PDF]](https://cdn4.slideserve.com/7889946/hitachi-dt.jpg)