Download
1 / 6
60 likes | 61 Views
Ticket management can be tedious without a proper system in place. Learn how a ticket management software in your Dynamics 365 customer portal can make your ticket management seamless.<br>

E N D
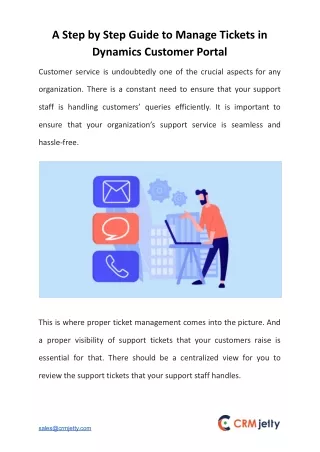
A Step by Step Guide to Manage Tickets in Dynamics Customer Portal Customer service is undoubtedly one of the crucial aspects for any organization. There is a constant need to ensure that your support staff is handling customers’ queries efficiently. It is important to ensure that your organization’s support service is seamless and hassle-free. This is where proper ticket management comes into the picture. And a proper visibility of support tickets that your customers raise is essential for that. There should be a centralized view for you to review the support tickets that your support staff handles. sales@crmjetty.com
You can integrate a robust ticket management solution into your customer portal. PortalXpand - our Dynamics 365 customer portal solution for Dynamics 365 also offers the feature of ticket management. Steps to Manage Tickets in Dynamics CRM Customer Portal Step 1: Add or use an existing Contact. Set an Account for that Contact. Step 2: Add or use an existing case. Account must be set as a Customer. You can use any other Account relationship to map the records. sales@crmjetty.com
Customer Portal There are 2 sides of this solution - a. Admin and b. Customer. a. Admin Step 1: Log in to the portal as the Admin. Step 2: Navigate to Roles in the Portal User Management. sales@crmjetty.com
Step 3: Create a Role with Relationship Type as Account. Select Entity to access this role. You can also select any Account based relationship of the Entity. For example, Case entity and Customer relationship field (customerid_account). Step 4: Save the role. sales@crmjetty.com
b. Customer Step 1: Go to Customer login page and login. Step 2: Go to Cases. You can view all the cases which are associated with “Account_01”. You can create Cases of an account “Account_01”. Additionally you can also create Cases of a customer “Customer_01” Over to You A streamlined ticket management system is a crucial aspect in providing a great customer experience. By integrating a ticketing system and following proper steps as mentioned above, you can streamline your ticket management from within Dynamics 365. To know more about how it would work with your system, important things you have to make sure for your business, get in touch with us sales@crmjetty.com
today. DeskXpand is a centralized ticketing system perfect for your business. To know more about it, get in touch with us and we would be happy to help! Originally Published On : https://www.crmjetty.com/blog/a-step-by-step-guide-to-manage-tick ets-in-dynamics-customer-portal/ Contact Details Phone No : +91067 47559 Email ID : sales@crmjetty.com Facebook : https://www.facebook.com/CRMJetty/ Twitter : https://twitter.com/CRMJetty Linkedin : https://www.linkedin.com/company/crmjetty/ sales@crmjetty.com