Download
1 / 16
0 likes | 3 Views
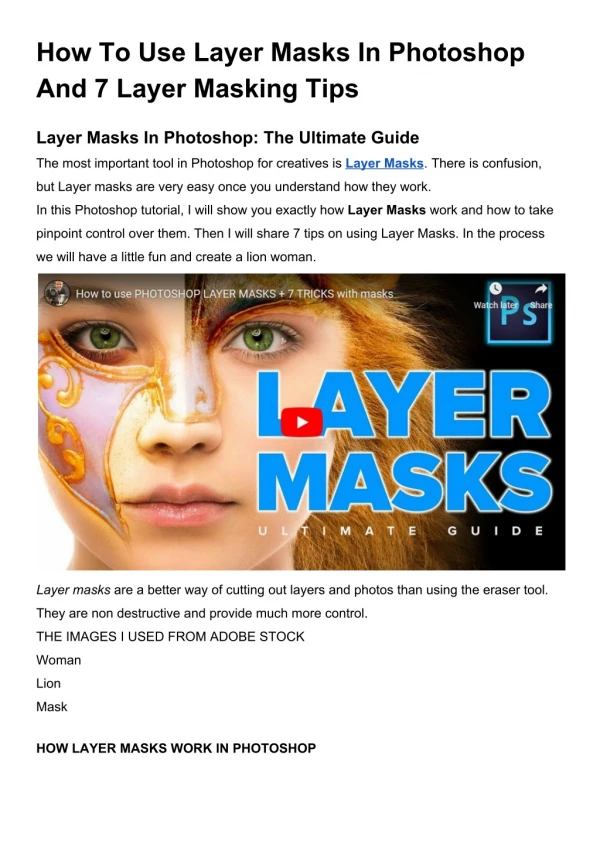
Learn how to use layer masks in Photoshop 2022 with this step-by-step guide. Master non-destructive editing techniques to enhance your photo and design projects.

E N D
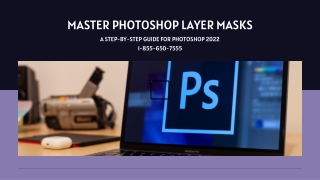
MASTER PHOTOSHOP LAYER MASKS • A STEP-BY-STEP GUIDE FOR PHOTOSHOP 2022 • 1-855-650-7555
1 • What is a Layer Mask? • ✅ White = Visible • ✅ Black = Hidden • ✅ Gray = Partially Visible A tool that hides or reveals parts of a layer without deleting them
Why Use Layer Masks? • Non-destructive editing • Smooth image blending • Easy adjustments • Easy adjustments
Step 1 - Open Your Image • Go to File > Open • Load the photo or project you want to edit
Step 2 - Select the Layer • Click the layer you want to mask in the Layers panel • Shortcut: F7 to show/hide the panel
Step 3 - Add a Layer Mask • Click the mask icon at the bottom of the Layers panel • A white box appears next to the layer thumbnail
Step 4 - Use the Brush Tool • Press B or select from the toolbar • Set foreground to black to hide, white to reveal • Use soft round brush for smooth edges
Step 5 - Paint on the Mask • Make sure the mask is selected • Paint black to hide, white to bring back • Shortcut: Press X to switch colors
Step 6 - Gradient Tool for Smooth Blends • Press G for Gradient Tool • Choose black-to-white gradient • Drag across the image for fade effects
Step 7 - Refine the Mask • Go to Window > Properties • Use Feather to soften edges • Use Select and Mask for detailed edits
Real-World Uses • Replace skies • Blend photo collages • Create double exposures • Focus blur effects
Eraser vs Layer Mask • Eraser = Permanent • Mask = Adjustable anytime • Better for non-destructive workflows
Quick Tips • Alt + Click = View mask in black/white • Shift + Click = Disable mask • Cmd/Ctrl + Click = Load mask as selection
Step 8 – Check Firewall and Antivirus Settings • Open Windows Defender Firewall or antivirus software. • Ensure Quicken is allowed through both Public & Private networks. • Try syncing again.
Final Thoughts • Layer Masks = Total control without damage • Great for beginners and pros alike • Practice to master it!
Thank You • Questions? • Follow us for more Photoshop tips! • ubtitle

![Coronavirus (COVID-19) – How to Use Face Masks [ADVICE]](https://cdn5.slideserve.com/9923027/coronavirus-covid-19-how-to-use-face-masks-advice-dt.jpg)