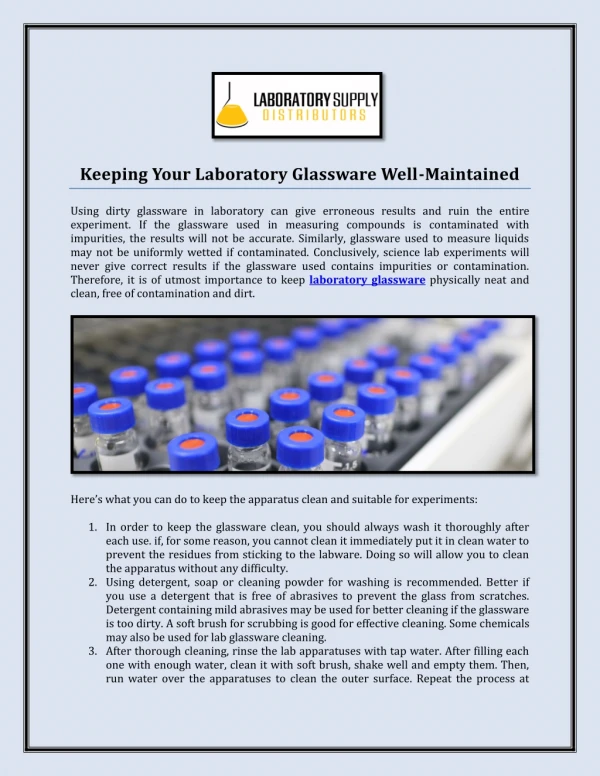
Laboratory Glassware
Laboratory Glassware MLAB 1335 Immunology Serology Terry Kotrla, MS, MT(ASCP)BB Pipets (Pipettes) Laboratory instrument used to transport a measured volume of liquid. Three types of glass pipets used in the laboratory Volumetric Mohr Serological Mechanical Pipets


Laboratory Glassware
E N D
Presentation Transcript
Laboratory Glassware MLAB 1335 Immunology Serology Terry Kotrla, MS, MT(ASCP)BB
Pipets (Pipettes) • Laboratory instrument used to transport a measured volume of liquid. • Three types of glass pipets used in the laboratory • Volumetric • Mohr • Serological • Mechanical
Pipets • Serological and Mohr pipets have different markings to assist in identifying them as they are used differently. • Serological pipets are TD = to deliver. To accurately dispense the measured volume the last bit must be blown out. • Mohr pipets are TC = to contain. These pipets are designed to dispense the correctly measured volume, so there will be a minute amount of liquid left in the tip.
Markings • TD pipets will have an etched or colored ring at the top of the pipet. • TC pipets will have no rings although there may be a colored bar to indicate the volume.
Volumetric • Designed to transfer a fixed amount of liquid when filled to the mark, e.g. 10 mL and only 10 mL. • There is generally only one "fill-line" on a volumetric pipet. • For example a 5 mL volumetric pipette has one marking on it. This marking measures exactly 5 mL. of liquid, no more, no less.
Volumetric • Designed to deliver a single volume precisely, the volume will be indicated near the top of the pipet, • At the top of the pipet is an etched ring. • Fluid must be drawn up the pipet to above the ring indicating the volume and then released slowly until the bottom of the meniscus is exactly at the ring. • To transfer this volume to a second container, touch the pipette tip to the inside of the new container and allow the liquid to drain out.
Serological - TD • A pipet marked TD (the more common type of pipet) has been calibrated "to deliver" a specified volume of liquid. • These pipets have no base mark, the graduations continue onto the tip and are graduated to deliver which means that ALL the measured liquid in the pipet must be delivered. • A 5 mL. serological pipette with one-tenth milliliter graduations can be used to obtain any desired volume of liquid in one-tenth milliliter increments between 0.1 mL to 5.0 mL, although volumes smaller than 0.2 mL are best measured with automatic piptets.
Serological - TD • TD or “blow out” pipets are graduated to the tip and have etched or colored rings around the top. • Graduated to deliver, there is no base mark. • In this type of pipet the marking near the tip of the pipet should be the same as the total volume listed near the top of the pipet
Serological - TD • Pipets with double rings are designed to be "blown out" by pushing a small amount of air out of the pipet, completely emptying it.
Mohr – TC – to contain • A pipet with this marking has been calibrated to contain a specified volume of liquid. • These pipets have a single painted or frosted ring at the top and are allowed to simply drain with the tip placed against the side of the receiving vessel. • To accurately transfer fluid with this type of pipet, the meniscus must be precisely on a calibration mark both at the beginning and at the end of a transfer.
Mohr - TC • To accurately transfer fluid with this type of pipet, the meniscus must be precisely on a calibration mark both at the beginning and at the end of a transfer. • Near the top of this type of pipet you will find the total volume indicated and the size of the smallest gradations (i.e., 5 mL in 1/10, the total volume of the pipet is 5 mL, and it is graduated in 1/10 mL increments).
Proper Use • When filling a pipet, the tapered end is held beneath the surface of the liquid at all times. • The liquid is drawn into the pipet by suction until the level is equal to or greater than the volume of liquid to be delivered. • Since serological pipets are labeled with the zero mark at the top of the pipet you will need to subtract the amount you are going to pipet from the total volume of the pipet to determine the exact mark to fill the pipet to. • For example if you are going to pipet 6.5 mL using a 10 mL pipet you would fill the pipet to the 3.5 mL mark. To determine the total volume of the pipet look near the top of this type of pipet.
Proper Use • When reading the volume, ALWAYS view the pipette dead-on at eye level with the pipette held vertically, perpendicular to the ground. • Pipettes are designed to be used with a hand pump or bulb, of which there are many varieties. • Never use your mouth with a pipet!
Mechanical or Automatic • Mechanical pipets can be set to draw and dispense different volumes or be preset to deliver an exact volume. • Used to accurately deliver very small volumes, microliters, of liquid. • Although 0.1 mL could be delivered by a serological pipet most labs use mechanical, or automatic pipets. • A volume of 0.1 mL is equal to 100 microliters
Mechanical or Automatic • Mechanical pipets are operated by depressing the plunger. • On the downward stroke of the plunger there are TWO stops. • The first offers firm resistance, and the second is a hard stop. • To take up a volume in the pipet, place a tip on the end of the pipet. • Depress the plunger to the first stop and insert into the sample to be transferred. • Draw the liquid into the pipet by SLOWLY releasing the plunger. • To dispense the liquid from the pipet, place the tip of the pipet into the opening of the well and slowly depress the plunger all the way to the second stop. • When the liquid has been dispensed withdraw the pipet tip from the well BEFORE releasing the plunger.
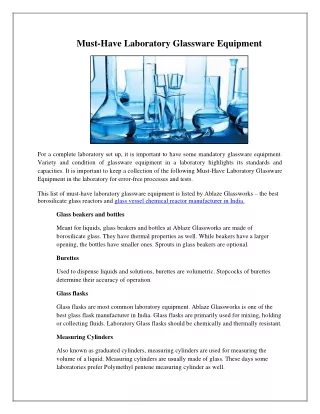
Glassware • Glassware can be divided into 2 groups • Non-volumetric glassware • Beaker • Flask • Volumetric Glassware • Volumetric Flask • Graduated Cylinder
Beaker • Used for transferring liquid to another container or to transfer a small amount of reagent for use in procedures. • Volume is not accurate, just an estimate. • NEVER PLACE A REAGENT IN ANOTHER CONTAINER WITHOUT LABELING THE CONTAINER FIRST.
Erlenmeyer Flask • Features a conical base, a cylindrical neck and a flat bottom. • They are marked on the side (graduated) to indicate the approximate volume of their contents. • This is NOT used for ACCURATE measurement
Erlenmeyer Flask – an FYI • Like many other common pieces of glassware, Erlenmeyer flasks could potentially be used in the production of illegal narcotics. • In an effort to restrict such production, some U.S. states (including Texas) have begun requiring permits to purchase such glassware, including Erlenmeyer flasks, as well as chemicals identified as common starting materials.
Graduated Cylinder • For rapid measurement of liquid volume. • They are generally more accurate and precise for this purpose than flasks. • This is a semi-accurate liquid measuring vessels.
Reading the Volume • 10 mL has approx 6.62 mL • 100 mL 52.7 mL • 25 mL has 11.5 mL
Volumetric Flask • A volumetric flask is used to measure very precisely one specific volume of liquid (100 ml, 250 ml, etc., depending on which flask you use). • This flask is used to prepare a solution of known concentration. • To make up a solution, first dissolve the solid material completely, in less fluid than required to fill the flask to the mark. • After the solid is completely dissolved, very carefully fill the flask to the mL mark. • The top is then sealed and the flask is inverted several times to mix.
References • Pipets and Pipetting: http://tinyurl.com/68evg2 • Use of Serological Pipets http://tinyurl.com/5c9doe • BIO 121 Introduction http://tinyurl.com/6ee86t • Glassware http://tinyurl.com/6ee86t • Lab Equipment http://tinyurl.com/5f5839 • Volumetric Flask http://tinyurl.com/5sercn • Measuring Volume Using a Graduated Cylinder a learning activity http://tinyurl.com/5z8r7c