Download
1 / 2
20 likes | 22 Views
Let's see how to Scan on Macbook Air? This page briefly explains how to perform scan functions on Macbook Air with the help of our expert tips. Click to know more.<br>

E N D
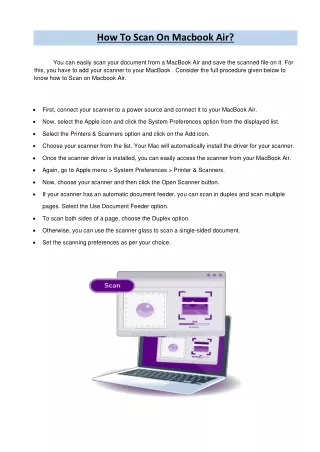
How To Scan On Macbook Air? this, you have to add your scanner to your MacBook . Consider the full procedure given below to know how to Scan on Macbook Air. You can easily scan your document from a MacBook Air and save the scanned file on it. For • First, connect your scanner to a power source and connect it to your MacBook Air. • Now, select the Apple icon and click the System Preferences option from the displayed list. • Select the Printers & Scanners option and click on the Add icon. • Choose your scanner from the list. Your Mac will automatically install the driver for your scanner. • Once the scanner driver is installed, you can easily access the scanner from your MacBook Air. • Again, go to Apple menu > System Preferences > Printer & Scanners. • Now, choose your scanner and then click the Open Scanner button. • If your scanner has an automatic document feeder, you can scan in duplex and scan multiple pages. Select the Use Document Feeder option. • To scan both sides of a page, choose the Duplex option. • Otherwise, you can use the scanner glass to scan a single-sided document. • Set the scanning preferences as per your choice.
• To scan in black and white with high-contrast, select Black & White for greyscale images. • If you want to scan in color, click Color images. • Select a size from the drop-down list. • Now, select a location to save the scanned file. • You can adjust the colors or exposure of the scanned image. • Select the Manual option in the Image Correction drop-down list to adjust the controls. •If you can’t see the image correction controls, scroll down to make the settings. • Click on the Scan button to begin the scanning process. • Once the scan is complete, the scanned file will be saved to your Mac. • You have now successfully scanned a document on MacBook Air.