Download

1 / 4
40 likes | 45 Views
Find Pest Control ads in Bathurst-Orange. Buy and sell almost anything on icracker classifi

E N D
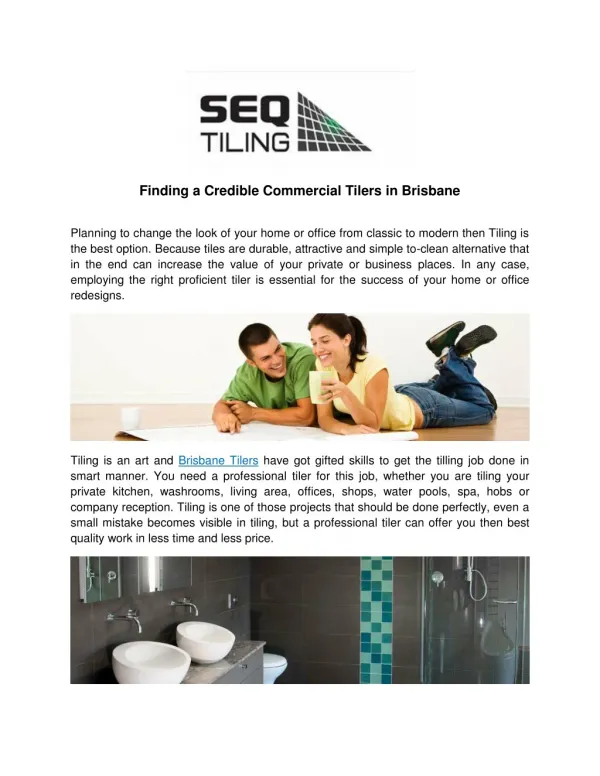
Top 100 Plastering & Tiling in Bathurst-Orange There are many different types of tiles which, the handyman can apply to floors, walls and ceilings. One of the oldest types is ceramic tile - these are baked clay and have been used generally in the bathroom for walls and floors. There are also plastic tiles which have been used mainly for walls and ceilings. Ceramic tiles, however, have moved out of the bathroom into other parts of the home. Contemporary homes often have kitchen counter work tops and sometimes even living room walls made of ceramic tile. These tiles can be applied with special waterproof adhesive to any suitable smooth surface. No longer is it necessary to apply wire lath and cement to set the tiles in place. Plastic tiles, which have gained in popularity since the end of World War II, are available in many different colors, sizes and patterns. There are basically two types of plastic tiles. The rigid ones are made of polystyrene; the flexible tiles are usually made of vinyl. Both are applied in somewhat the same manner, although some flexible tiles come already glued. All that is necessary is to moisten the adhesive backs of these self-adhesive tiles and they can then be applied to the wall or floor. Metal tiles of various kinds also are available. One of the most recent developments is an aluminum tile to which a ceramic coating is bonded at a temperature of from 900° to 1000° F. It can be cut easily and even bent if necessary. The tile is applied with mastic. Ceramic Tile Ceramic tile is one of the oldest building materials known to man. Its history dates back centuries ago when it was first discovered that clay baked at high temperatures turns into a hard, durable material which is both waterproof and fireproof. But tile is one of the most modern of materials, too. It is easy for the average handyman to install and will afford a lifetime of constant, rugged use without deterioration. Real tile - that is, tile made from baked ceramic materials - is a permanent installation. Its colors never fade. Because of its durability and the absence of any upkeep or remodeling, real tile constitutes a significant economy.
Today, ceramic tile is accessible to the homemaker in an astonishing assortment of sizes, shapes, shadings, and surfaces. With a decent waterproof glue, Free, local, classifieds, classified Ads, icracker, icracker.com.au, Bathurst-Orange, Plastering & Tiling, classes, real estate, babysitter, dog, cat, shared rooms, pets, rental, apartments, apartment for rent, jobs, resume, cars, housing, furniture, personals, services, events, appliances marketplace, private, for free, search, find tile can be promptly introduced on dividers, floors, and ledges. In fact, there are two fundamental divisions of tile: divider and floor tile. Divider tiles in well known use range from 17/4" square to 6"x9" square shapes. They come in either a high coating or a matt coating which is a fairly gentler looking surface. Floor tiles go from "dabs" (11/32" squares) to 9" squares. Regularly utilized ostensible sizes, however, are the 2" square, the 1" square, and the 1"x2" square shape. Floor tiles are for the most part unglazed.
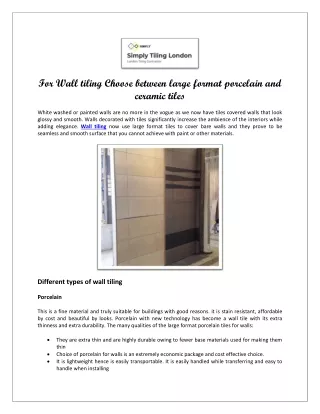
Introducing rock slat, the base to which divider mortar is applied, is certifiably not a troublesome work and requires a couple of apparatuses. In the event that you can swing a sledge or cut wire with tin cuts or read a craftsman's level, you can do your own lathing. For speed and comfort, put resources into a lathing ax. In the event that you like to utilize your own mallet, you'll need to score and cut the strip with a blade, which takes longer. First compute the square yardage on all surfaces to be covered and request slat appropriately. Purchase metal corner stripping by the straight foot for openings and corners. Ten pounds of lathing nails will be required for every 100 square yards of rock lath. The subsequent stage is to set up baseboard grounds - 3/4" wood strips which consider some establishment settling and forestall mortar breaks. Nail these along all dividers to be put. Then, at that point continue as illustrated in the photos. Make sure to keep all lathing work slick and the corners square. The last occupation will be comparable - or terrible - as this fundamental base work. Instructions to Plaster a Wall There's a workmanship to making a decent mortar divider, and the utilization of the appropriate devices is fundamental. These incorporate a plasterer's scoop, a corner-forming device, a falcon, a darby, a screeding bar, a weighty brush and a pail. To arrange the materials you will require, figure the square feet of the space to be covered. The undercoat is a combination of sand, pre-pared gypsum mortar and water. You will require - for every 10 square feet of undercoat - 90 pounds of plasterer's sand, cleaned and screeded, and 30 pounds of gypsum mortar. To blend, utilize either a work cart or shallow wood box and blend the sand and mortar, dry, in one end. Slant the blending enclose with the dry combination in the upper end and put water in the low end. Then, at that point bring the blended sand and mortar into the water a little at an at once. In the event that water is added into the dry blend, or every last bit of it is maneuvered into the water immediately, protuberances are shaped which can't be handily separated. Blend to a hefty creamlike consistency. Add a greater amount of the dry blend or water, as fundamental.
Apply the base coat as shown in the photographs. The final coat of finishing plaster is mixed with water without sand and applied as illustrated. Troweling technique is quickly mastered. Plaster is applied from a full trowel on upward strokes, using light pressure only. The trowel, in finishing, is held at an angle of about 30° to the wall. If pressed fiat against the wall, the trowel is held by suction and will pull the plaster off. If the angle is too great, the edge of the trowel will leave wavy lines in the surface. For more info visit Icracker https://bathurst-orange.icracker.com.au/services-for-hire/plastering-tiling